Tufted landscapes (and the struggle behind them)

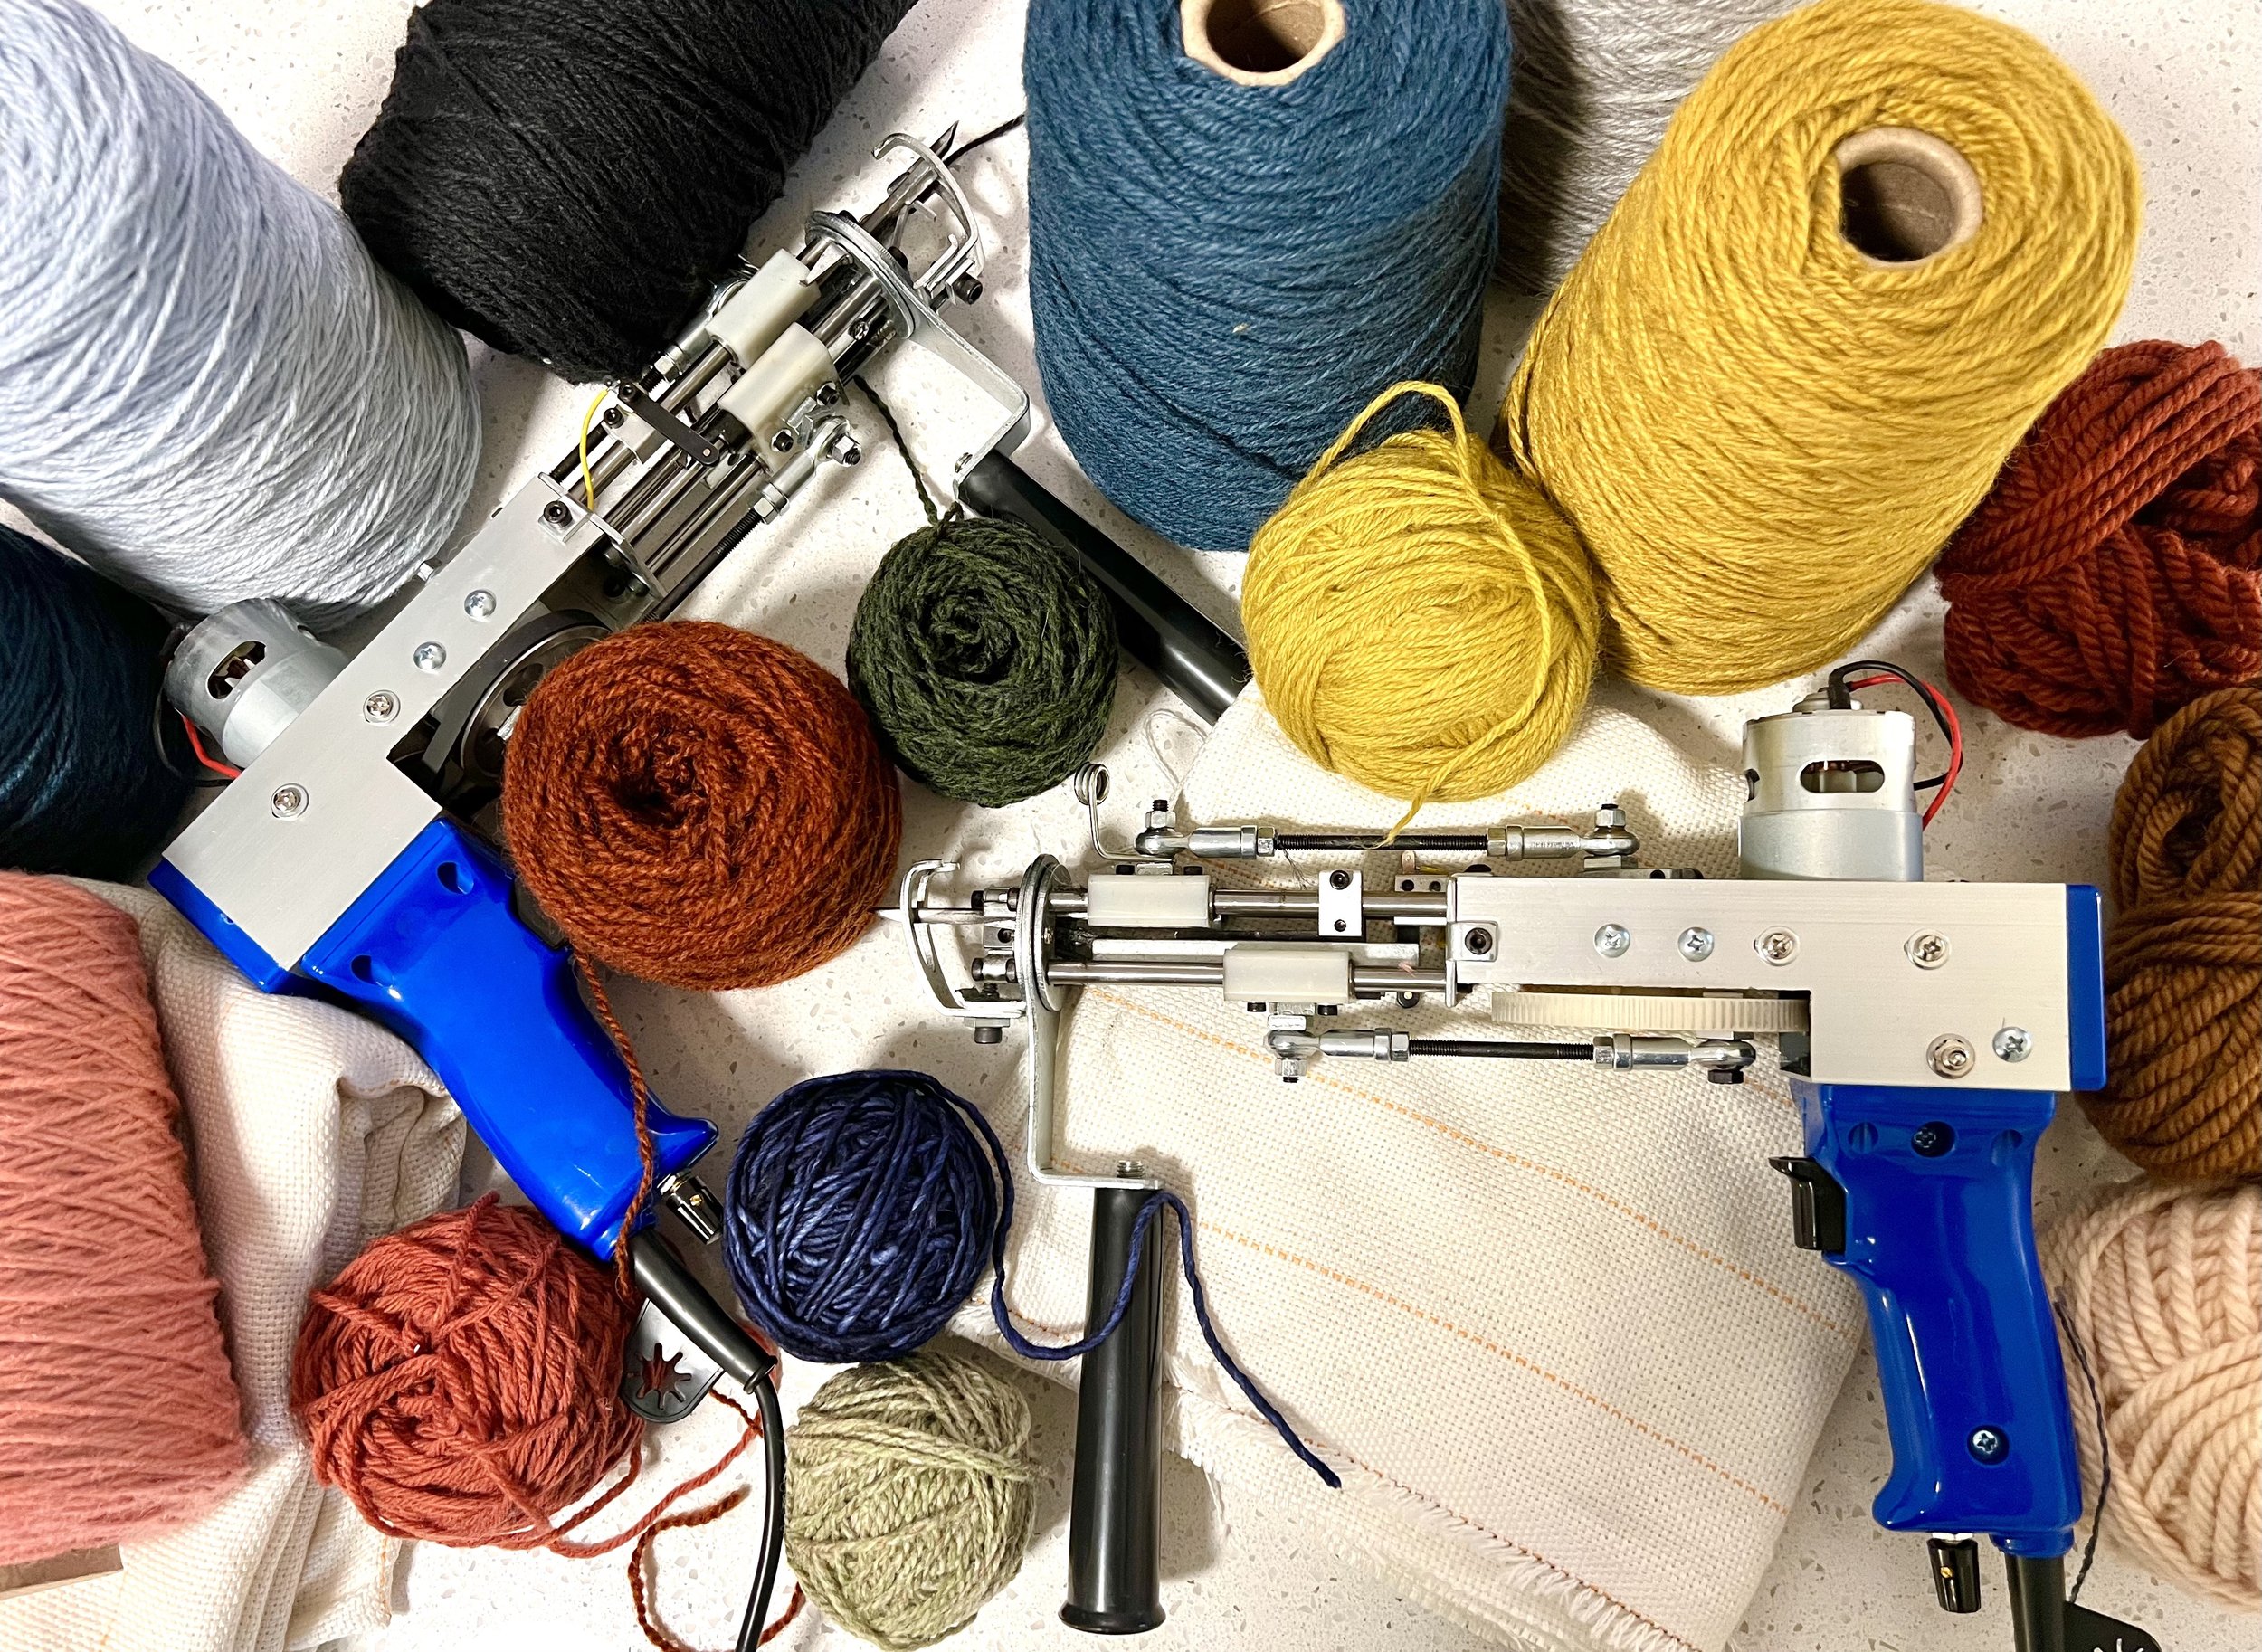
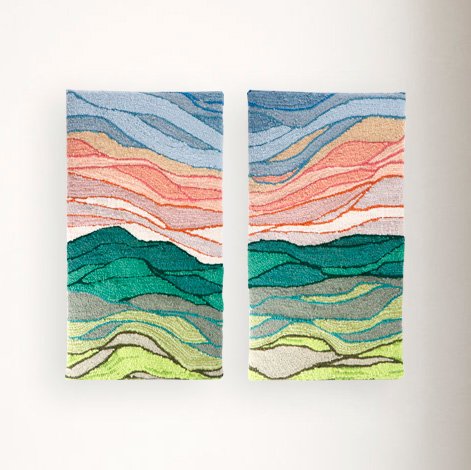
It's been well over 6 months since I picked up my tufting guns, but I'm so glad I did this summer. While this particular fiber art medium is still very new to me, I'm starting to get the hang of it and slowly developing my own style. 3 sets of tufted diptychs are ready to ship & hang in your home, and here's a time-lapse video showing a peek at the process. 

While learning to work in any new medium or figure out the nuances of using a new tool can take time (and lot of trial and error), it’s what keeps me going. I need to learn new things, always. Tufting seemed like the next logical step for me once I started expanding on my needle felting work and doing mixed media fiber art a few years back, but tufting has been a rocky road so far. I love that I can work larger and faster, but I am having a hard time accepting that the detail level that I’m able to achieve with punch needle, needle felting, and rug hooking, is just not going to be possible with a tufting gun (or at least not at my current skill level). I had to rethink my ideas and adjust accordingly.

Some of my other struggles when it comes to tufting are purely comfort-related. It’s a very physical art form - you are on your feet for hours and hours, the tufting guns are heavy and they take a toll on hands and wrists in a way hand-work doesn’t seem to effect me. Plus, it’s loud and messy, and I like to keep my studio neat, even though the whole point of a studio is to have a workspace where it’s totally acceptable to have a mess. It seems silly that these drawbacks are part of what’s kept me from tufting for half a year, but I’m just being honest.

I was considering selling my tufting guns and frame, I hadn’t used them in months, they were new and in good condition (and too expensive to just sit here and not be used). I wasn’t looking forward to setting up the frame and having whatever project take over my studio for days on end. Although I may eventually eliminate tufting from my studio I needed to give it another chance, a REAL chance, a chance to be it’s own thing and lead the way to a new style, a chance to change my expectations. It can’t do what I want it to do but it can do a lot of other very cool things. I need to embrace those things.

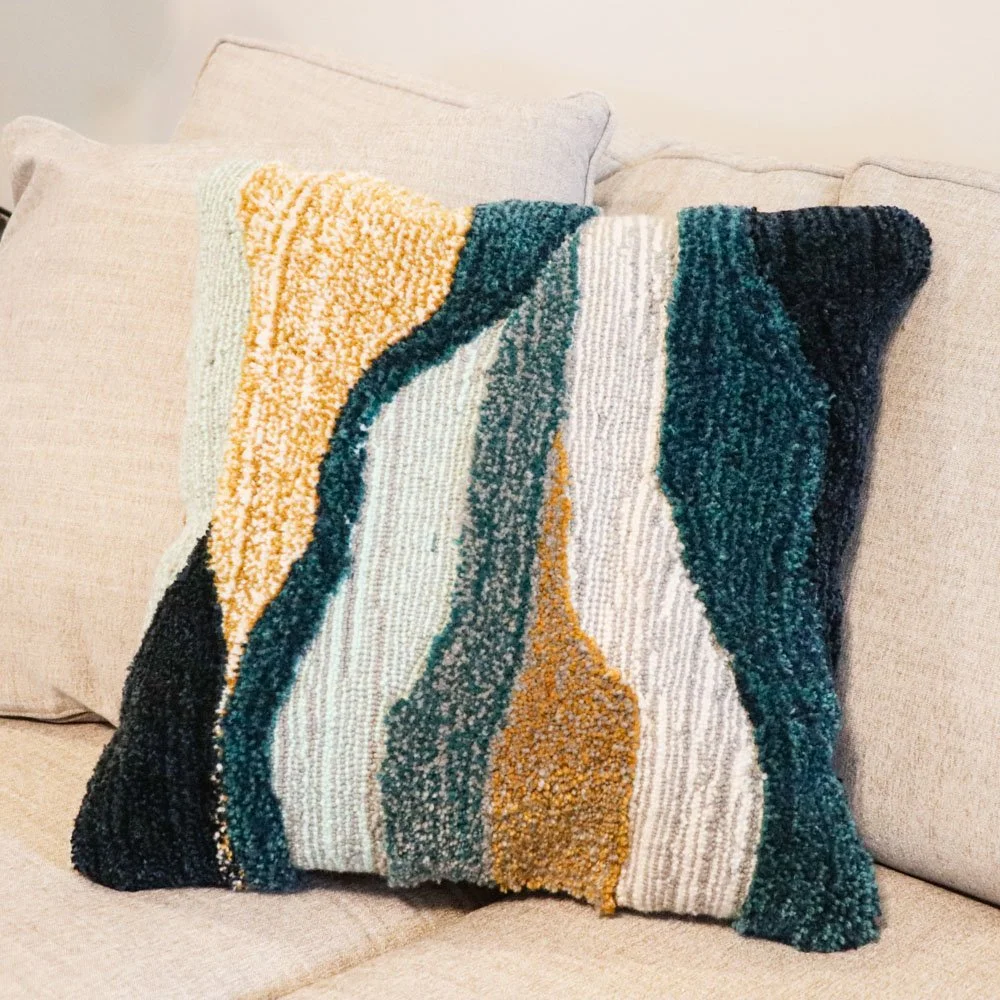
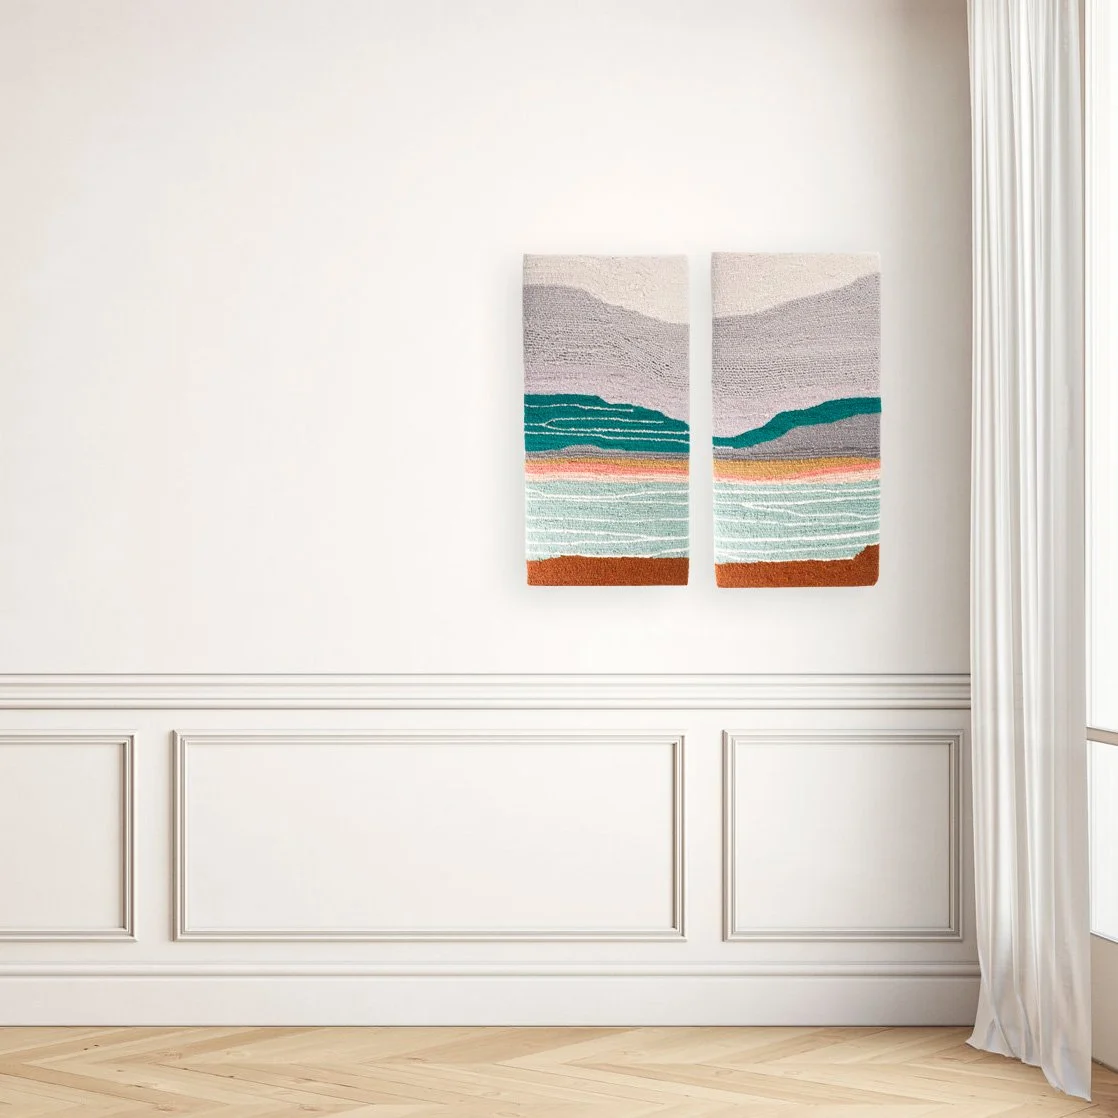
All 3 of these diptychs have a completely different style, though the subject matter is very similar. One is focused on two-tone gradients, one it’s very abstract and blocky, and the last has a bit of a stained glass or paint-by-number feel. I like all of them for different reasons, and it’s enough to push me to keep trying and keep tufting. I hope to add more tufted pieces to the website later this summer, but for now shop the small collection online.

Tufting My Heart Out

Back in July, when things were slowing down for the summer, I finally invested in something I’ve been wanting to try for years: tufting. My current body of fiber art keeps getting bigger in size & more and more textured. Plus, my background in commercial interior design has given me a major soft spot for textiles and carpet, so all of that seemed like the perfect combination of reasons to try out this new technique. However, by the time my tufting guns, frame, and materials arrived in early August, I was neck deep in commissions and fall season craft show prep. The box sat unopened in my studio until the week of Christmas, when I finally came up for air.

If you’re not familiar with tufting, it’s kind of like a sewing machine gun for making rugs (or art, or home decor, or whatever you can imagine). Yarn is threaded through the gun, and it pushes the yarn through the foundation fabric. A loop gun gets you tight loops, like you might see in commercial carpet. A “cut” gun gets you cut pile, which is what you probably have in your home (plush yarn fibers sticking straight up from the floor).

Learning something new is very exciting for me, and it’s so tricky to make time for these things, but it’s always worth it. I just recently got to try out my new glorious tools and it was worth the 6 month delay! I took an online training course last week and got started experimenting with the different guns and yarn options right away. Definitely a major learning curve coming from doing every little stitch by hand to a piece of machinery like this, but after a few practice pieces I finally got the hang of things. The gun is almost too fast, compared to what I’m used to, but one of the big reasons I wanted to try it was to be able to speed things up a little with my work. I’m not rushing things, I just dream BIG!

I have really enjoyed playing around with different yarn so far. Of course I started out only using the yarn that the instructor advised, but then once you learn the rules, you’re free to break them, right? Some yarn, like thick rug yarn i use for punch needle projects, works fine but only as a single ply. Thinner yarn, like the nylon I received as a donation from Milliken Floors earlier this year, works well as a 2 or 3 ply.

I LOVE all the possible textures you can achieve with different yarn types, plus changing between the loop and the cut pile guns. I haven’t worked up the nerve to adjust the loop and pile heights yet, but believe me, it’s on my list of things to try once I get comfy with the basics. Until then, I’m here tufting my heart out and enjoying learning something new. Where has this been all my life!?

Punching a Pillow

For the first time in a long time, I have room in my schedule for a personal project. Believe me, I’d much rather be out in the world doing craft shows, teaching workshops, and finding inspiration at a residency, but this pandemic had other plans for the spring season. But I’m certainly making the most of this time!

IMG_2925.jpg

I took a week-long rug hooking course at the John C. Campbell Folk School in the fall, but punch needle is something totally different (even though they’re both referred to as “rug hooking” in many circles). The traditional rug hooking I learned at the Folk School involved pulling up little strips of cut wool fabric (with a hooked tool) through primitive linen backgrounds, working from the back to the front. Punch needle, on the other hand, uses a large needle that’s threaded with yarn (or other material) and you push the needle through your fabric from the backside, creating loops on the frontside.

IMG_3013.JPG

As a beginner to both of these crafts, I have found punch needle techniques to be far more forgiving, and I think that has to do with using thick yarn. It fills out your piece more neatly, and you don’t have to constantly worry that your strips of fabric are getting twisted or if your loops are slightly different heights. Punching is also significantly faster so you see way more progress in the same amount of time compared to traditional rug hooking.

IMG_3468.JPG

I received Rose Pearlman’s “Modern Rug Hooking” book for Christmas and after reading through it, I was able to get right to work. I had tried to teach myself and make some pieces on my own before that, but was having trouble getting things to work. It was simple things I had wrong - I hadn’t purchased the right background fabric, the yarn I wanted to use was way too thin (or thick) for the punch needle I had, etc. However, after reading through the book, I could move on from all of those rookie mistakes.

IMG_3584.JPG

I’ve been dabbling in some mixed media fiber art pieces, combining traditional rug hooking with punching and even needle felting, so this was my first large scale project that’s created from 100% punch needle techniques. This accent pillow took about 10 hours of work and nearly $100 worth of yarn and other materials, so it’s not for sale (I don’t think anyone would pay that much for a pillow), but I really enjoyed making something just for myself, for my own enjoyment. I know once the pandemic is over and we get back into our busy lives, I would never have the time to invest in something like this, so I’m glad I was able to do this now during this slower season.

IMG_3588.JPG