Basketry Class at The Folk School

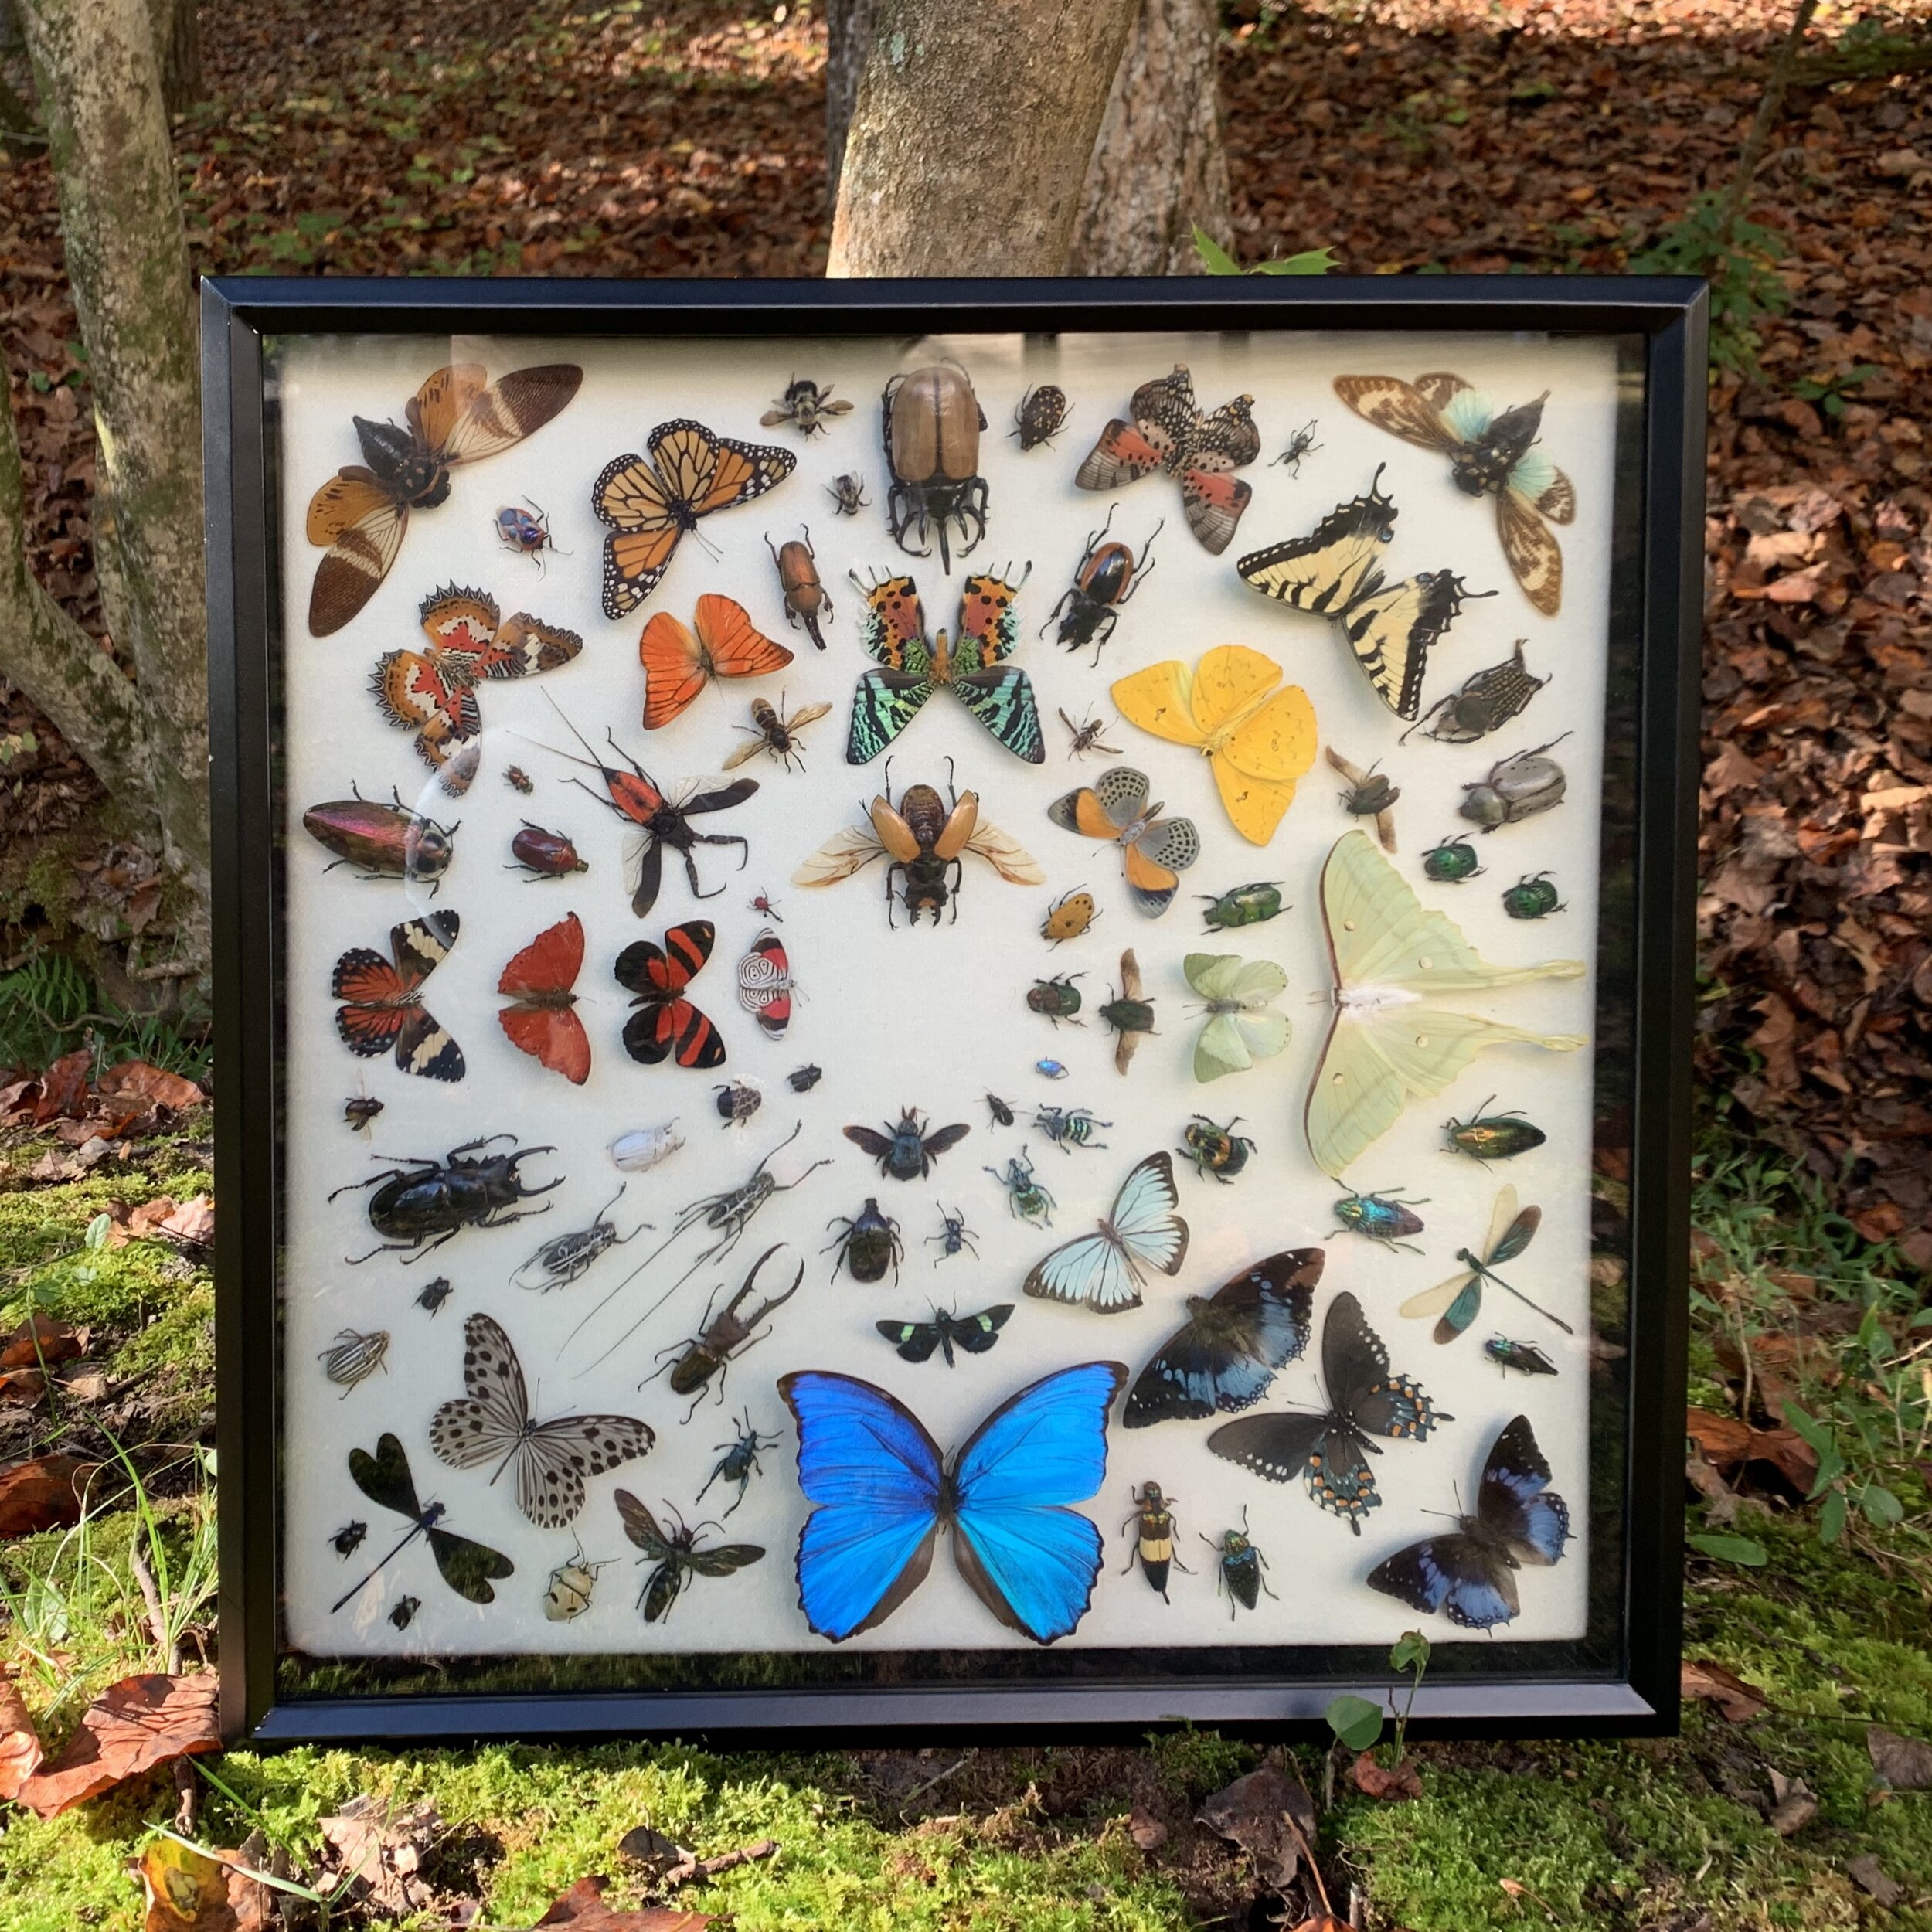
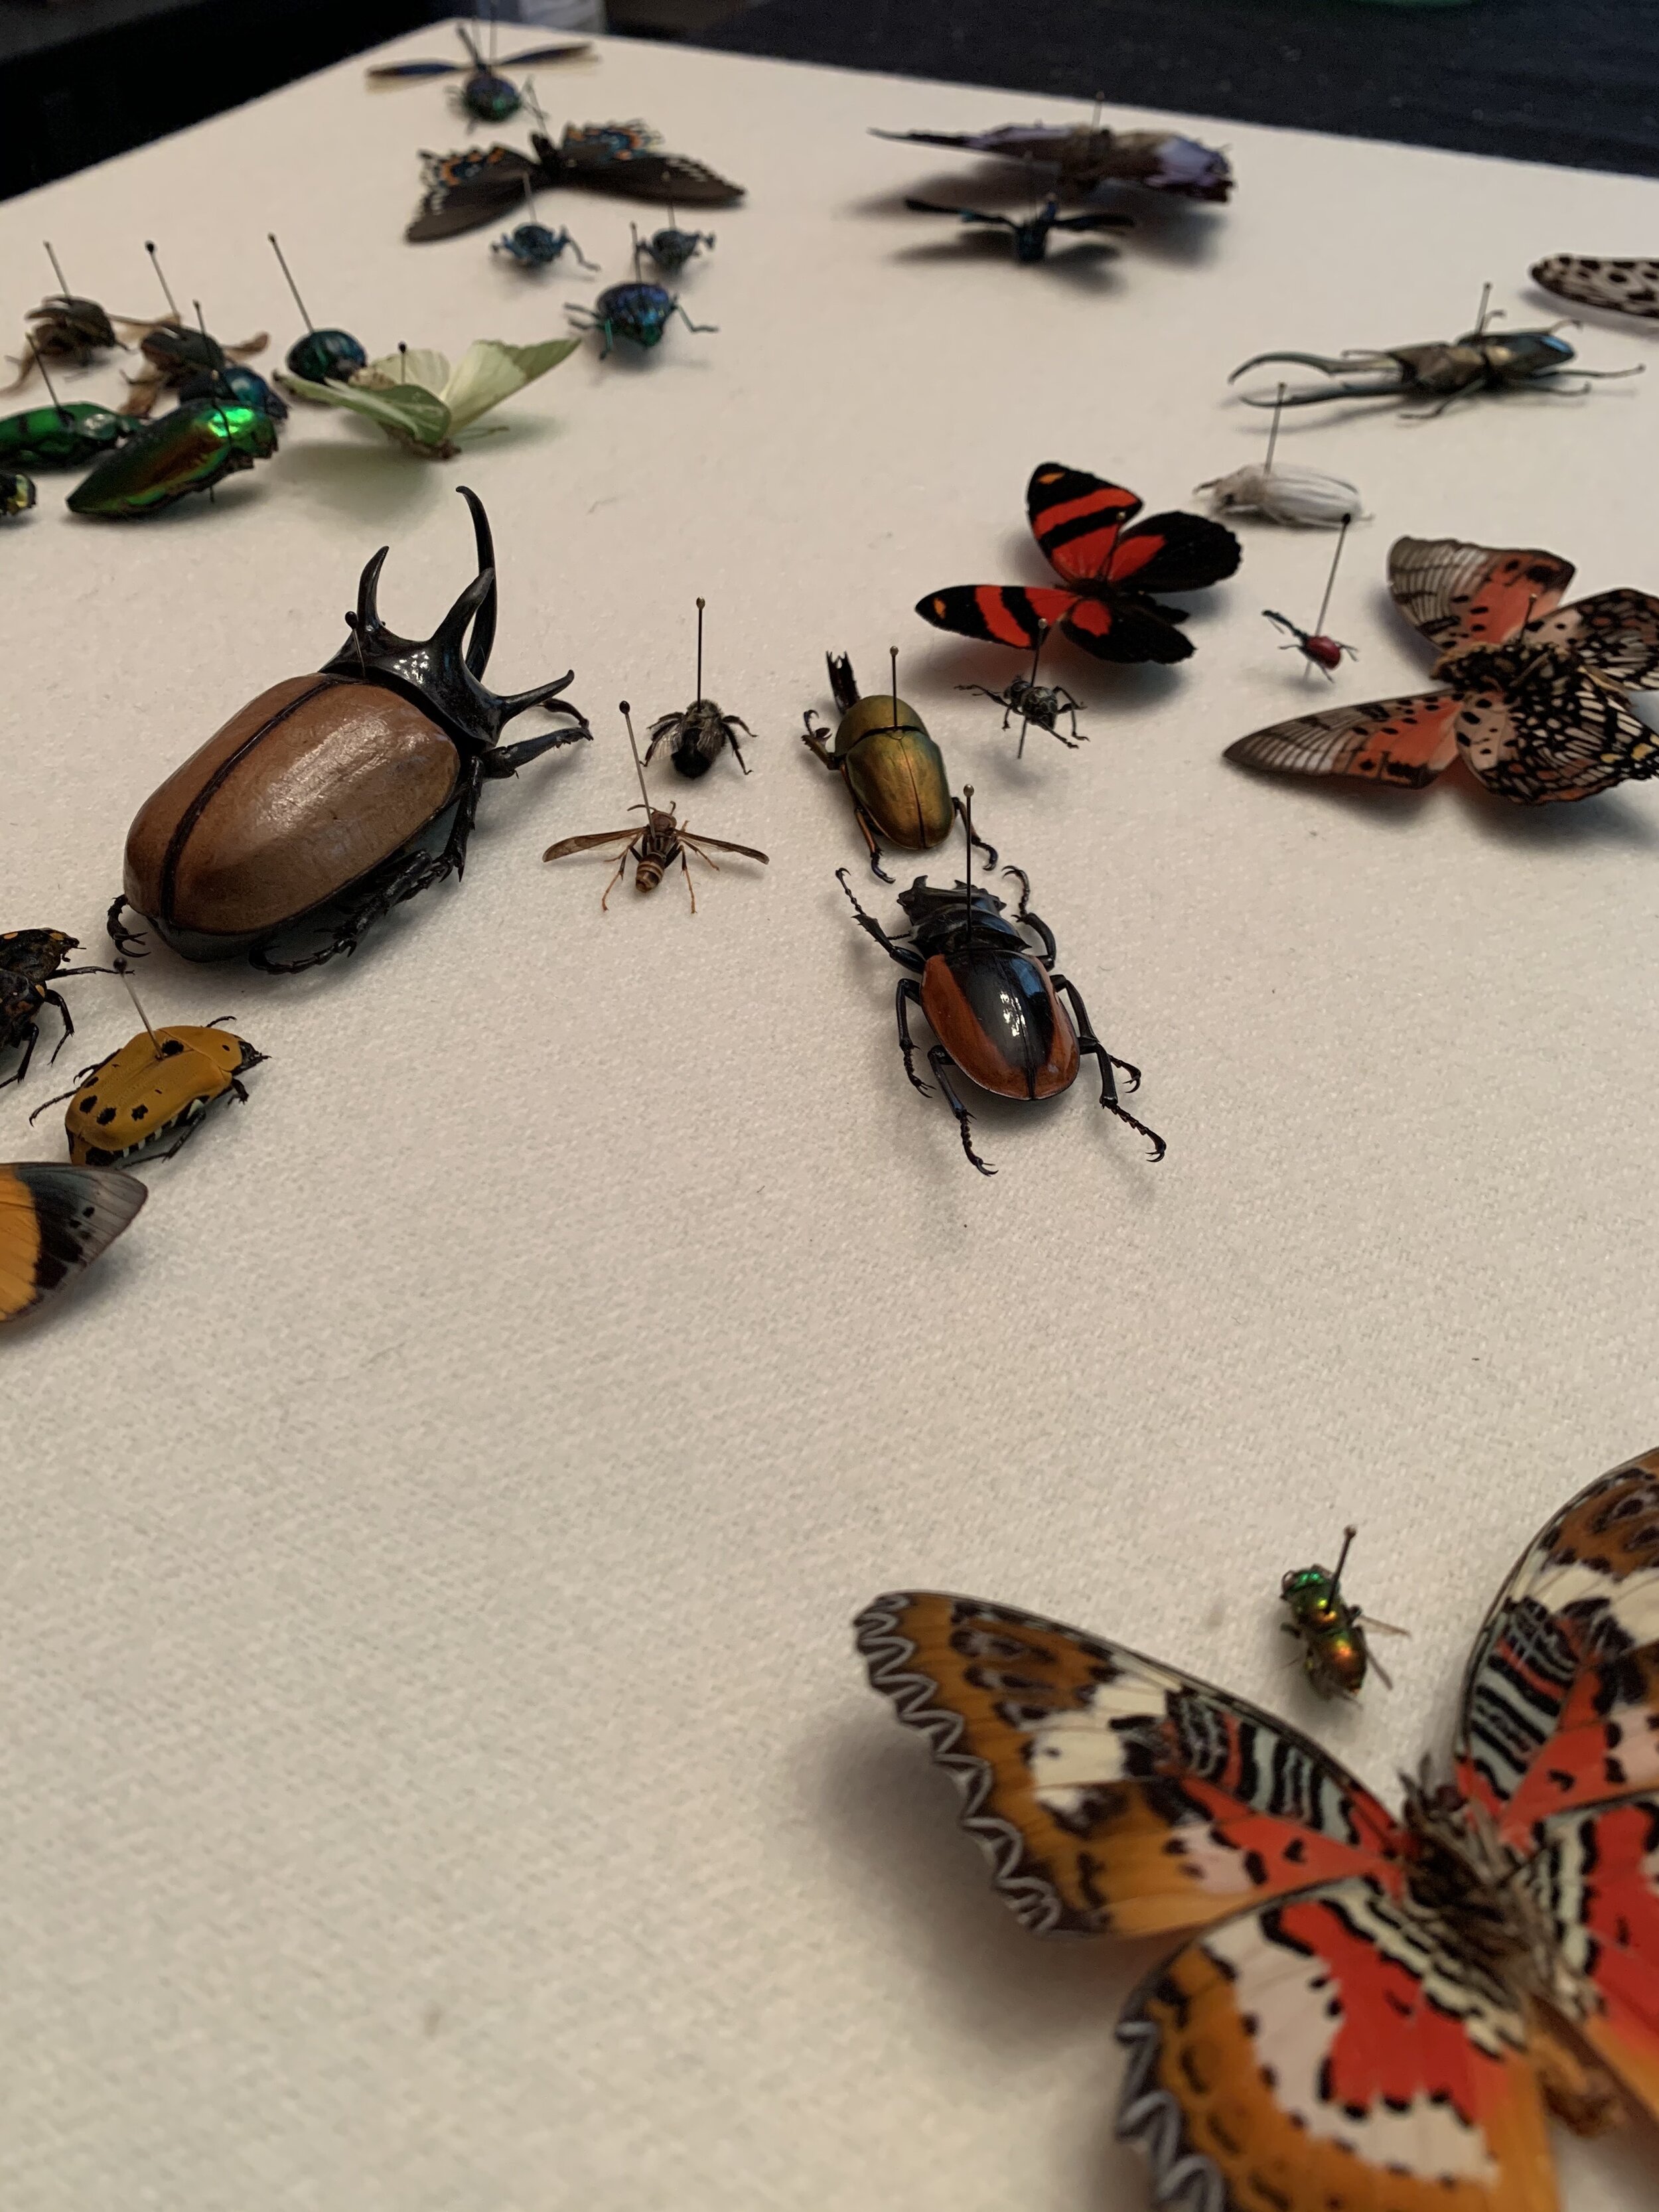
I recently returned to the John C. Campbell Folk School in Brasstown, NC, my third visit so far. This time around, I tried out yet another new medium: basketry. Not just any basketry, baskets woven with antlers! As an aspiring naturalist with an ever-growing collection of bones, this seemed like the perfect course for me.

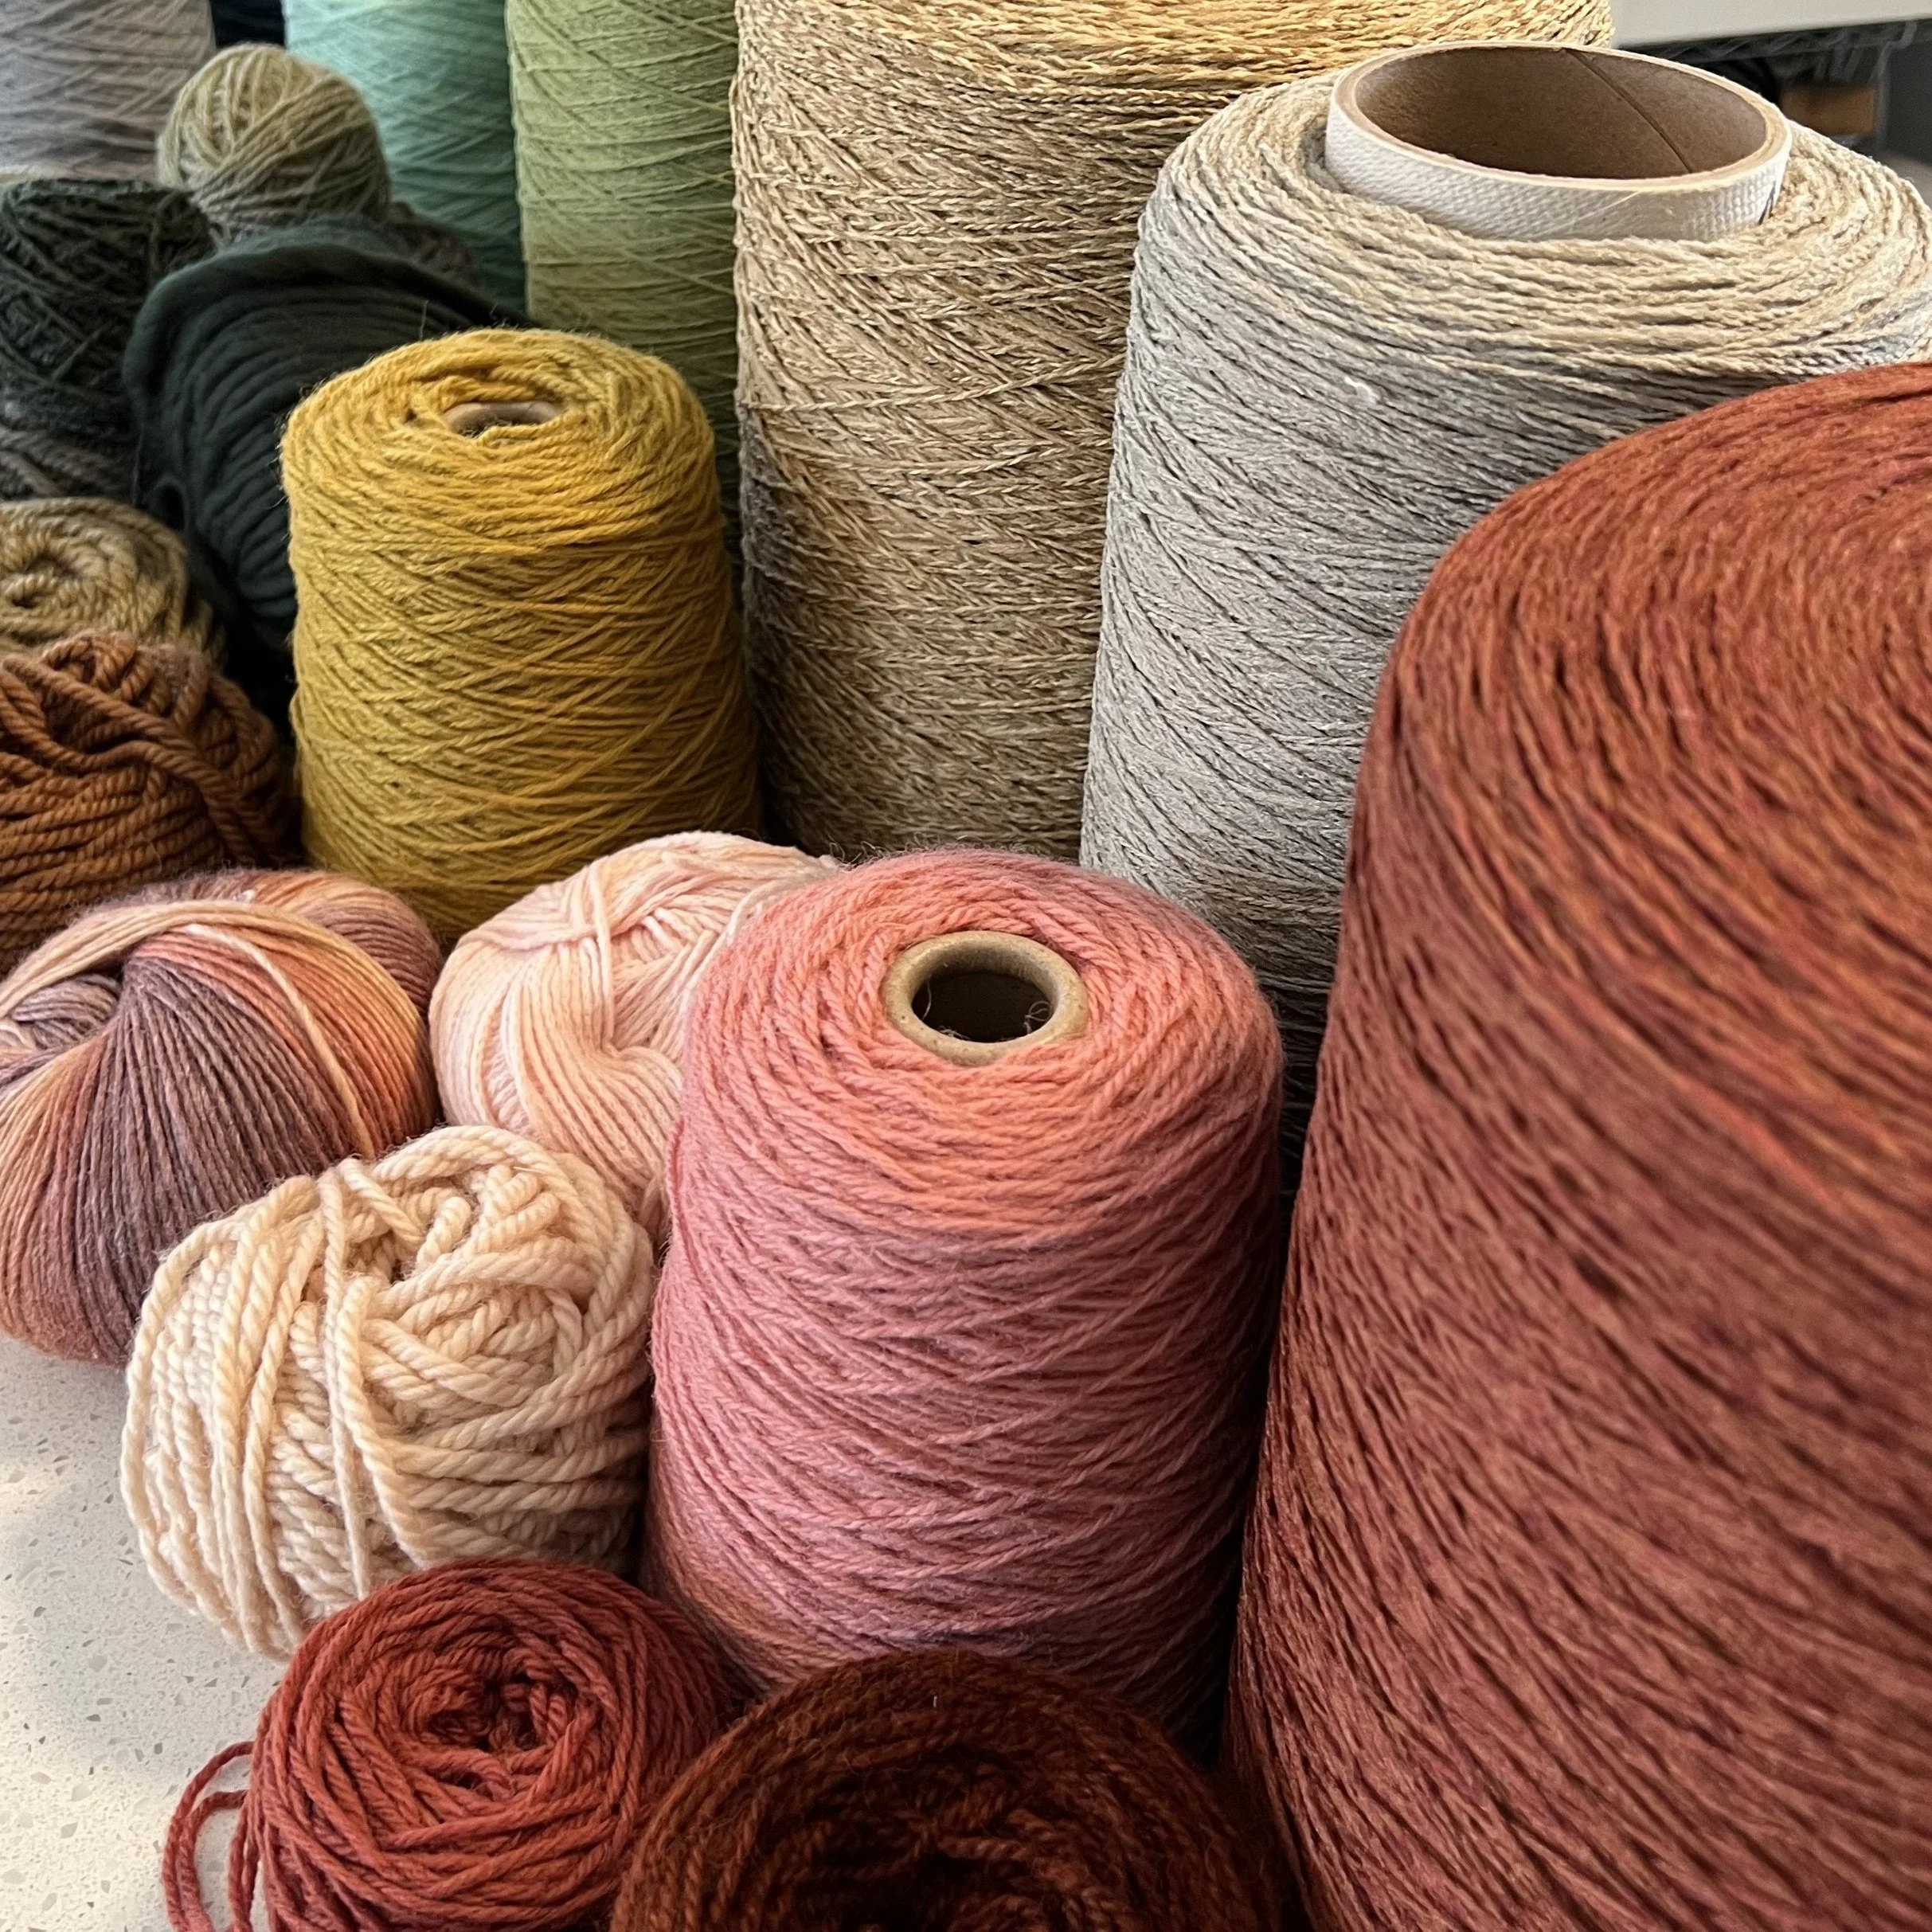
Although I work in many types of fiber mediums, I have no previous experience with basketry, but thanks to my talented instructor Mark Hendry and his assistant Scarlette Rouse, I had a wonderful week learning this new craft. During my week at the Folk School, I created 4 pieces (2 baskets, one tray, plus one sculptural “thingy”), and tried out all sorts of weaving materials such as reed, seagrass, grapevine, and yarn.

There’s something truly magical about the Folk School and if you’ve never been, I highly encourage you to check it out at least once. Don’t wait until you retire, go now! Getting out of my usual routine and 100% absorbed in something new does really good things for my mental health. These “art-cations” are a great way to spend a week in a non-competitive learning environment, getting an intense and in depth crash course in your chosen medium (most of which are rooted in Appalachian culture) and I always lose track of time. It feels like I was there a year, and I mean that in the best possible way.

I’m not sure yet how I will incorporate my newly-learned basketry skills into my current work but I’m excited to find out!


Past posts about the John C. Campbell Folk School:
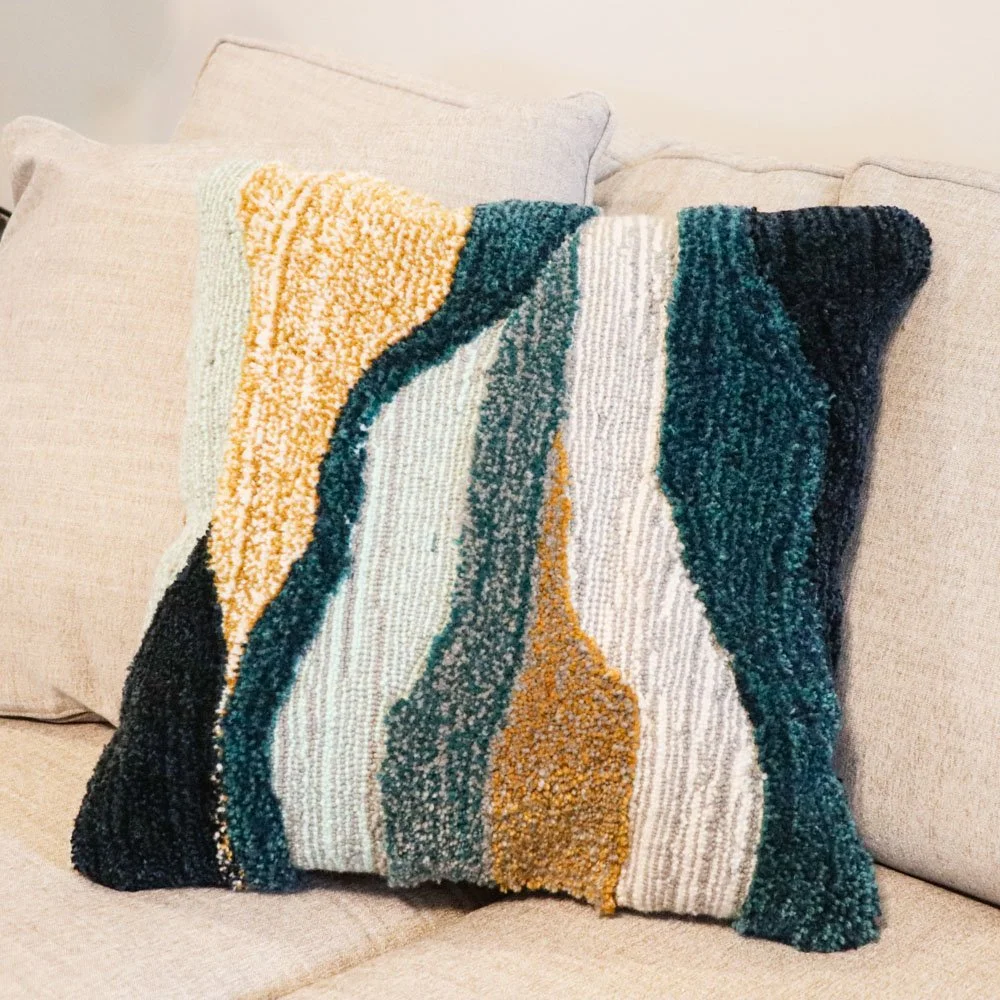
2019: Rug Hooking

2016: Metal Working

Tufted landscapes (and the struggle behind them)

It's been well over 6 months since I picked up my tufting guns, but I'm so glad I did this summer. While this particular fiber art medium is still very new to me, I'm starting to get the hang of it and slowly developing my own style. 3 sets of tufted diptychs are ready to ship & hang in your home, and here's a time-lapse video showing a peek at the process. 

While learning to work in any new medium or figure out the nuances of using a new tool can take time (and lot of trial and error), it’s what keeps me going. I need to learn new things, always. Tufting seemed like the next logical step for me once I started expanding on my needle felting work and doing mixed media fiber art a few years back, but tufting has been a rocky road so far. I love that I can work larger and faster, but I am having a hard time accepting that the detail level that I’m able to achieve with punch needle, needle felting, and rug hooking, is just not going to be possible with a tufting gun (or at least not at my current skill level). I had to rethink my ideas and adjust accordingly.

Some of my other struggles when it comes to tufting are purely comfort-related. It’s a very physical art form - you are on your feet for hours and hours, the tufting guns are heavy and they take a toll on hands and wrists in a way hand-work doesn’t seem to effect me. Plus, it’s loud and messy, and I like to keep my studio neat, even though the whole point of a studio is to have a workspace where it’s totally acceptable to have a mess. It seems silly that these drawbacks are part of what’s kept me from tufting for half a year, but I’m just being honest.

I was considering selling my tufting guns and frame, I hadn’t used them in months, they were new and in good condition (and too expensive to just sit here and not be used). I wasn’t looking forward to setting up the frame and having whatever project take over my studio for days on end. Although I may eventually eliminate tufting from my studio I needed to give it another chance, a REAL chance, a chance to be it’s own thing and lead the way to a new style, a chance to change my expectations. It can’t do what I want it to do but it can do a lot of other very cool things. I need to embrace those things.

All 3 of these diptychs have a completely different style, though the subject matter is very similar. One is focused on two-tone gradients, one it’s very abstract and blocky, and the last has a bit of a stained glass or paint-by-number feel. I like all of them for different reasons, and it’s enough to push me to keep trying and keep tufting. I hope to add more tufted pieces to the website later this summer, but for now shop the small collection online.

Needle Felting Workshops

Have you ever wanted to learn to needle felt? Now’s your chance! If you’re local to the Greenville SC area, I’ve got 3 upcoming in-person workshops scheduled for February 11, March 11, and May 20th. If you’re not local or those dates don’t work for you, I also have 2 virtual workshops through my website that are self-paced so you can do them whenever you like, and I also have kits available if you need supplies. Lastly, I offer private workshops and would be happy to host you (or a small group up to 8 people) in my home studio, or I can come to you. Contact me to discuss!

The first in-person class will be a 2D workshop on February 11th at Greenville Center for Creative Arts from 9-1pm. We’ll be creating hoop art that will feature a design of your choice (botanical, insect, animal, landscape, etc.) from dyed wool fiber. Working flat is a lot of fun and I look forward to showing you the ins and outs of working in 2D. The $75 fee includes all supplies needed for this workshop. No prior felting experience needed. Enroll here: Needle Felting in 2D | Greenville Center for Creative Arts (artcentergreenville.org)

Learn to needle felt a big, fancy very complicated-looking cactus garden. Once I break it down and show you the steps, it’s really not that complicated! No prior needle felting experience needed for this class either. Bring your own planter or pot and the rest of the supplies are covered in the $75 workshop fee. Workshop is at GCCA from 9-1 on March 11th. Enroll here: Needle Felted Cactus Garden | Greenville Center for Creative Arts (artcentergreenville.org)

My last in-person public workshop is May 20th from 9-1pm, also at GCCA and you’ll learn to needle felt butterfly specimens that can be displayed in a frame. Bring your own shadow box display and the rest of the materials are covered in the $75 workshop fee. Enroll here: Needle Felted Butterfly Box | Greenville Center for Creative Arts (artcentergreenville.org)

Virtual workshops and supplies are available in the DIY section of my website.

The two pre-recorded virtual workshops are on my website and you can choose the 2D hoop art workshop or the cactus class. You’ll receive a link to the video content, plus a PDF packet with info about supplies. If you already have your own supplies, great! If not, yon can purchase through my website or from the shops listed in the resource section of the packet you’ll receive.

Tufting My Heart Out

Back in July, when things were slowing down for the summer, I finally invested in something I’ve been wanting to try for years: tufting. My current body of fiber art keeps getting bigger in size & more and more textured. Plus, my background in commercial interior design has given me a major soft spot for textiles and carpet, so all of that seemed like the perfect combination of reasons to try out this new technique. However, by the time my tufting guns, frame, and materials arrived in early August, I was neck deep in commissions and fall season craft show prep. The box sat unopened in my studio until the week of Christmas, when I finally came up for air.

If you’re not familiar with tufting, it’s kind of like a sewing machine gun for making rugs (or art, or home decor, or whatever you can imagine). Yarn is threaded through the gun, and it pushes the yarn through the foundation fabric. A loop gun gets you tight loops, like you might see in commercial carpet. A “cut” gun gets you cut pile, which is what you probably have in your home (plush yarn fibers sticking straight up from the floor).

Learning something new is very exciting for me, and it’s so tricky to make time for these things, but it’s always worth it. I just recently got to try out my new glorious tools and it was worth the 6 month delay! I took an online training course last week and got started experimenting with the different guns and yarn options right away. Definitely a major learning curve coming from doing every little stitch by hand to a piece of machinery like this, but after a few practice pieces I finally got the hang of things. The gun is almost too fast, compared to what I’m used to, but one of the big reasons I wanted to try it was to be able to speed things up a little with my work. I’m not rushing things, I just dream BIG!

I have really enjoyed playing around with different yarn so far. Of course I started out only using the yarn that the instructor advised, but then once you learn the rules, you’re free to break them, right? Some yarn, like thick rug yarn i use for punch needle projects, works fine but only as a single ply. Thinner yarn, like the nylon I received as a donation from Milliken Floors earlier this year, works well as a 2 or 3 ply.

I LOVE all the possible textures you can achieve with different yarn types, plus changing between the loop and the cut pile guns. I haven’t worked up the nerve to adjust the loop and pile heights yet, but believe me, it’s on my list of things to try once I get comfy with the basics. Until then, I’m here tufting my heart out and enjoying learning something new. Where has this been all my life!?

Working with Insects

IMG_2368.jpg

This spring, while everyone was stuck at home, everything was canceled, and most things were closed due to the pandemic, I found myself learning all sorts of new things. Trying out new mediums & hobbies gave me something to look forward to when there wasn’t much else going on. I learned to make gourmet popsicles, got into ice dying on my back porch, and my favorite new thing: insect art.

IMG_9273.JPG

I had been needle felting insects for years and launched several handmade bug collections in the spring and summer, and I suppose all that research, finding images of beautiful bugs to inspire my felted ones, led me to work with real specimens for the first time.

IMG_9205.JPG

There’s a lot more to insect art than I expected. First off, you’d think you can just walk around outside and find specimens easily enough, but that wasn’t the case for me. I did find many (already dead) specimens on hikes and walks, but they were rarely in good condition. I did get lucky a few times and was able to find and preserve a found beetle, bee, or butterfly, but I quickly realized I would need to find another source for insects if I wanted to create the large display piece I had in my head.

I was pleasantly surprised to find several reputable bug websites online and the colors, shapes and sizes of insects available was far more interesting than what I would be able to get by happenstance. The bugs can be ordered mounted or unmounted, and so I opted for the unmounted version and learned to do the rehydration and positioning of the specimen myself. It’s definitely an art! I broke off my fair share of legs and antenna on some of my earlier attempts, but I eventually got the hang of things.

IMG_7931.jpg

This short video shows the process of working with real insect specimens. Although I read my fair share of how-to articles on preserving and mounting insects and there are so many different tips and tricks out there if you’re interested in working with bugs. BIcsBugs.com is a great resource for buying specimens and InsectArt on Etsy is as well.