Working with Insects

IMG_2368.jpg

This spring, while everyone was stuck at home, everything was canceled, and most things were closed due to the pandemic, I found myself learning all sorts of new things. Trying out new mediums & hobbies gave me something to look forward to when there wasn’t much else going on. I learned to make gourmet popsicles, got into ice dying on my back porch, and my favorite new thing: insect art.

IMG_9273.JPG

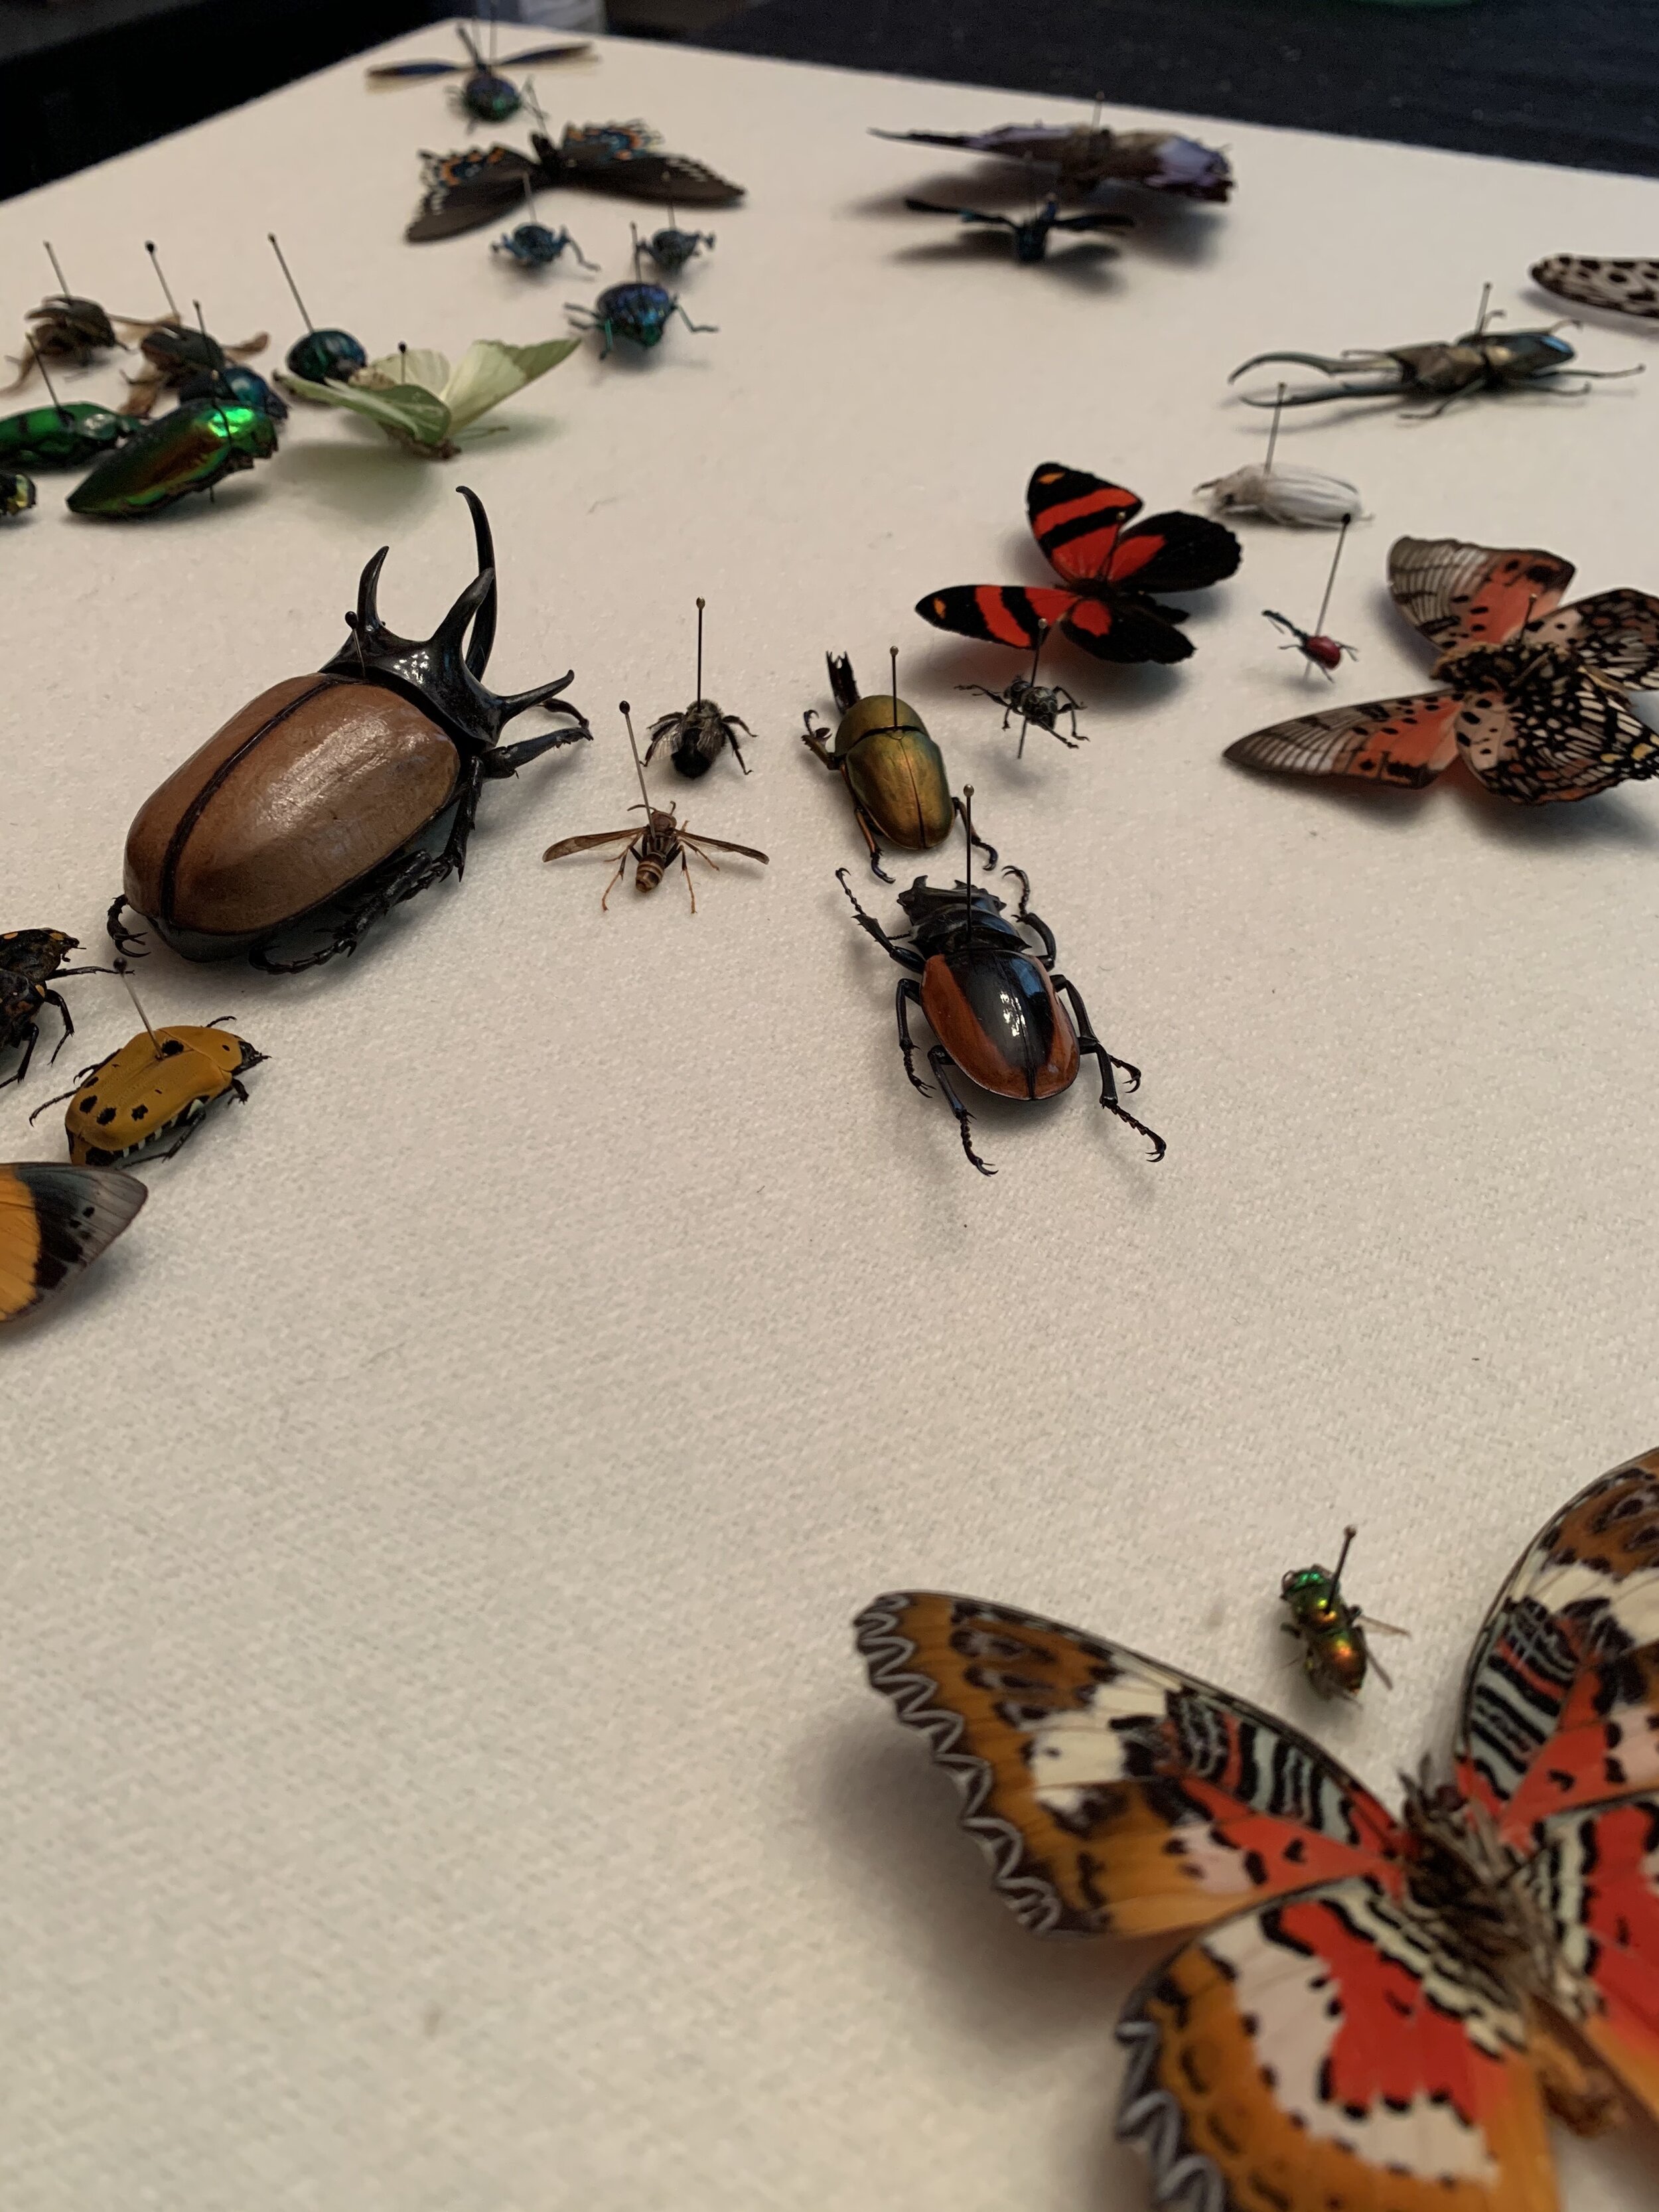
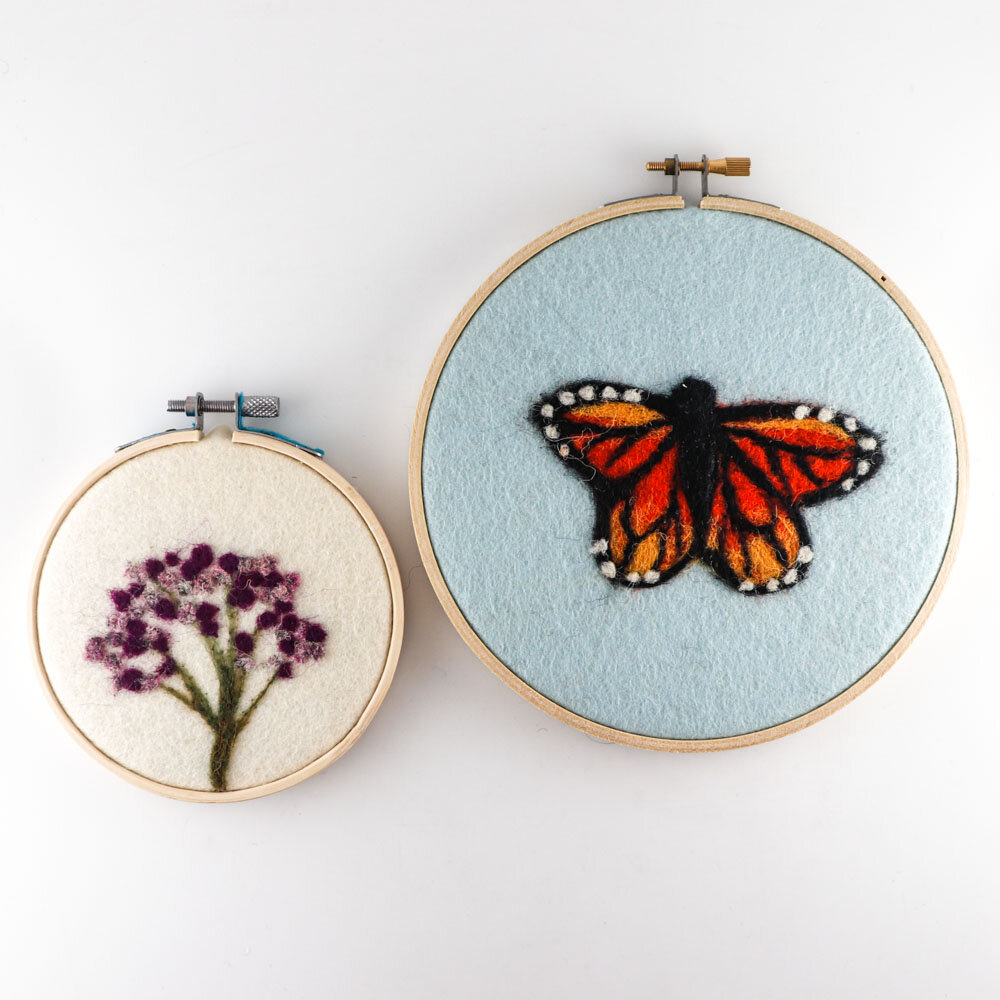
I had been needle felting insects for years and launched several handmade bug collections in the spring and summer, and I suppose all that research, finding images of beautiful bugs to inspire my felted ones, led me to work with real specimens for the first time.

IMG_9205.JPG

There’s a lot more to insect art than I expected. First off, you’d think you can just walk around outside and find specimens easily enough, but that wasn’t the case for me. I did find many (already dead) specimens on hikes and walks, but they were rarely in good condition. I did get lucky a few times and was able to find and preserve a found beetle, bee, or butterfly, but I quickly realized I would need to find another source for insects if I wanted to create the large display piece I had in my head.

I was pleasantly surprised to find several reputable bug websites online and the colors, shapes and sizes of insects available was far more interesting than what I would be able to get by happenstance. The bugs can be ordered mounted or unmounted, and so I opted for the unmounted version and learned to do the rehydration and positioning of the specimen myself. It’s definitely an art! I broke off my fair share of legs and antenna on some of my earlier attempts, but I eventually got the hang of things.

IMG_7931.jpg

This short video shows the process of working with real insect specimens. Although I read my fair share of how-to articles on preserving and mounting insects and there are so many different tips and tricks out there if you’re interested in working with bugs. BIcsBugs.com is a great resource for buying specimens and InsectArt on Etsy is as well.

Virtual Workshops

This has been months in the making, and I’m excited to finally share my first virtual workshops with you! I don’t know if or when I’ll be teaching again in-person this year due to the COVID-19 epidemic, so it was finally time to take my workshops to the virtual realm. Check out the new DIY section on my website!

OnceAgainSam5230.jpg

I have always had students who live in other states and countries who were never able to participate in my classes, and I’ve also had local students who just can’t make the in-person workshops work with their schedules, so I hope this new option will be a good thing for everyone.


The first two virtual workshops I’m offering are my 2 most popular classes - Needle Felted Succulents and 2D Hoop Art. Both of these classes are beginner level so no prior experience is required, but you’ll work up to a more advanced project by the time you go through the lessons. I’ll also show you everything you need to know about tools, materials, and techniques, plus I’ll share some tips and trips I learned the hard way when I first started needle felting in 2009.

If you prefer to purchase your own supplies, or you already have some, that’s totally fine! I’ll let you know what you need for each class. However, if you need to purchase materials, I have kits available on my website that have exactly what you’ll need to follow along with the workshop. Enroll in the workshops and shop supplies in the new DIY section on my website.

What other classes would you like to see me offering in the future? Leave your ideas in the comments below or send a message through the contact form. I would love to hear from you!

My Favorite Needle Felting Resources

Here it is, you hit the jackpot! This is a comprehensive list of my favorite needle felting supply resources that has been in the making since I started felting in 2009. I will update this list regularly so check back in the future in case I’ve come across any new stores, websites, or fiber festivals.

And of course if you know of some awesome needle felting resources and want to share, please do so in the comments below!

_MG_3446.jpg

Online suppliers:

I have been shopping at these first two websites since 2009 and get about 50% of my total yearly supplies from those two companies. They have consistent colors (and a huge assortment). They also carry needles, foam pads, and wool fabric. Kits are available as well. If you shop at the Felted Ewe, tell Tina that Once Again Sam sent you!

https://www.thefeltedewe.com/
https://www.weircrafts.com/
https://dorrmillstore.com/

https://bearcreekfelting.com/


Local Craft Stores:

Your local craft store may carry some needle felting supplies, but I find they're somewhat limited. They will most likely carry small 0.5 oz. bags of roving, which is fine for smaller projects. It’s a little more expensive to purchase this way, but if you’re just starting out and want to try out a few colors before you load up your craft room with pounds and pounds of roving, this is a perfectly fine way to go.

Craft stores often have combo packs of different roving colors and usually an assorted pack of needles as well. If you like to work from kits, they’re bound to have some of those too!
Micheals

Hobby Lobby

Joann Fabrics

Regional Supply Stores:

Both of these stores have roving by the ounce, which is fantastic. You just pull off the amount of the color you want, they weigh it, and you pay for that amount. I wish I could buy all of my roving this way.

Asheville, North Carolina: Earth Guild

Newport, New Hampshire: Dorr Mill

Fiber Festivals:

If you happen to be in a state that has a wool festival, go check it out in person! It's well worth the drive. You can buy everything you'd ever dream of having for your needle felting journey, including a pet sheep if you’re so inclined (and I am, believe me…it’s just convincing my husband that we can have a sheep here in the suburbs).

Most of these festivals also have classes and demos available. I can’t say enough about them - they’re incredible! This is a quick video tour from my last time visiting the Southeastern Animal Fiber Fair (SAFF).

These are a few fiber fairs I have personally attended and highly recommend. 

North Carolina: SAFF (Southeastern Animal Fiber Fair): https://saffsite.org/

North Carolina: Carolina Fiber Fest http://www.carolinafiberfest.org/

Maryland: The Maryland Sheep & Wool Festival ​​​​​​​https://sheepandwool.org/

OnceAgainSam6347.jpg

Here’s a peek at some needle felting terminology, just so you know what you’re looking for (or googling). I wish I had know these terms when I first started out needle felting in 2009. I would have saved myself a lot of trouble!

Terminology:

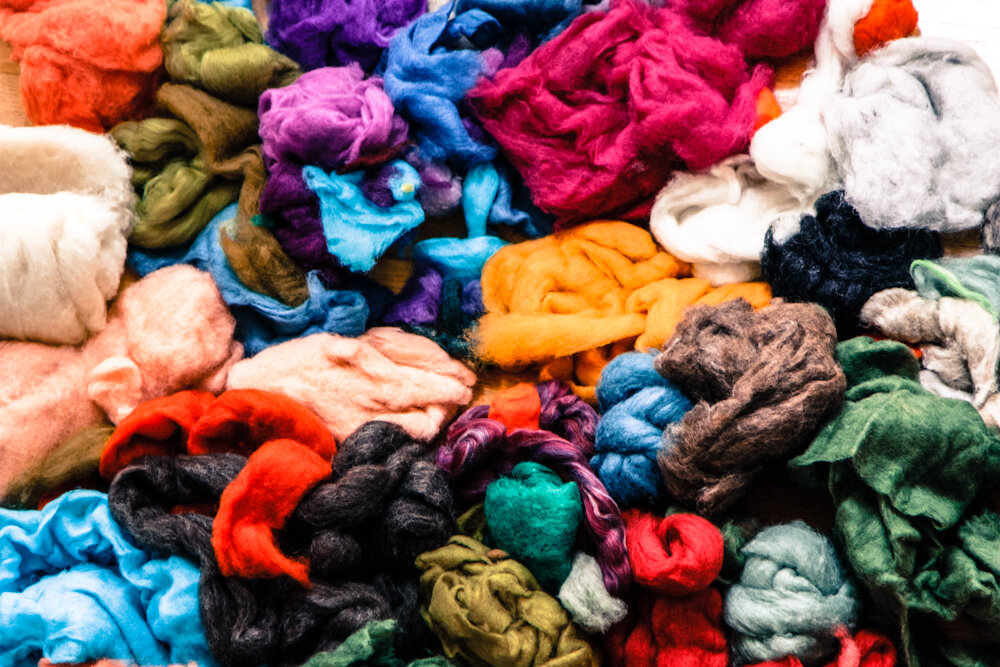
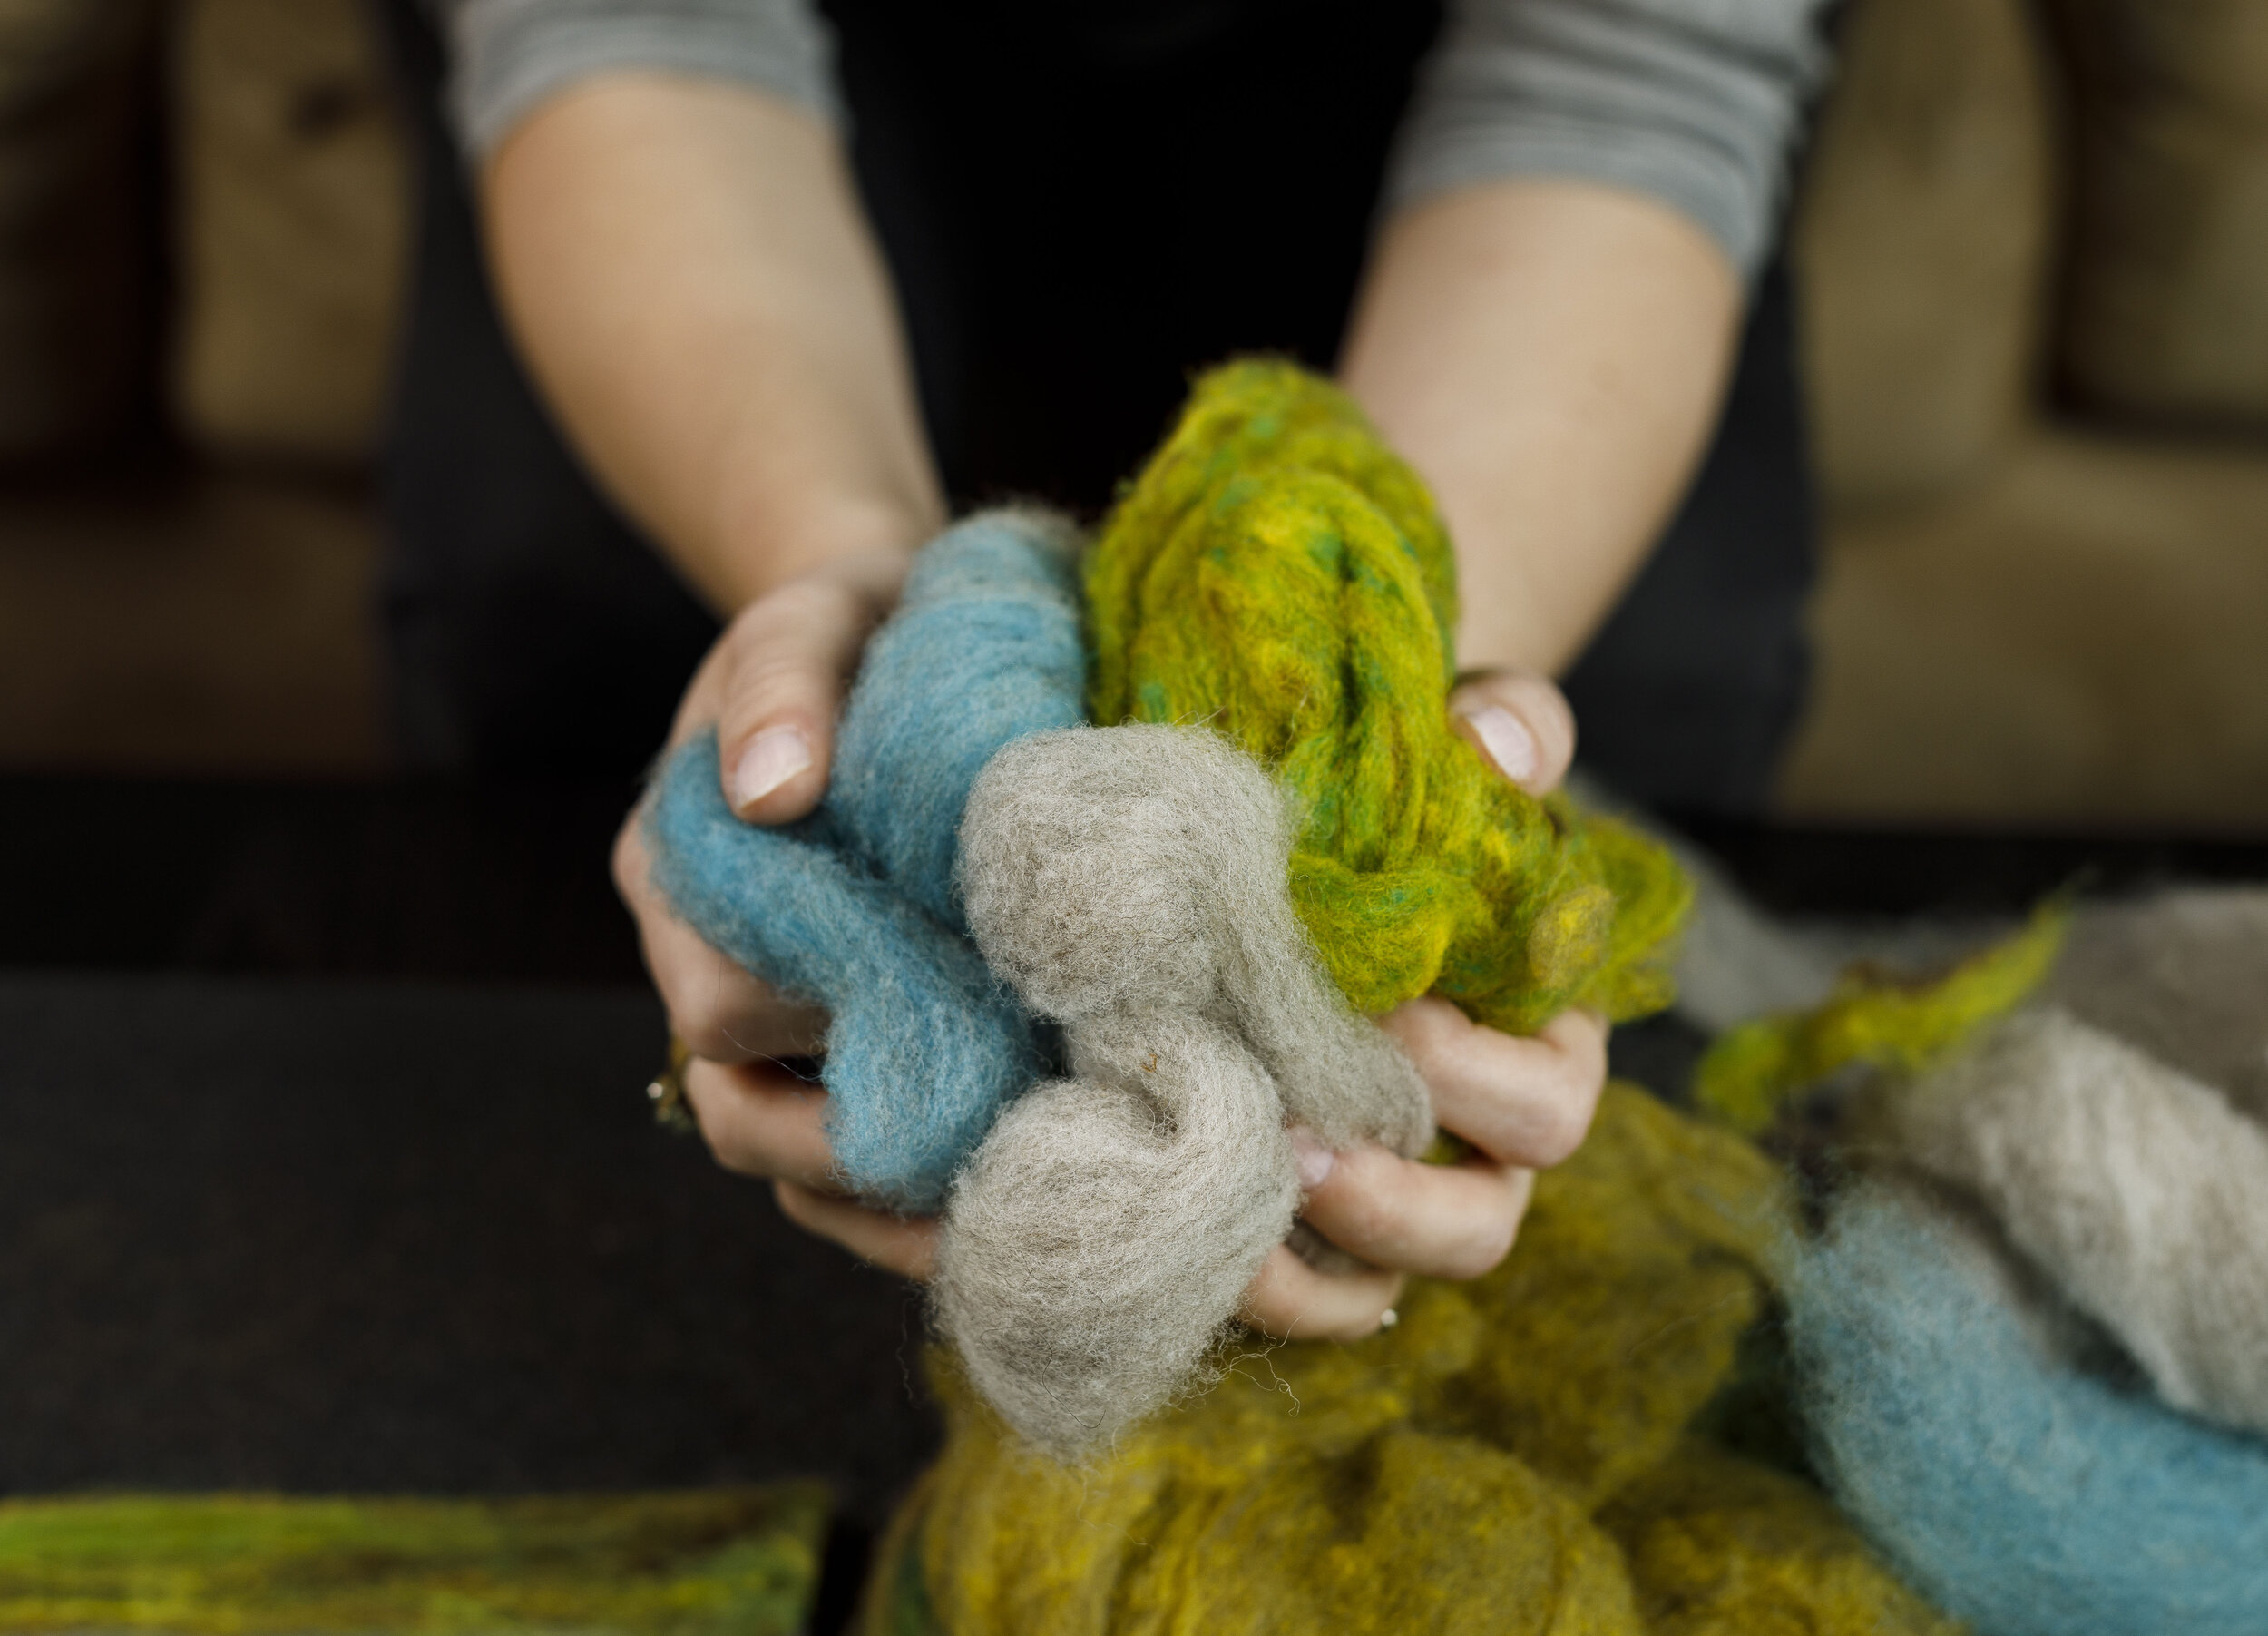
Roving: wool fiber which has been cleaned, combed, and dyed. It’s used for the top layer in needle felting. Roving usually comes in a long “rope” that’s rolled into a ball. 


Batt or Core fiber: wool fiber that has been cleaned and can be dyed (though it can also be natural since it’s going to be covered up with roving). It’s used for building up a 3D shape and is typically fluffier than roving, so it’s great for adding bulk.  


Raw Fleece or “Locks”: unprocessed fiber that has maximum texture and curl. 

Photo by Eli Warren

Photo by Eli Warren

Types of Fiber:

You can felt with fiber from sheep, alpacas, and even rabbit fur & dog hair. My favorite fiber for needle felting is coarse sheep’s wool, specifically from Corriedale and Blue Faced Leicester breeds. 

Tools: 

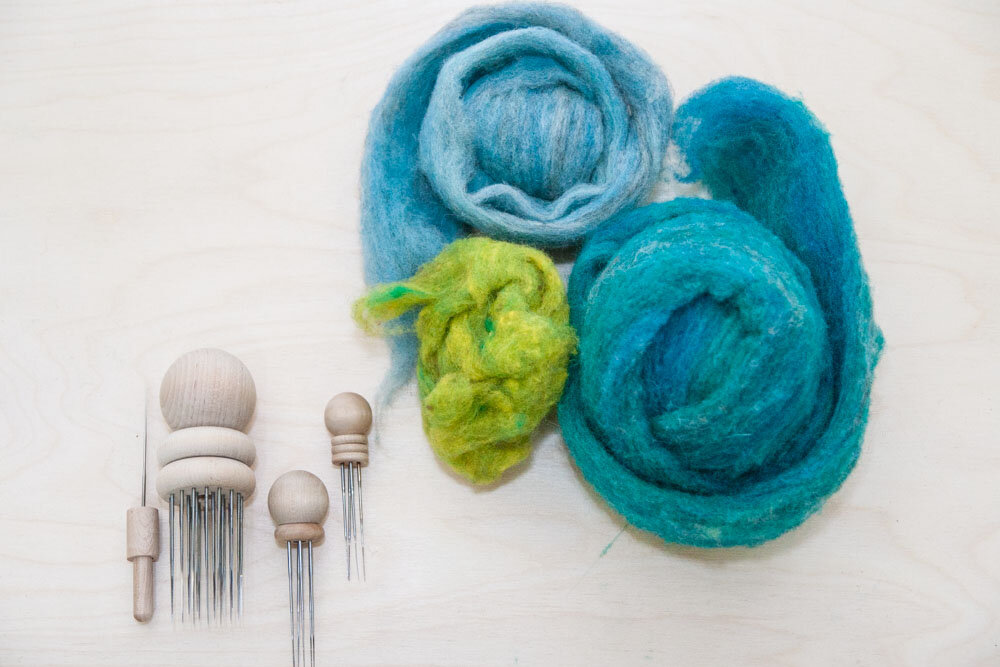
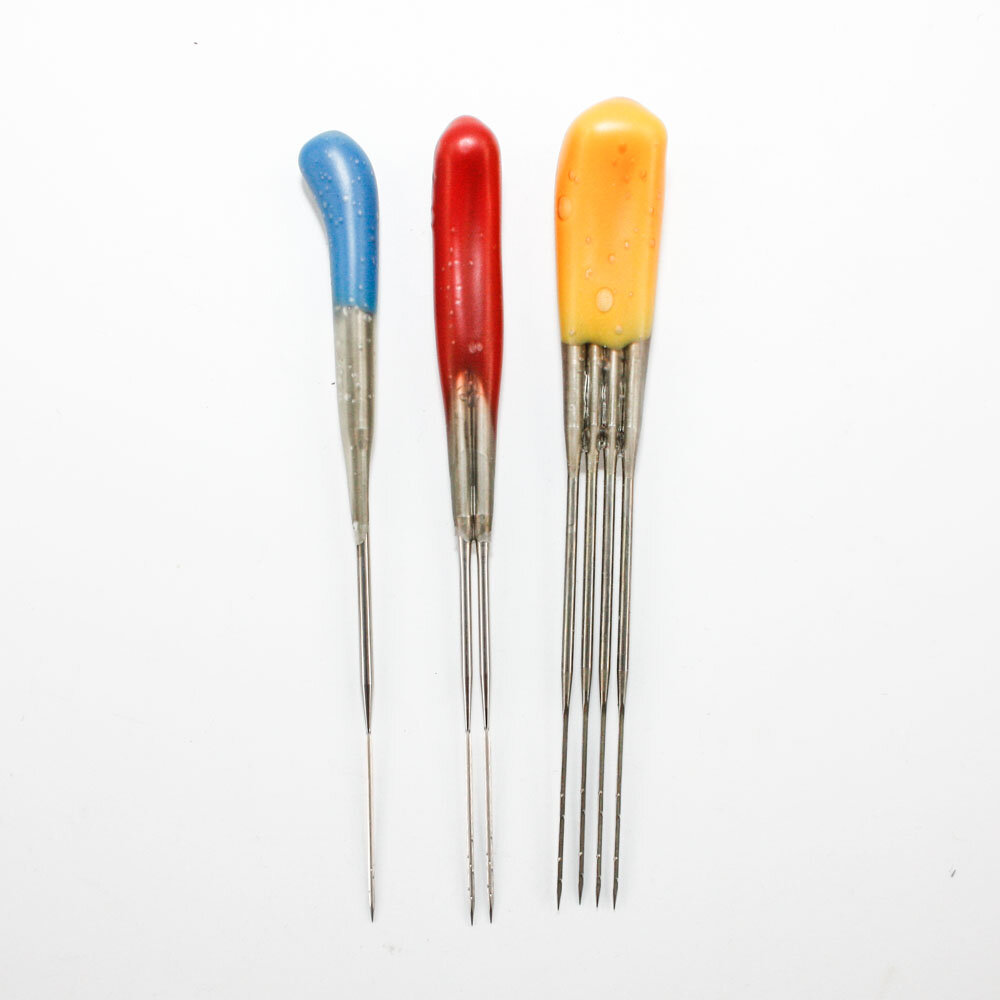
Needles: felting needles are specialized because they have tiny inverted barbs which agitate and pull the fiber tight with each poke. I usually stick with a 38 gauge needles. If you want a fine finishing needle, a 42 gauge is a good option, but these break very easily. Needles can come in a spiral, triangle, or star shape. I highly recommend using a spiral shape - the barbs are oriented in a twist around the needle shaft, and it helps grab more fiber every time you poke the needle into your workpiece. It’s a tiny short cut, but I love it!

OnceAgainSam2216.jpg

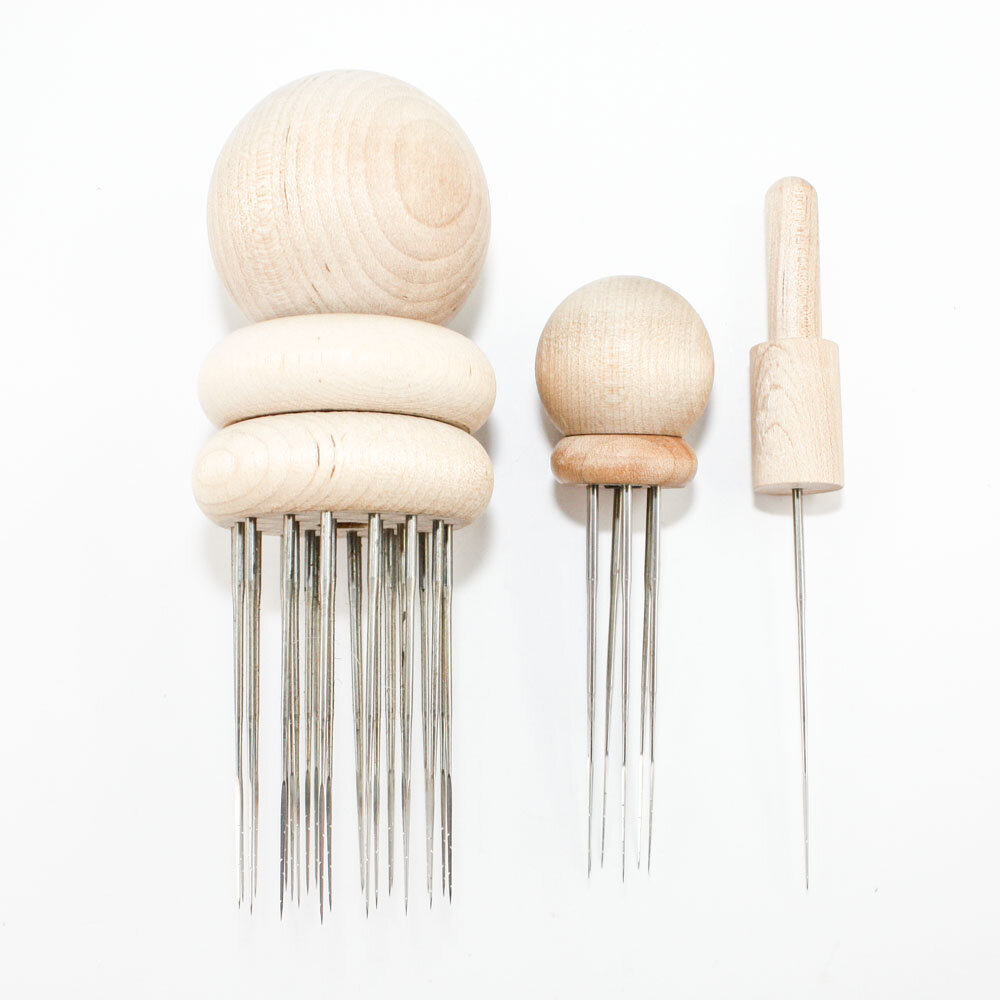
Needle Holders: You don’t technically have to have one, but they can be useful and make felting more comfortable. I use my single needle holder daily, my 4 needle holder regularly, and I have holders for 6, 12, and 24 needles as well, but don’t use them as often unless I’m working on something huge. 

OnceAgainSam2213.jpg

Feting pad: a dense foam worksurface you keep on your lap or table top while you felt. I recommend a felting pad that’s 2” thick. They come in many sizes - i have some that are 4x4, some that are 24x26, but I use my 8x10 the most. I also have a “felting pillow” I like from Bear Creak Felting & Design.

OnceAgainSam6286.jpg

I teach many workshops a year (and virtual courses too!) so if I can help you in your needle felting journey, please reach out. I love this medium and I hope you do too! Be sure to checkout some of my process videos on YouTube so you can see how this magical medium works.

OnceAgainSam5230.jpg

Punching a Pillow

For the first time in a long time, I have room in my schedule for a personal project. Believe me, I’d much rather be out in the world doing craft shows, teaching workshops, and finding inspiration at a residency, but this pandemic had other plans for the spring season. But I’m certainly making the most of this time!

IMG_2925.jpg

I took a week-long rug hooking course at the John C. Campbell Folk School in the fall, but punch needle is something totally different (even though they’re both referred to as “rug hooking” in many circles). The traditional rug hooking I learned at the Folk School involved pulling up little strips of cut wool fabric (with a hooked tool) through primitive linen backgrounds, working from the back to the front. Punch needle, on the other hand, uses a large needle that’s threaded with yarn (or other material) and you push the needle through your fabric from the backside, creating loops on the frontside.

IMG_3013.JPG

As a beginner to both of these crafts, I have found punch needle techniques to be far more forgiving, and I think that has to do with using thick yarn. It fills out your piece more neatly, and you don’t have to constantly worry that your strips of fabric are getting twisted or if your loops are slightly different heights. Punching is also significantly faster so you see way more progress in the same amount of time compared to traditional rug hooking.

IMG_3468.JPG

I received Rose Pearlman’s “Modern Rug Hooking” book for Christmas and after reading through it, I was able to get right to work. I had tried to teach myself and make some pieces on my own before that, but was having trouble getting things to work. It was simple things I had wrong - I hadn’t purchased the right background fabric, the yarn I wanted to use was way too thin (or thick) for the punch needle I had, etc. However, after reading through the book, I could move on from all of those rookie mistakes.

IMG_3584.JPG

I’ve been dabbling in some mixed media fiber art pieces, combining traditional rug hooking with punching and even needle felting, so this was my first large scale project that’s created from 100% punch needle techniques. This accent pillow took about 10 hours of work and nearly $100 worth of yarn and other materials, so it’s not for sale (I don’t think anyone would pay that much for a pillow), but I really enjoyed making something just for myself, for my own enjoyment. I know once the pandemic is over and we get back into our busy lives, I would never have the time to invest in something like this, so I’m glad I was able to do this now during this slower season.

IMG_3588.JPG

#CreativeSprint: A Half-Finished Challenge that was Wholly Worthwhile

For the month of April, I signed up to take part in a daily art challenge called #CreativeSprint, organized by Another Limited Rebellion. The idea of a daily assignment delivered to my inbox, intended to spark creativity and get me to try new things, sounded like something I would certainly enjoy, but also benefit from. The challenge promised to “pump up your creative muscles” but it was very open ended, you could take as much or as little time as you wanted for each assignment, and be as literal or abstract as you desired.

The daily assignments ranged from making something that fits in the palm of your hand, to working with your non-dominant hand, to making something inspired by a song. There were days when I knew right away what I would make as soon as I read the email, and other days I felt distracted for hours because I couldn’t come up with anything. All in all, it was a great mix of idea starters that really got my mind (and hands) working. Trying new things is something I enjoy, but don’t often make time for, and #CreativeSprint motivated me to do just that.

I was unable to keep up with the daily challenges once the Mother’s Day rush hit hard - I was simultaneously featured in Etsy’s Editors Picks, the front page of Etsy, and in Woman’s Day magazine, and received over 800 orders in only 3 weeks. Oh my goodness, never experienced anything like that before - it was awesome but it nearly killed me! I was overwhelmed, sick for several days, and had zero spare time for the second half of the month, but I kept the CreativeSprint challenge emails because even though I didn’t get to participate again after the 17th of April, those emails gave me ideas to try out later on.

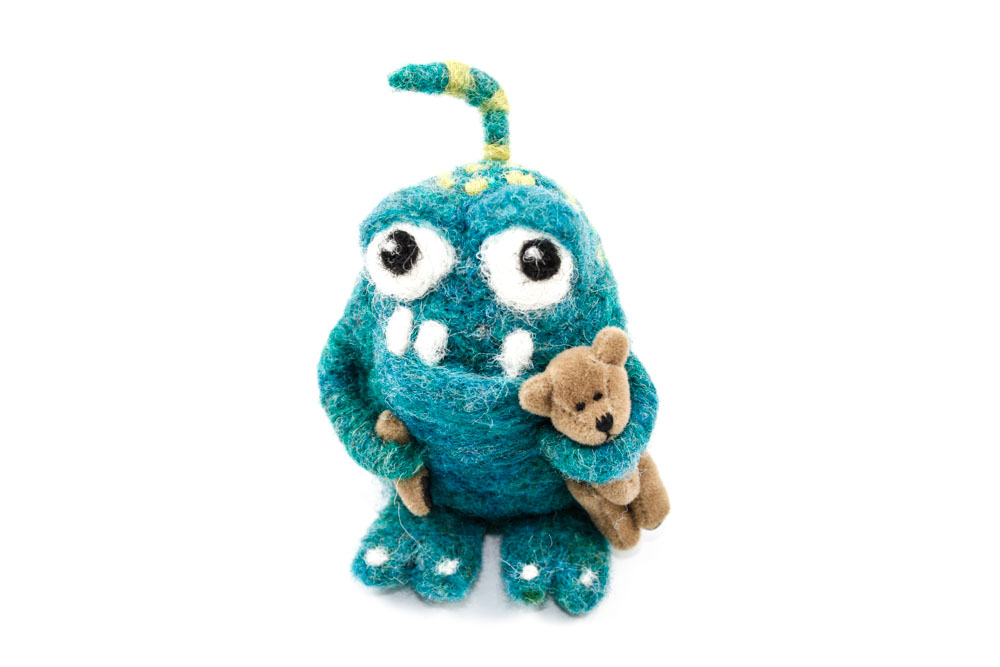
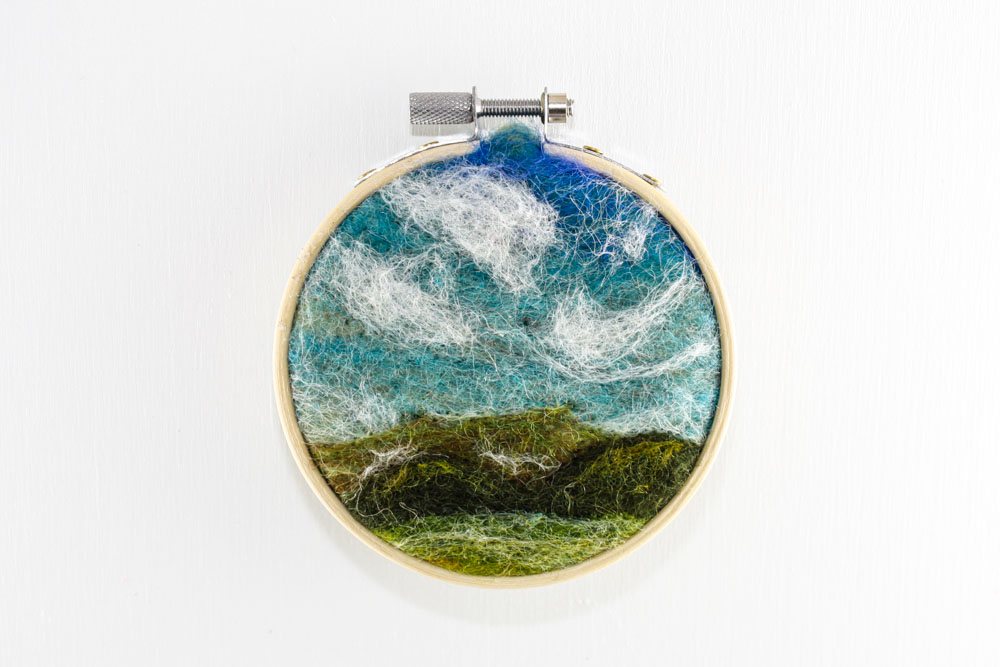
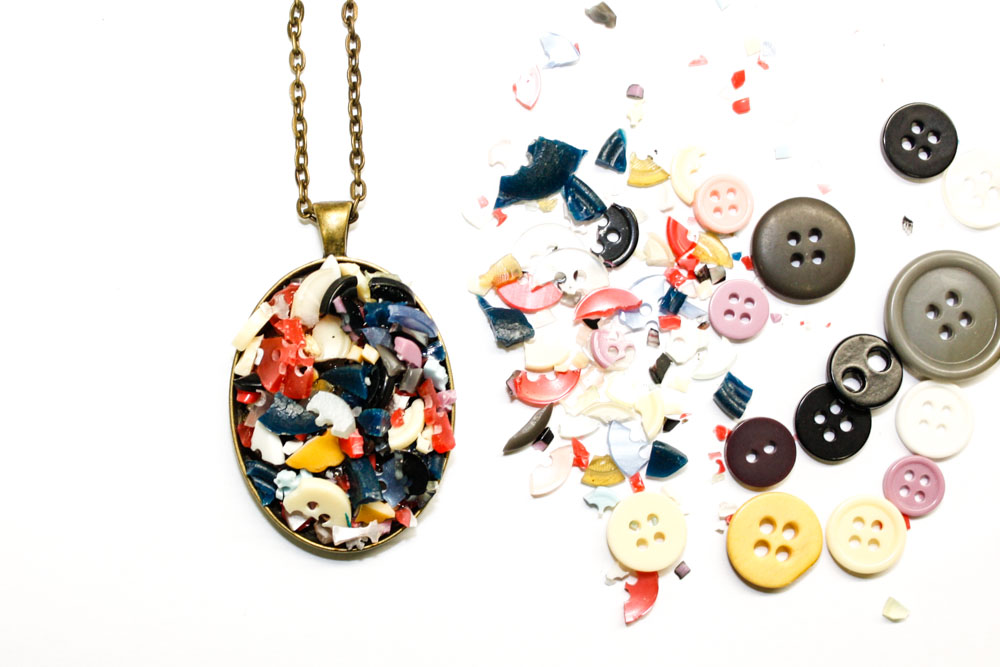
I almost forgot the best part / worst part: sharing whatever it was you made that day. Eek! Even the stupid stuff? Yep! Sharing my work was a little nerve wracking, because these pieces I made were just experiments and didn’t necessarily “go” with the rest of the work in my Instagram feed. They weren’t previously tested or perfectly photographed, but I enjoyed making every single one of them. I also enjoyed peeking at the #CreativeSprint hashtag at the end of the day to see what other participants did. Lots of talent and creating thinking out there!   

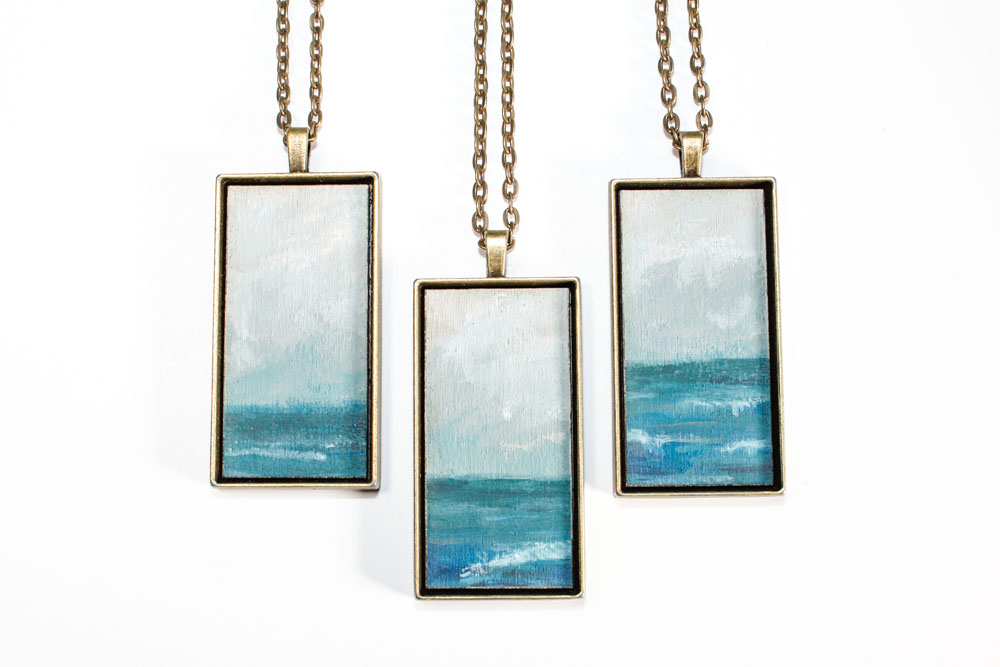
Click through the gallery below for a closer look at some of my favorite creations.