Working with Insects

IMG_2368.jpg

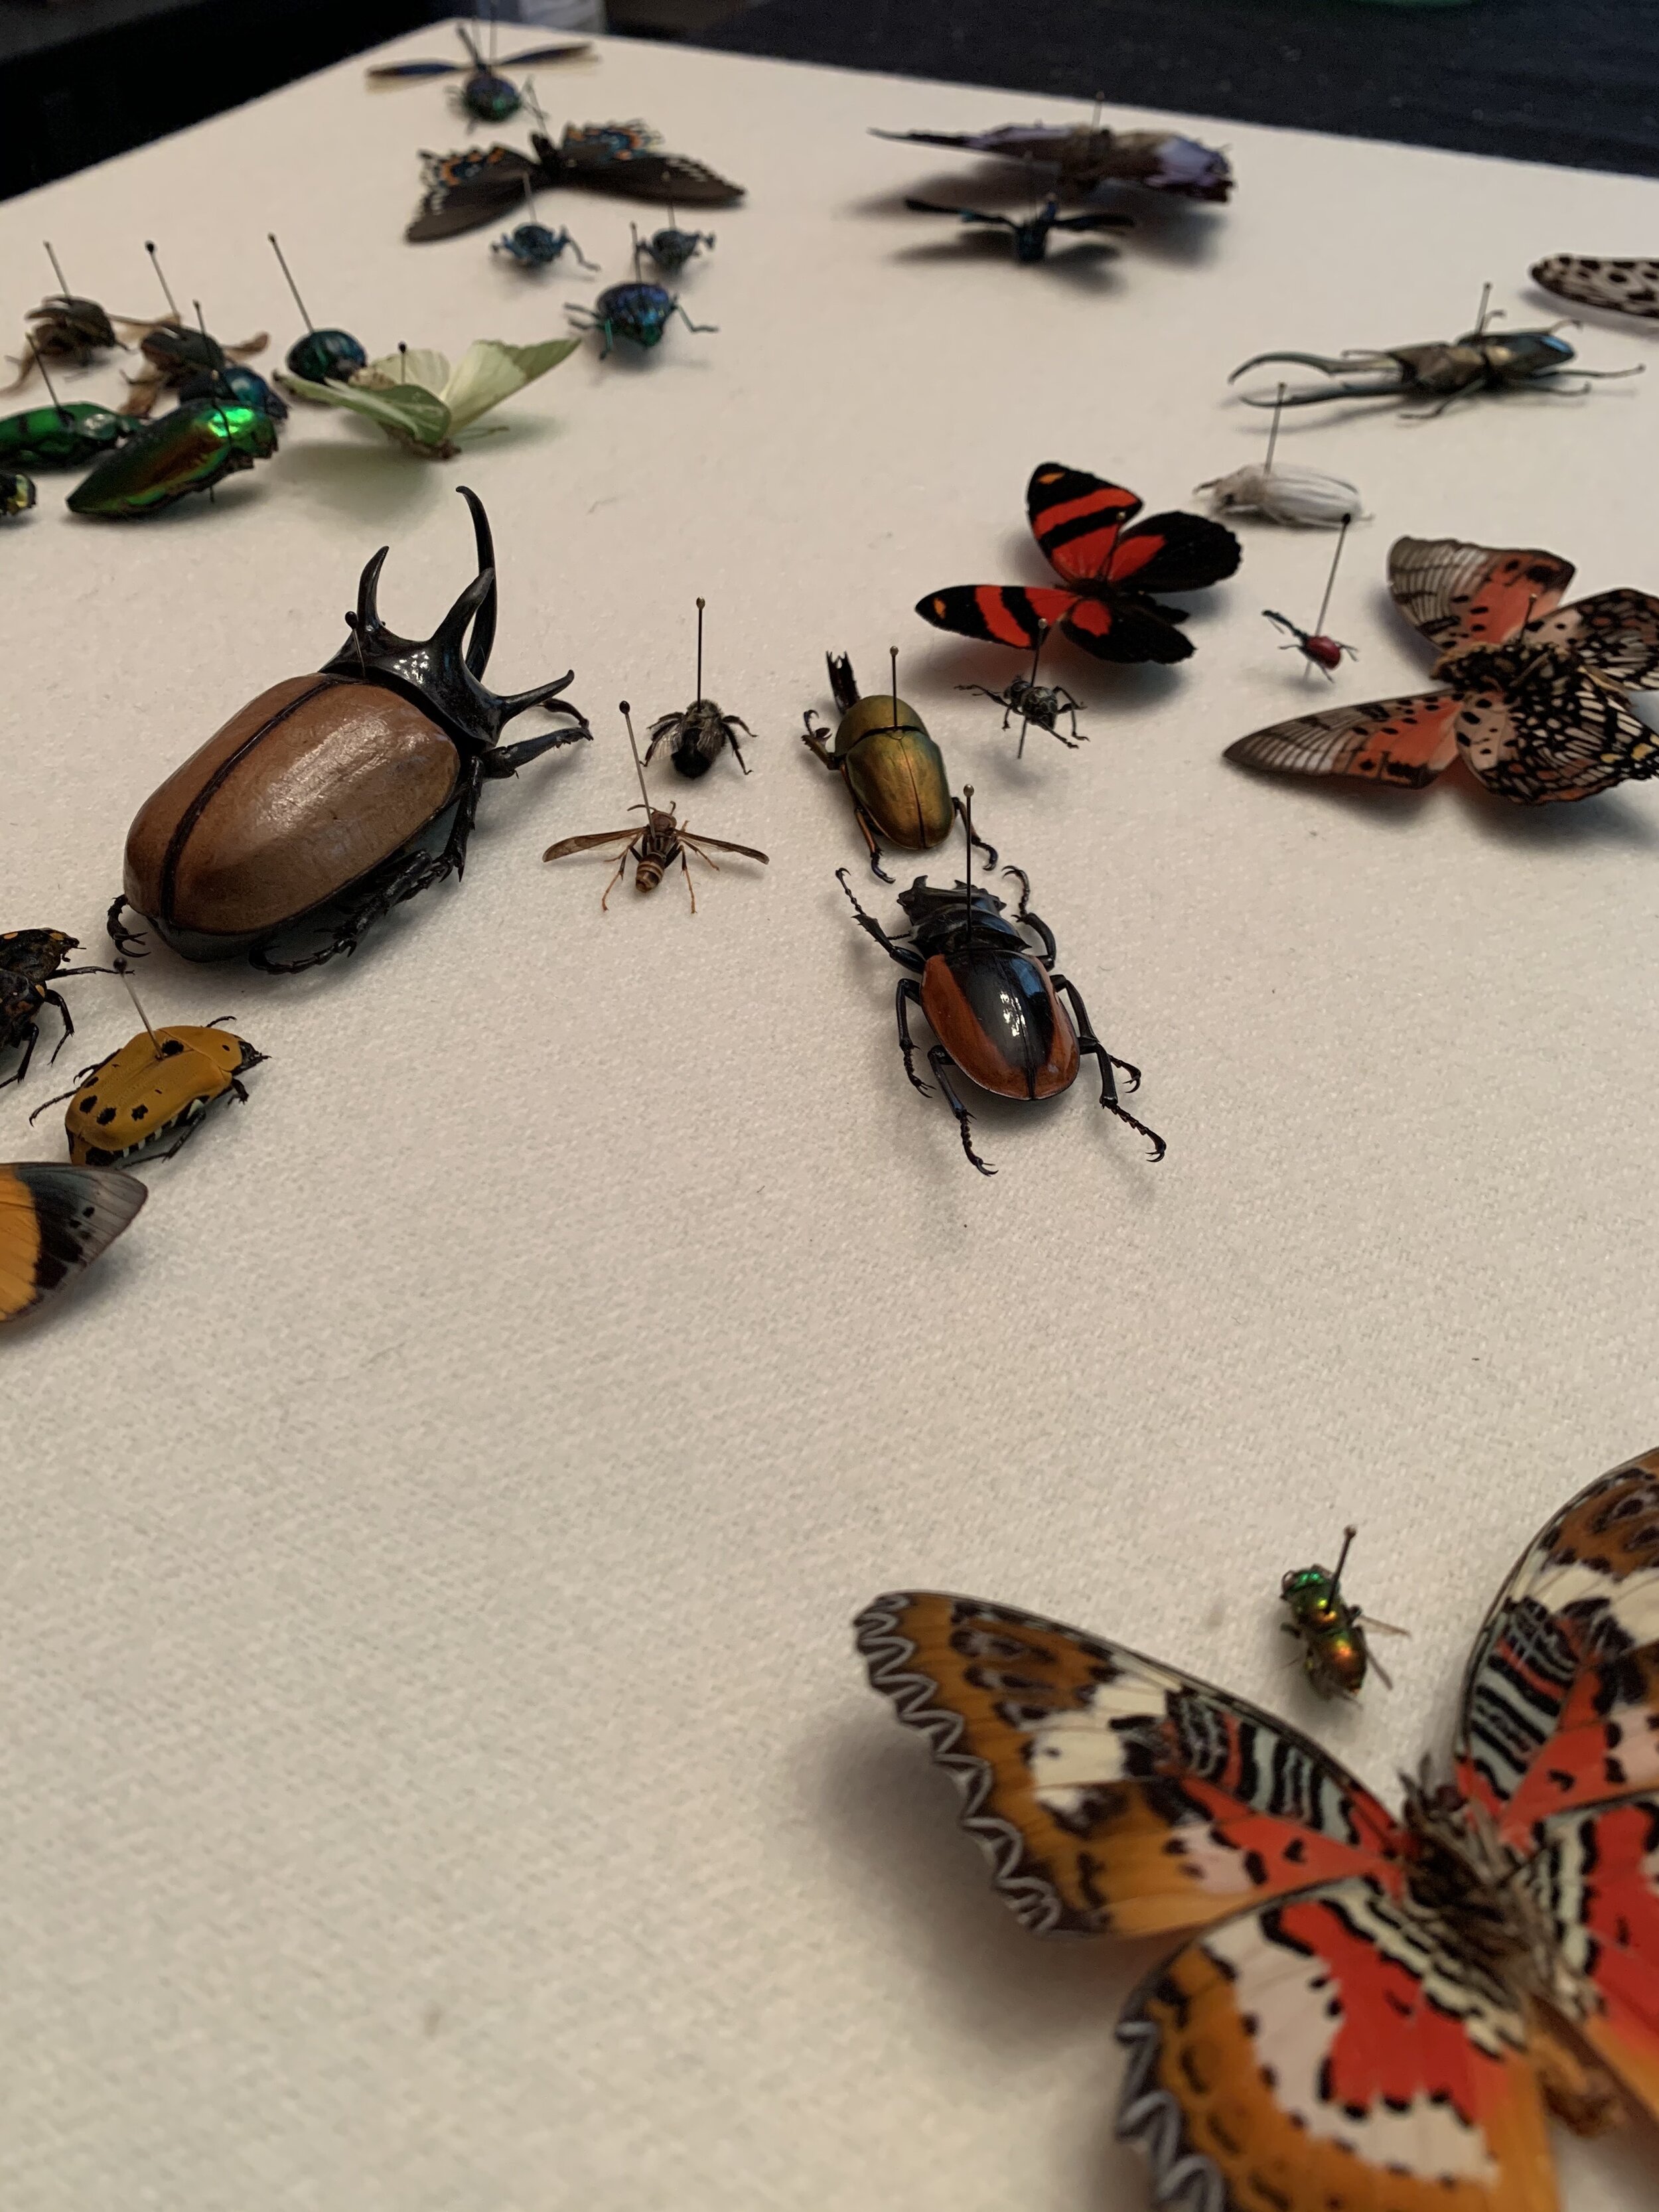
This spring, while everyone was stuck at home, everything was canceled, and most things were closed due to the pandemic, I found myself learning all sorts of new things. Trying out new mediums & hobbies gave me something to look forward to when there wasn’t much else going on. I learned to make gourmet popsicles, got into ice dying on my back porch, and my favorite new thing: insect art.

IMG_9273.JPG

I had been needle felting insects for years and launched several handmade bug collections in the spring and summer, and I suppose all that research, finding images of beautiful bugs to inspire my felted ones, led me to work with real specimens for the first time.

IMG_9205.JPG

There’s a lot more to insect art than I expected. First off, you’d think you can just walk around outside and find specimens easily enough, but that wasn’t the case for me. I did find many (already dead) specimens on hikes and walks, but they were rarely in good condition. I did get lucky a few times and was able to find and preserve a found beetle, bee, or butterfly, but I quickly realized I would need to find another source for insects if I wanted to create the large display piece I had in my head.

I was pleasantly surprised to find several reputable bug websites online and the colors, shapes and sizes of insects available was far more interesting than what I would be able to get by happenstance. The bugs can be ordered mounted or unmounted, and so I opted for the unmounted version and learned to do the rehydration and positioning of the specimen myself. It’s definitely an art! I broke off my fair share of legs and antenna on some of my earlier attempts, but I eventually got the hang of things.

IMG_7931.jpg

This short video shows the process of working with real insect specimens. Although I read my fair share of how-to articles on preserving and mounting insects and there are so many different tips and tricks out there if you’re interested in working with bugs. BIcsBugs.com is a great resource for buying specimens and InsectArt on Etsy is as well.

Artist in Residence: Devil's Fork State Park

IMG_1086.jpg

I just spent a week staring at the most beautiful green lake. I hiked, I paddled, and I made lots of art! This was my third artist residency through South Carolina State Parks and this year I was assigned to Devil’s Fork State Park in the northwest part of the state, where I’m starting to think there are more waterfalls than people. The landscape was gorgeous and there was so much to explore. Although I had a very full week, I feel like I could have spent a year there!

IMG_0697.jpg

Every day I got up before sunrise and headed out for a hike in a new place. I averaged 4-7 miles each day, usually on a trail that lead to a waterfall or two, and soaked up as much inspiration as I could. In the afternoons, I enjoyed the panoramic view of Lake Jocassee from my cabin porch, making needle felted landscapes and painted pendants inspired by my surroundings. It was so easy to find inspiration. Not only does Devil’s Fork boast a lake so clear and green it looks like pool water, but there’s the majestic Blueridge mountains at the horizon, and of course acres and acres of magical woodlands full of creatures and flowers. This place has it all.

IMG_0192.jpg

I am so thankful to have the opportunity to get to know another State Park in this intimate way and it’s even more special this time because this residency is the one and only thing on the calendar for 2020 that didn’t get canceled. It was the one thing I got to keep, I got to look forward to almost a full year, and the experience did not disappoint in any way.

IMG_9876.jpg

I hope you enjoy this short video recap of my time at the park! All needle felted wool paintings are available here, the one mixed media fiber art piece at the beginning of this post is available here, the painted landscape pendants can be purchased here, and the laser engraved pendants are here. Use coupon code JOCASSEE now through 10/15 to get 20% off your order of $50 or more at www.onceagainsam.com

Once Again Sam’s Nature Report:

  • 6 Bald Eagles

  • Countless monarch butterflies (on their way to Mexico)

  • 1 Otter

  • 4 Great blue herons

  • Many fishies-a-swimmin’

  • 5 Belted king fishers

  • 1 Bear (possibly)

  • 2 Deer

  • Several chipmunks

  • All the squirrels

  • 17 Waterfalls

  • 0 Snakes (hooray!)

IMG_0290.jpg

The 50 States Project

I’ve been working on a big series of tiny art! The 50 States Project has been on my to-make list for several months and I just finished up the series. I really enjoyed researching different locations for each state, and it’s always a challenge to needle felt at this tiny scale. Each 3”x3” needle felted landscape features a landmark or representational scene from each of the 50 States, and the collection is available on my website.

OnceAgainSam2489.jpg

Be sure to enter the giveaway on Instagram and Facebook! The winner will get their choice of any of the mini landscapes from the series. All you have to do is answer the following question on either of my social media feeds: What is your favorite state and why? Good luck! Winner will be announced 9/19 at 6pm EST (must be US resident to win).

50 State Series Giveway2.jpg

Ice Dying: The Art of Trial & Error

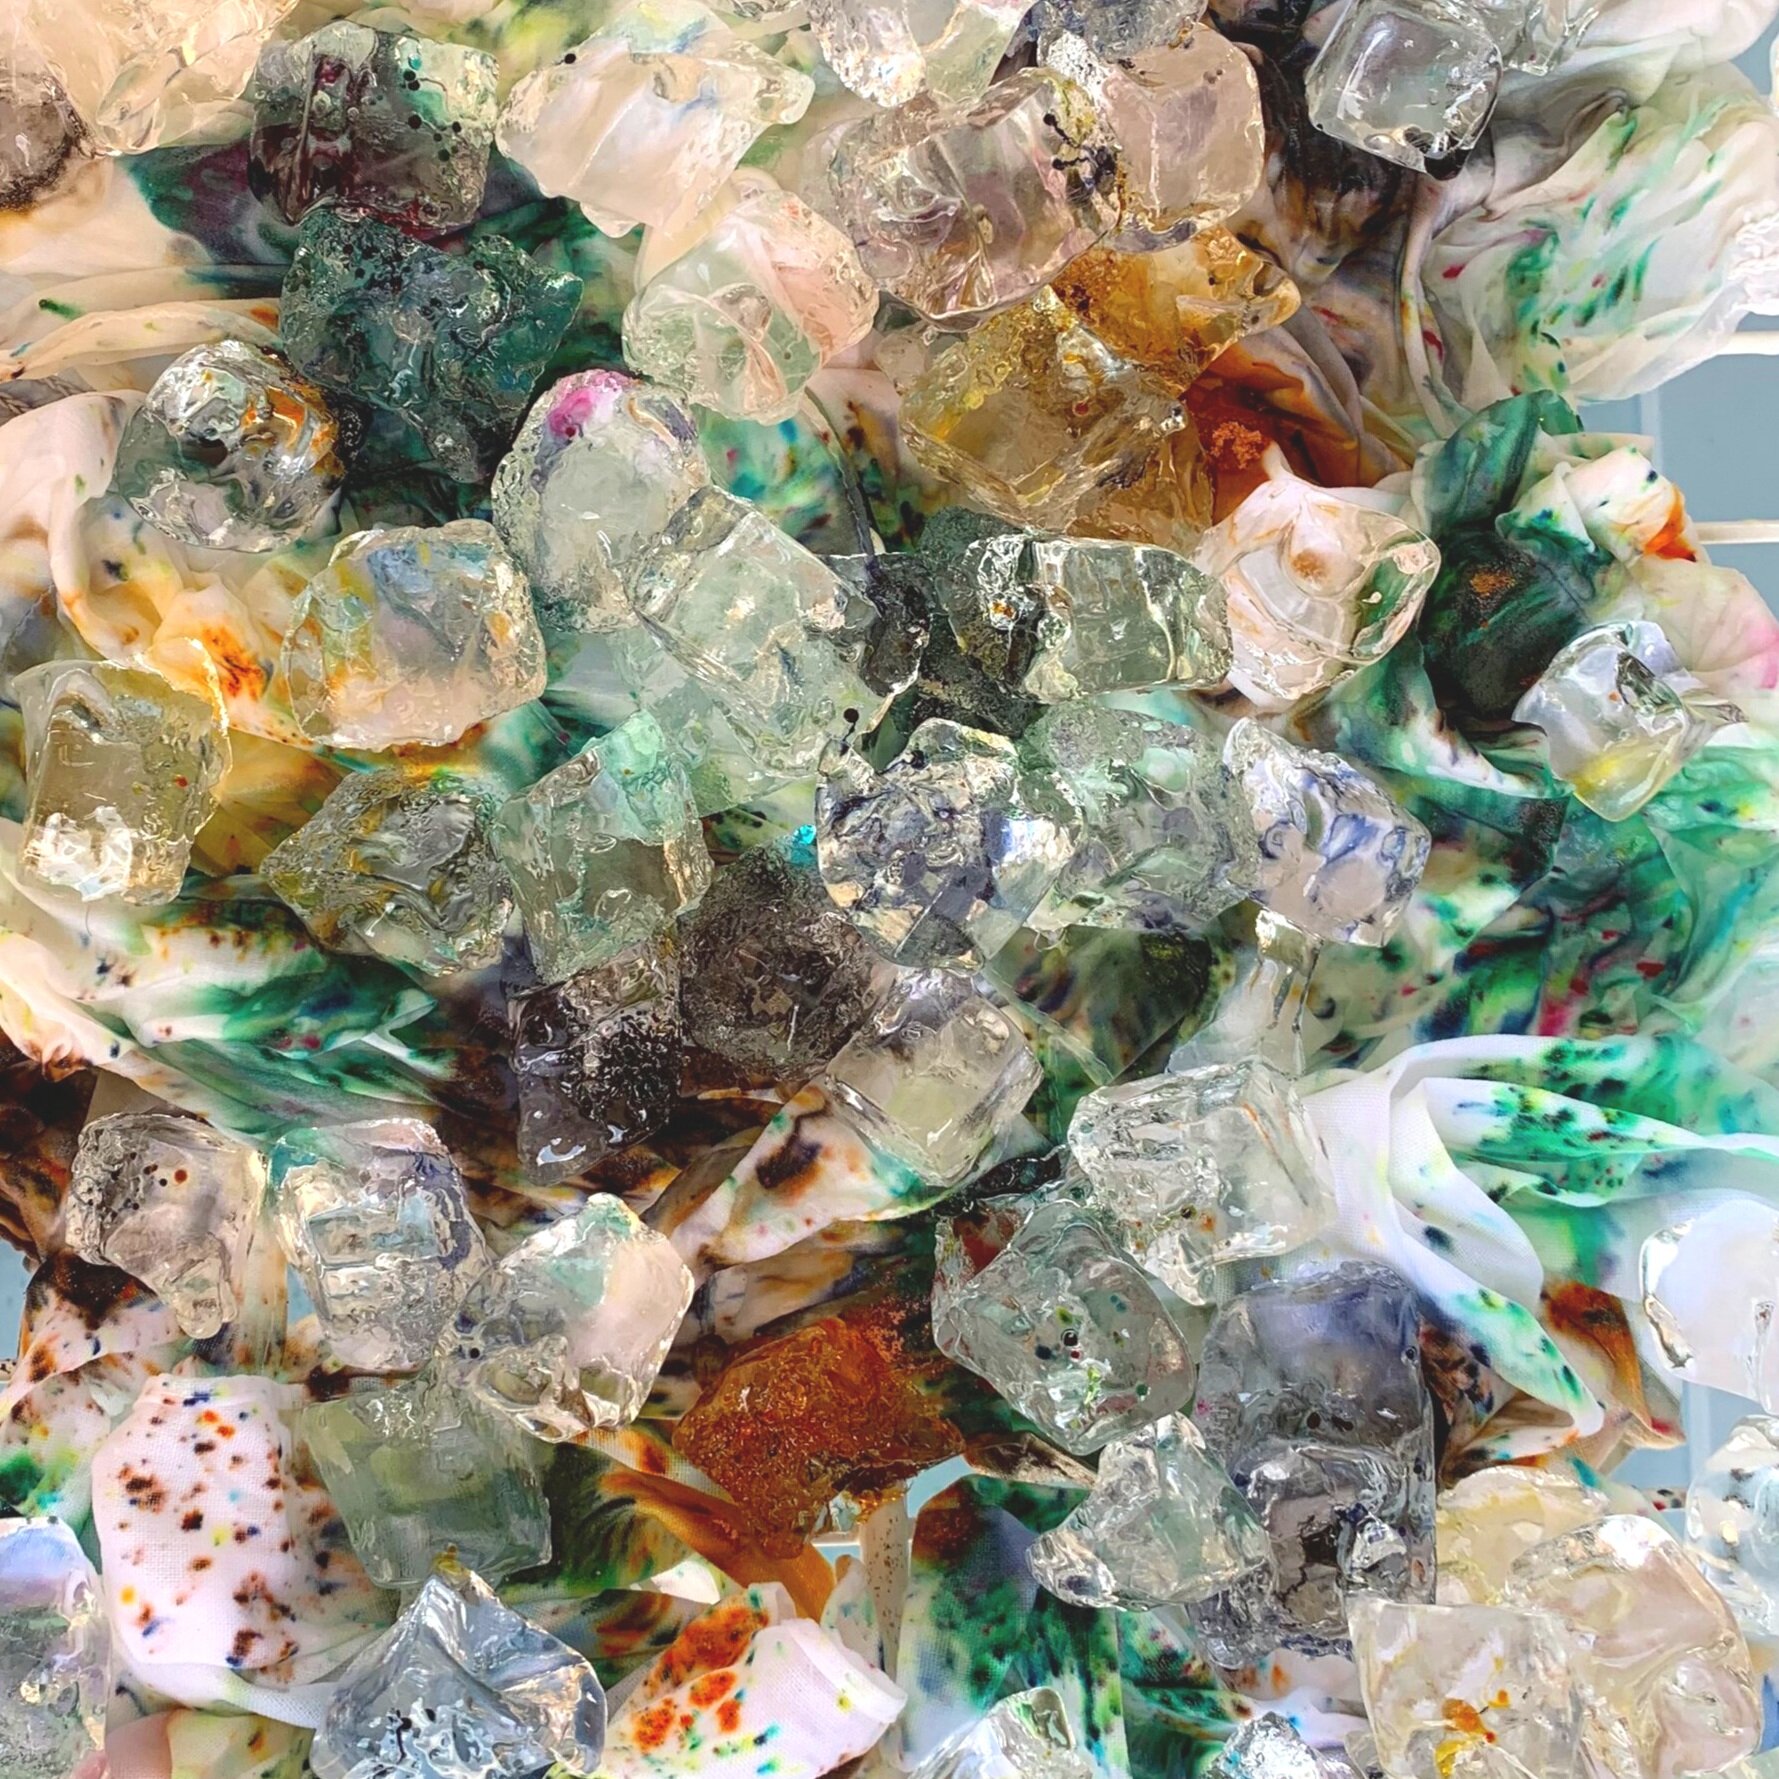
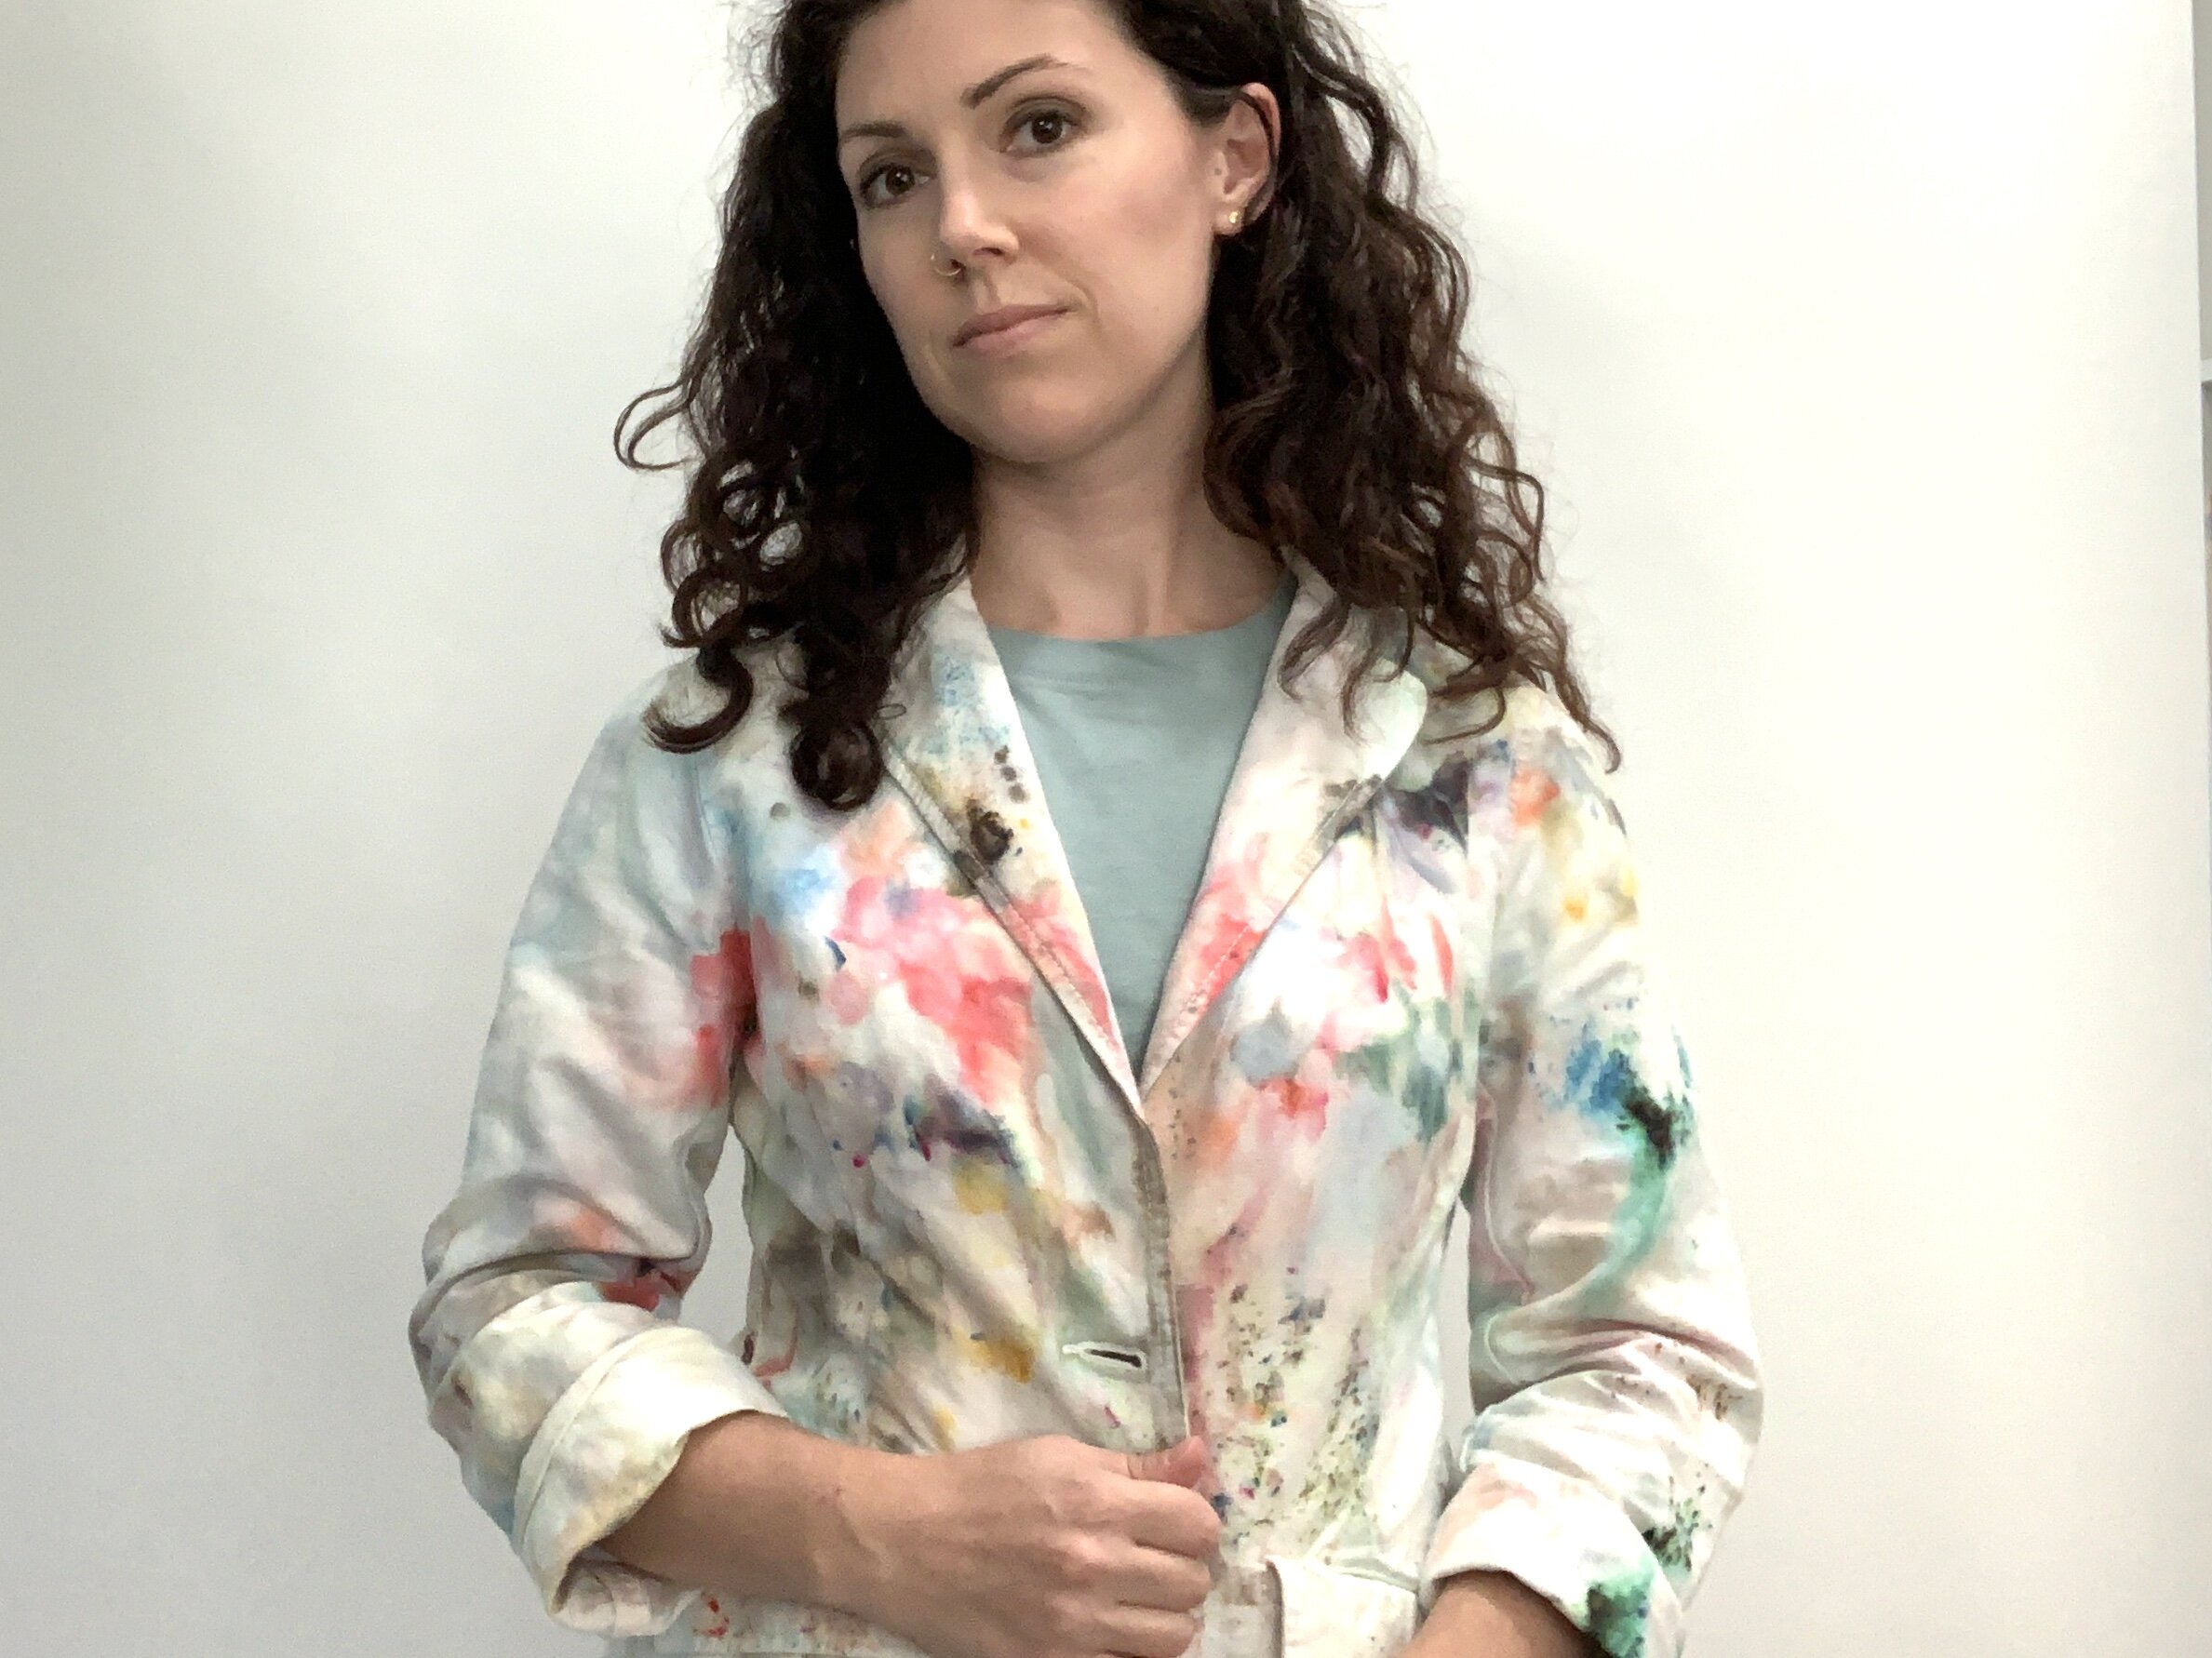
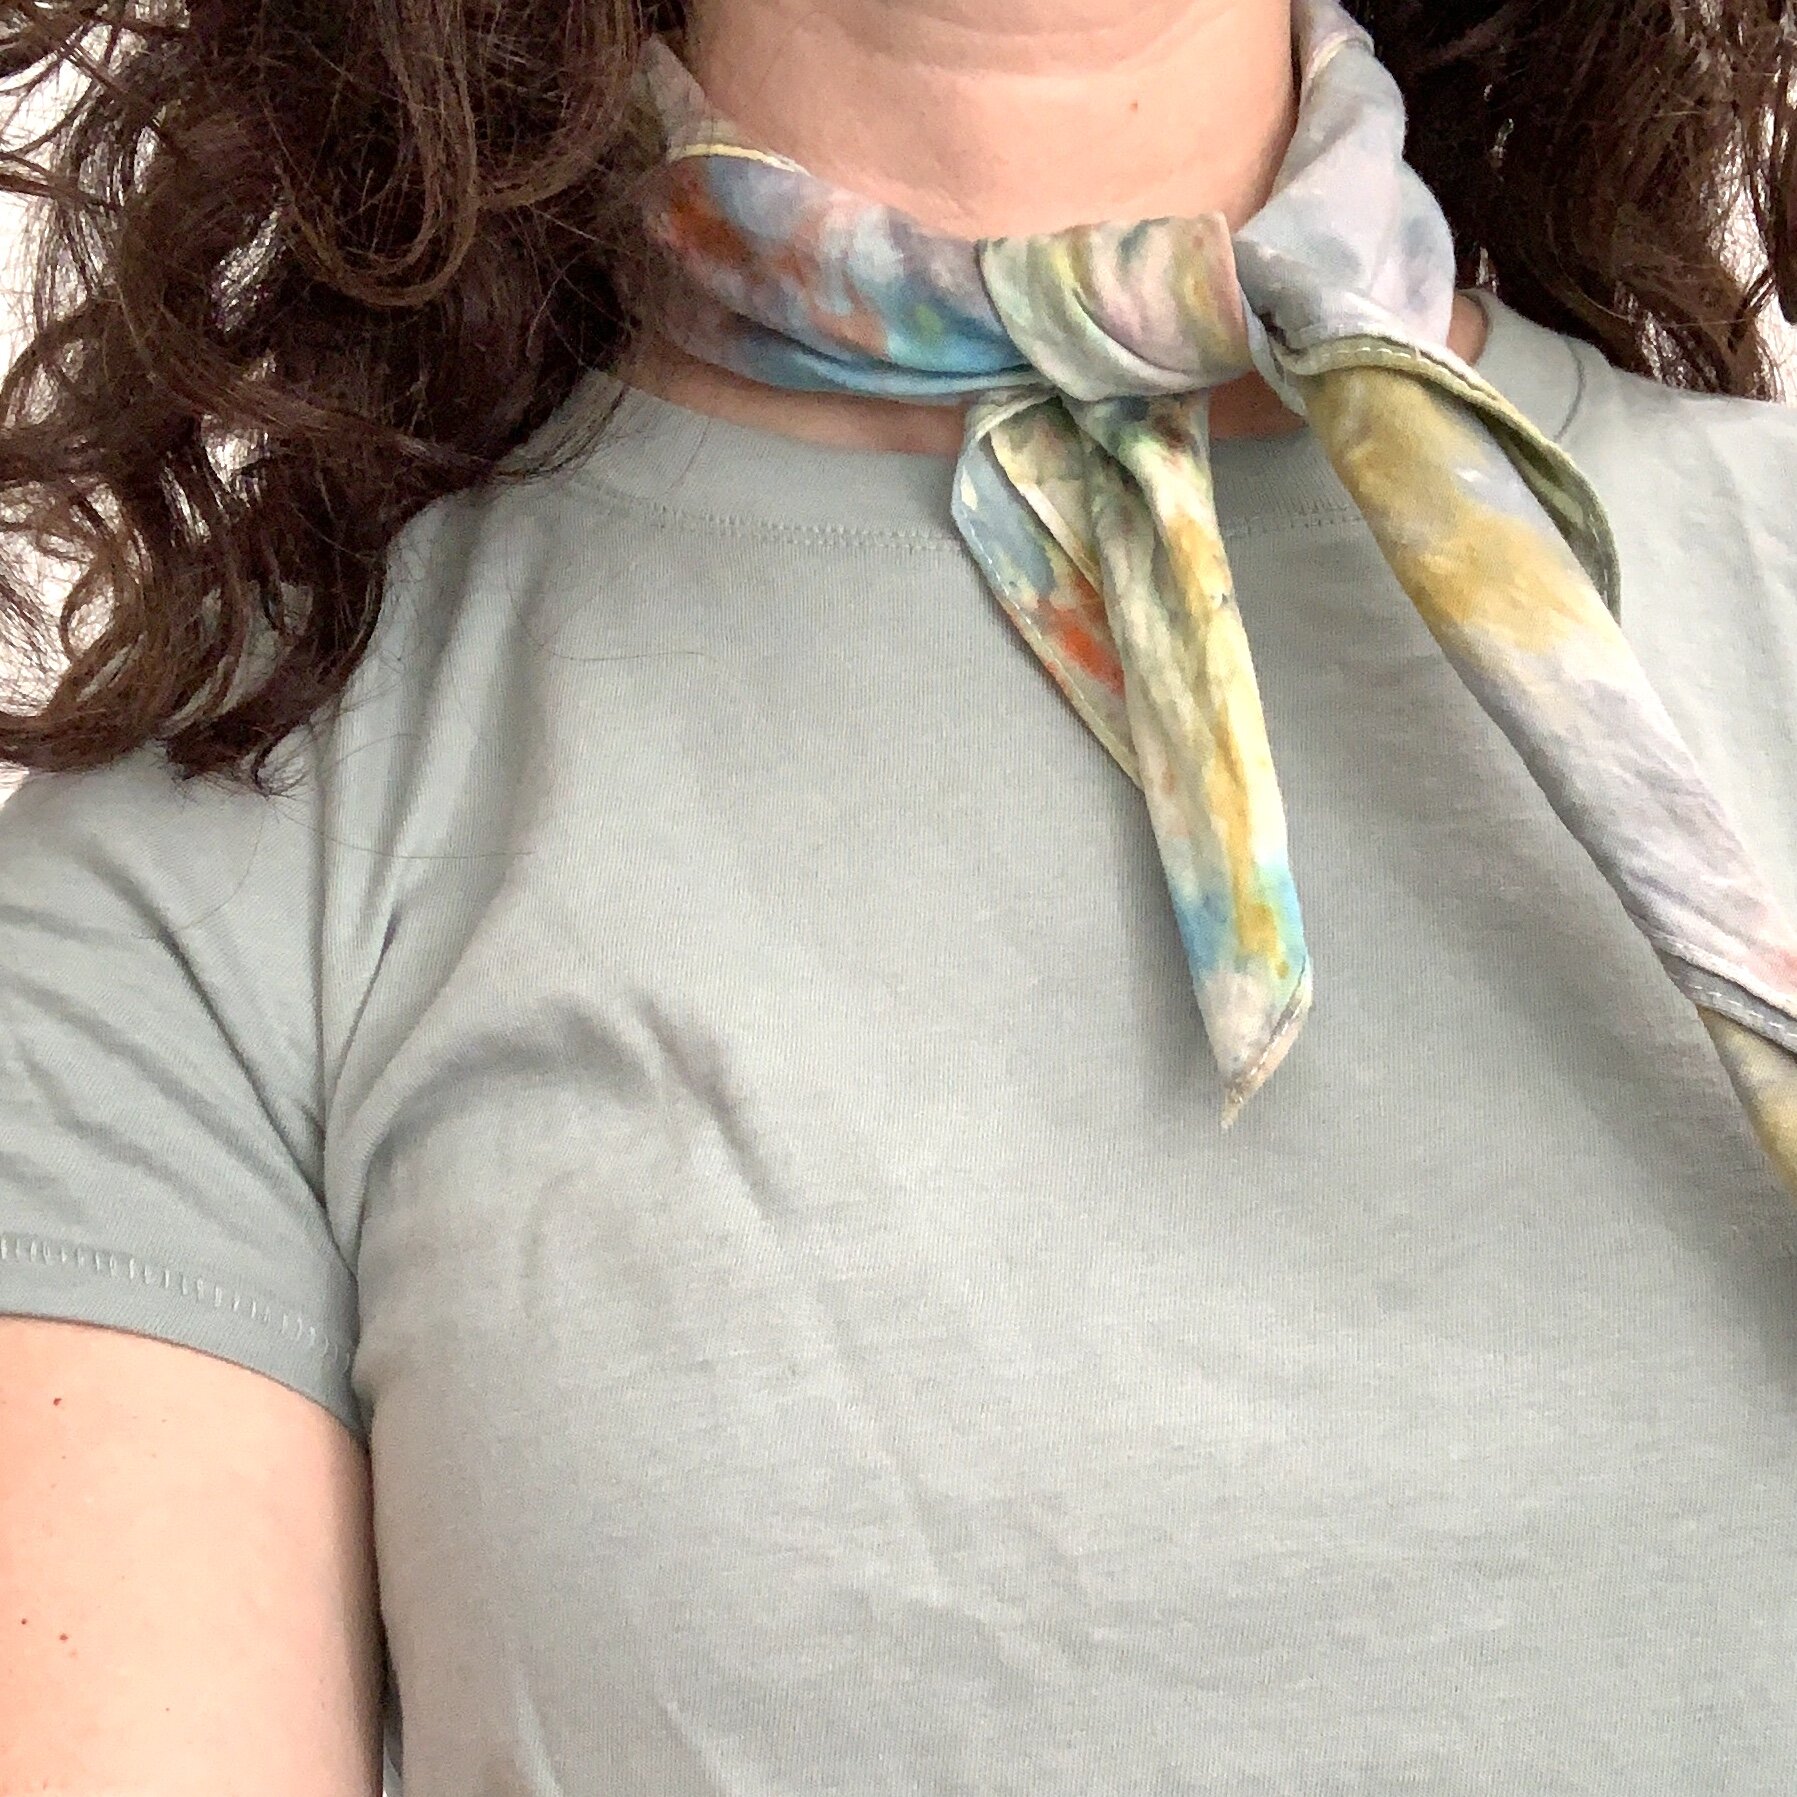
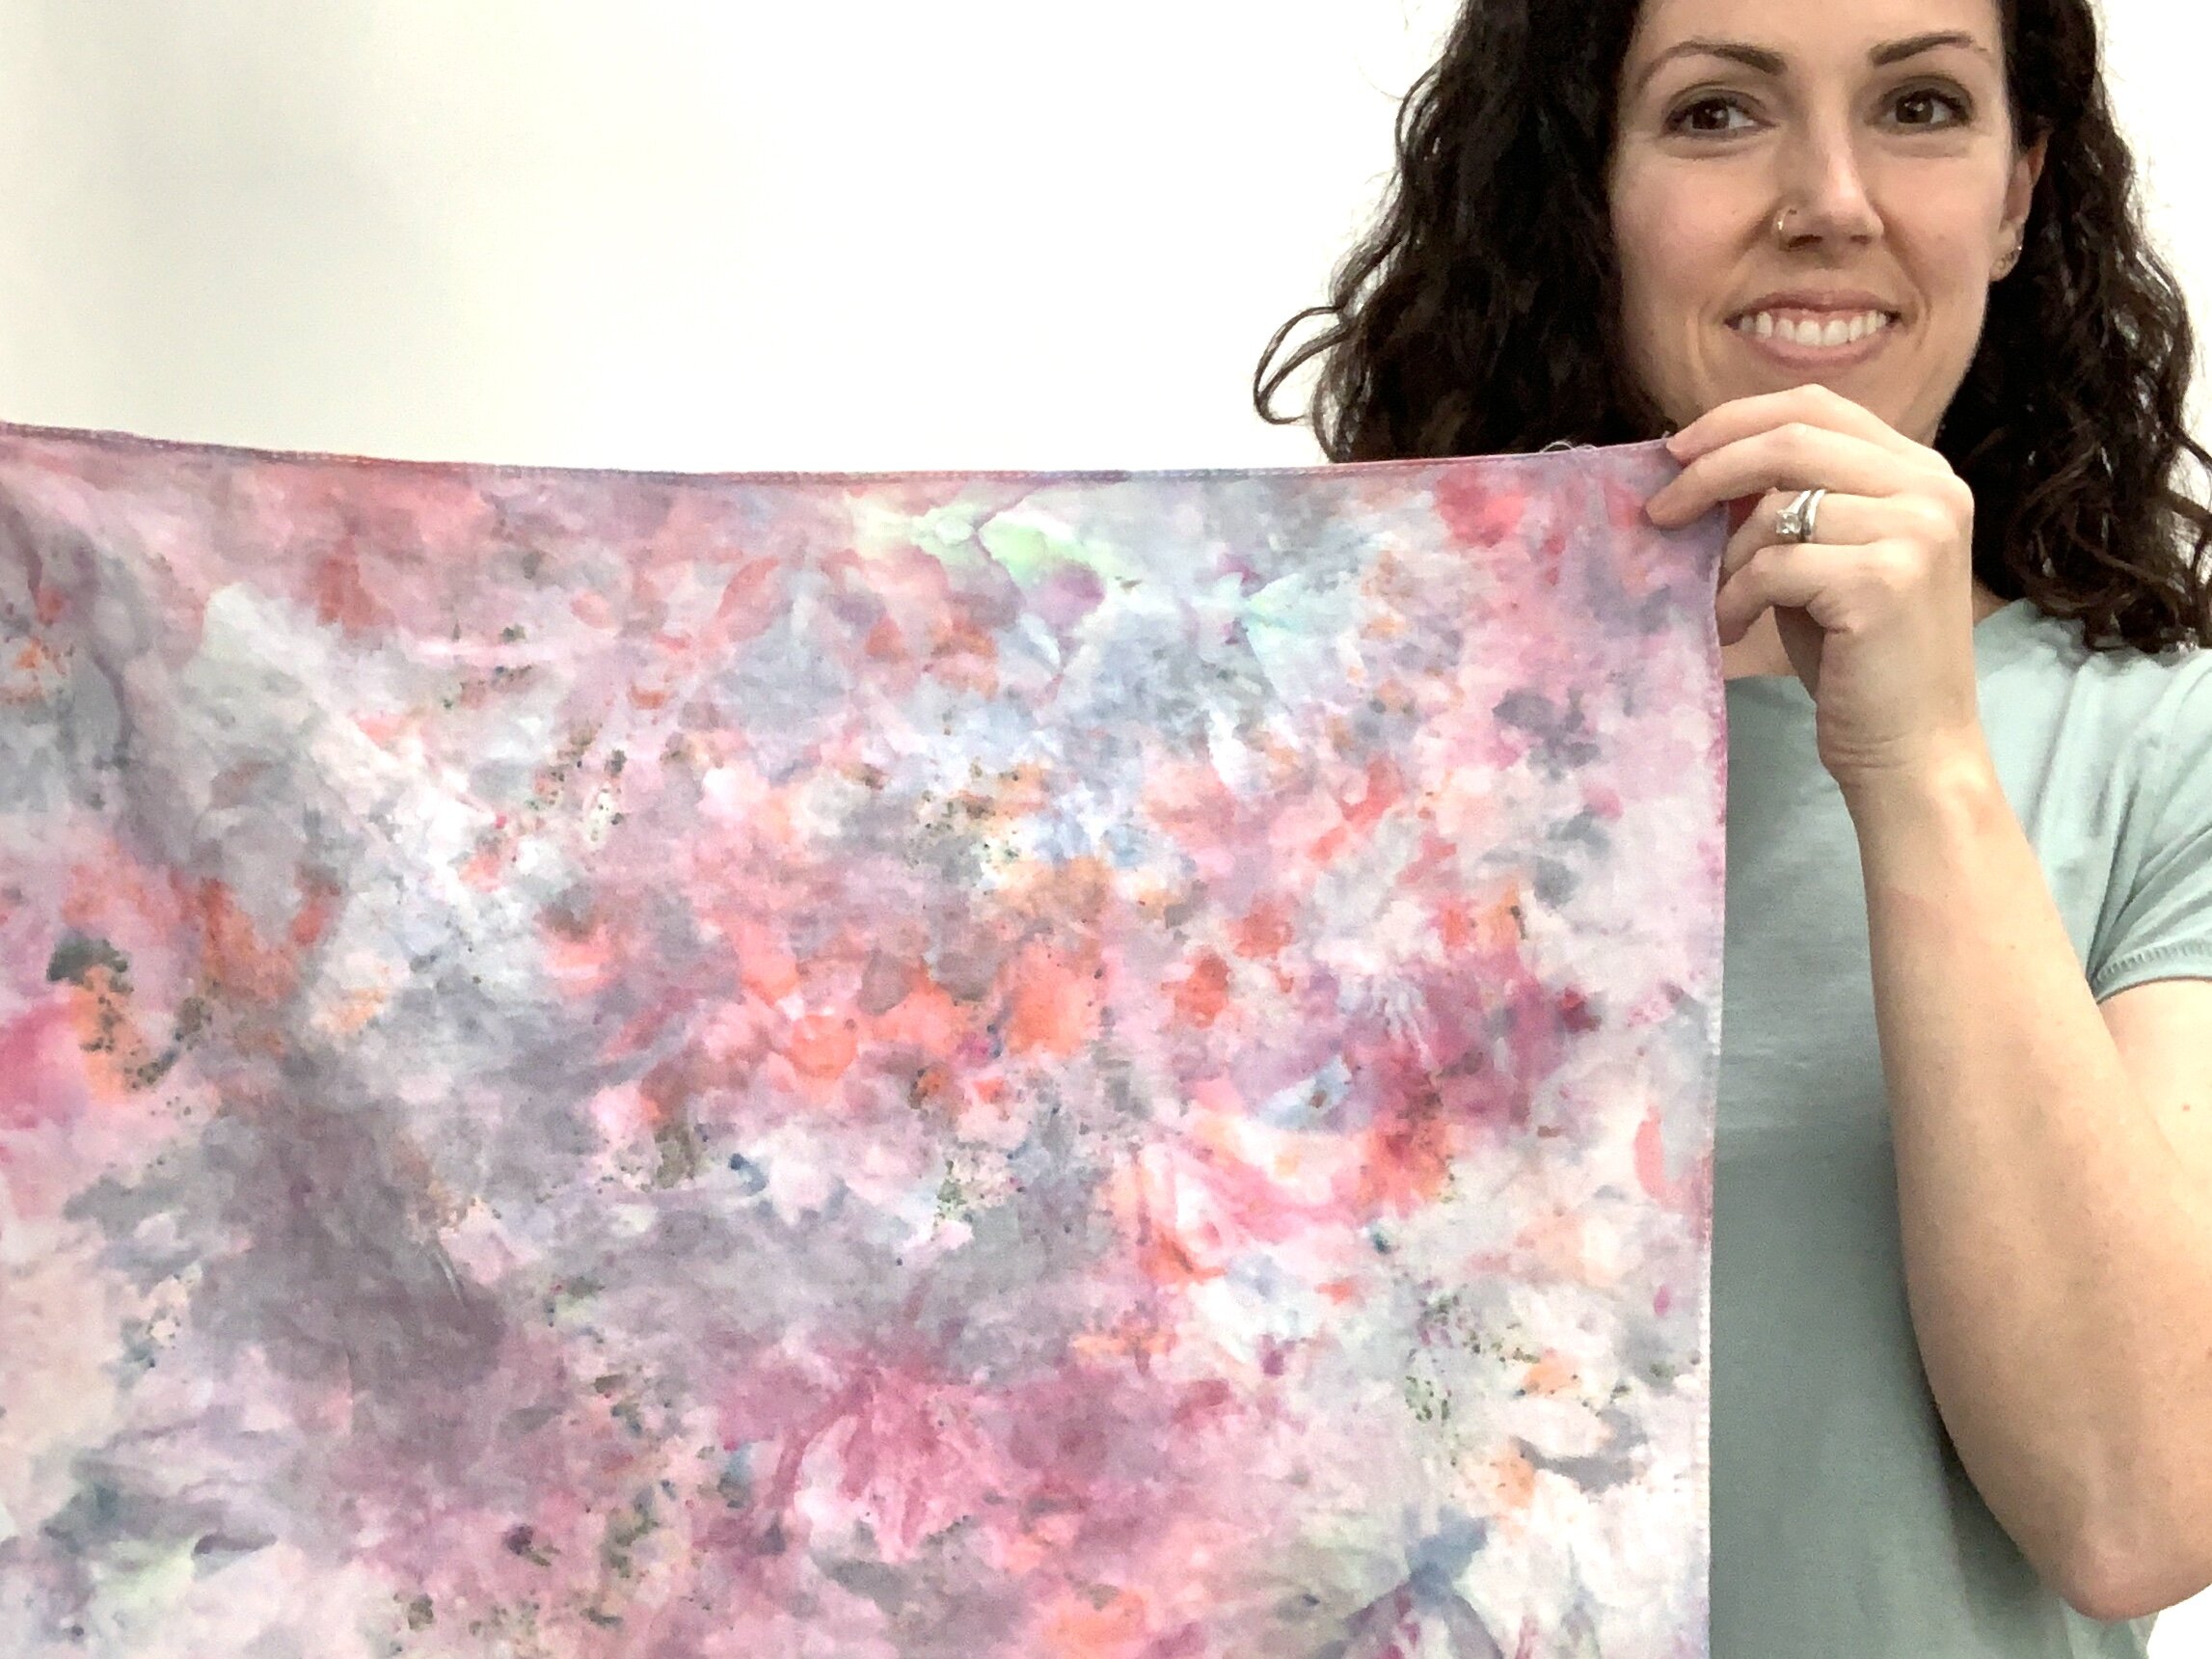
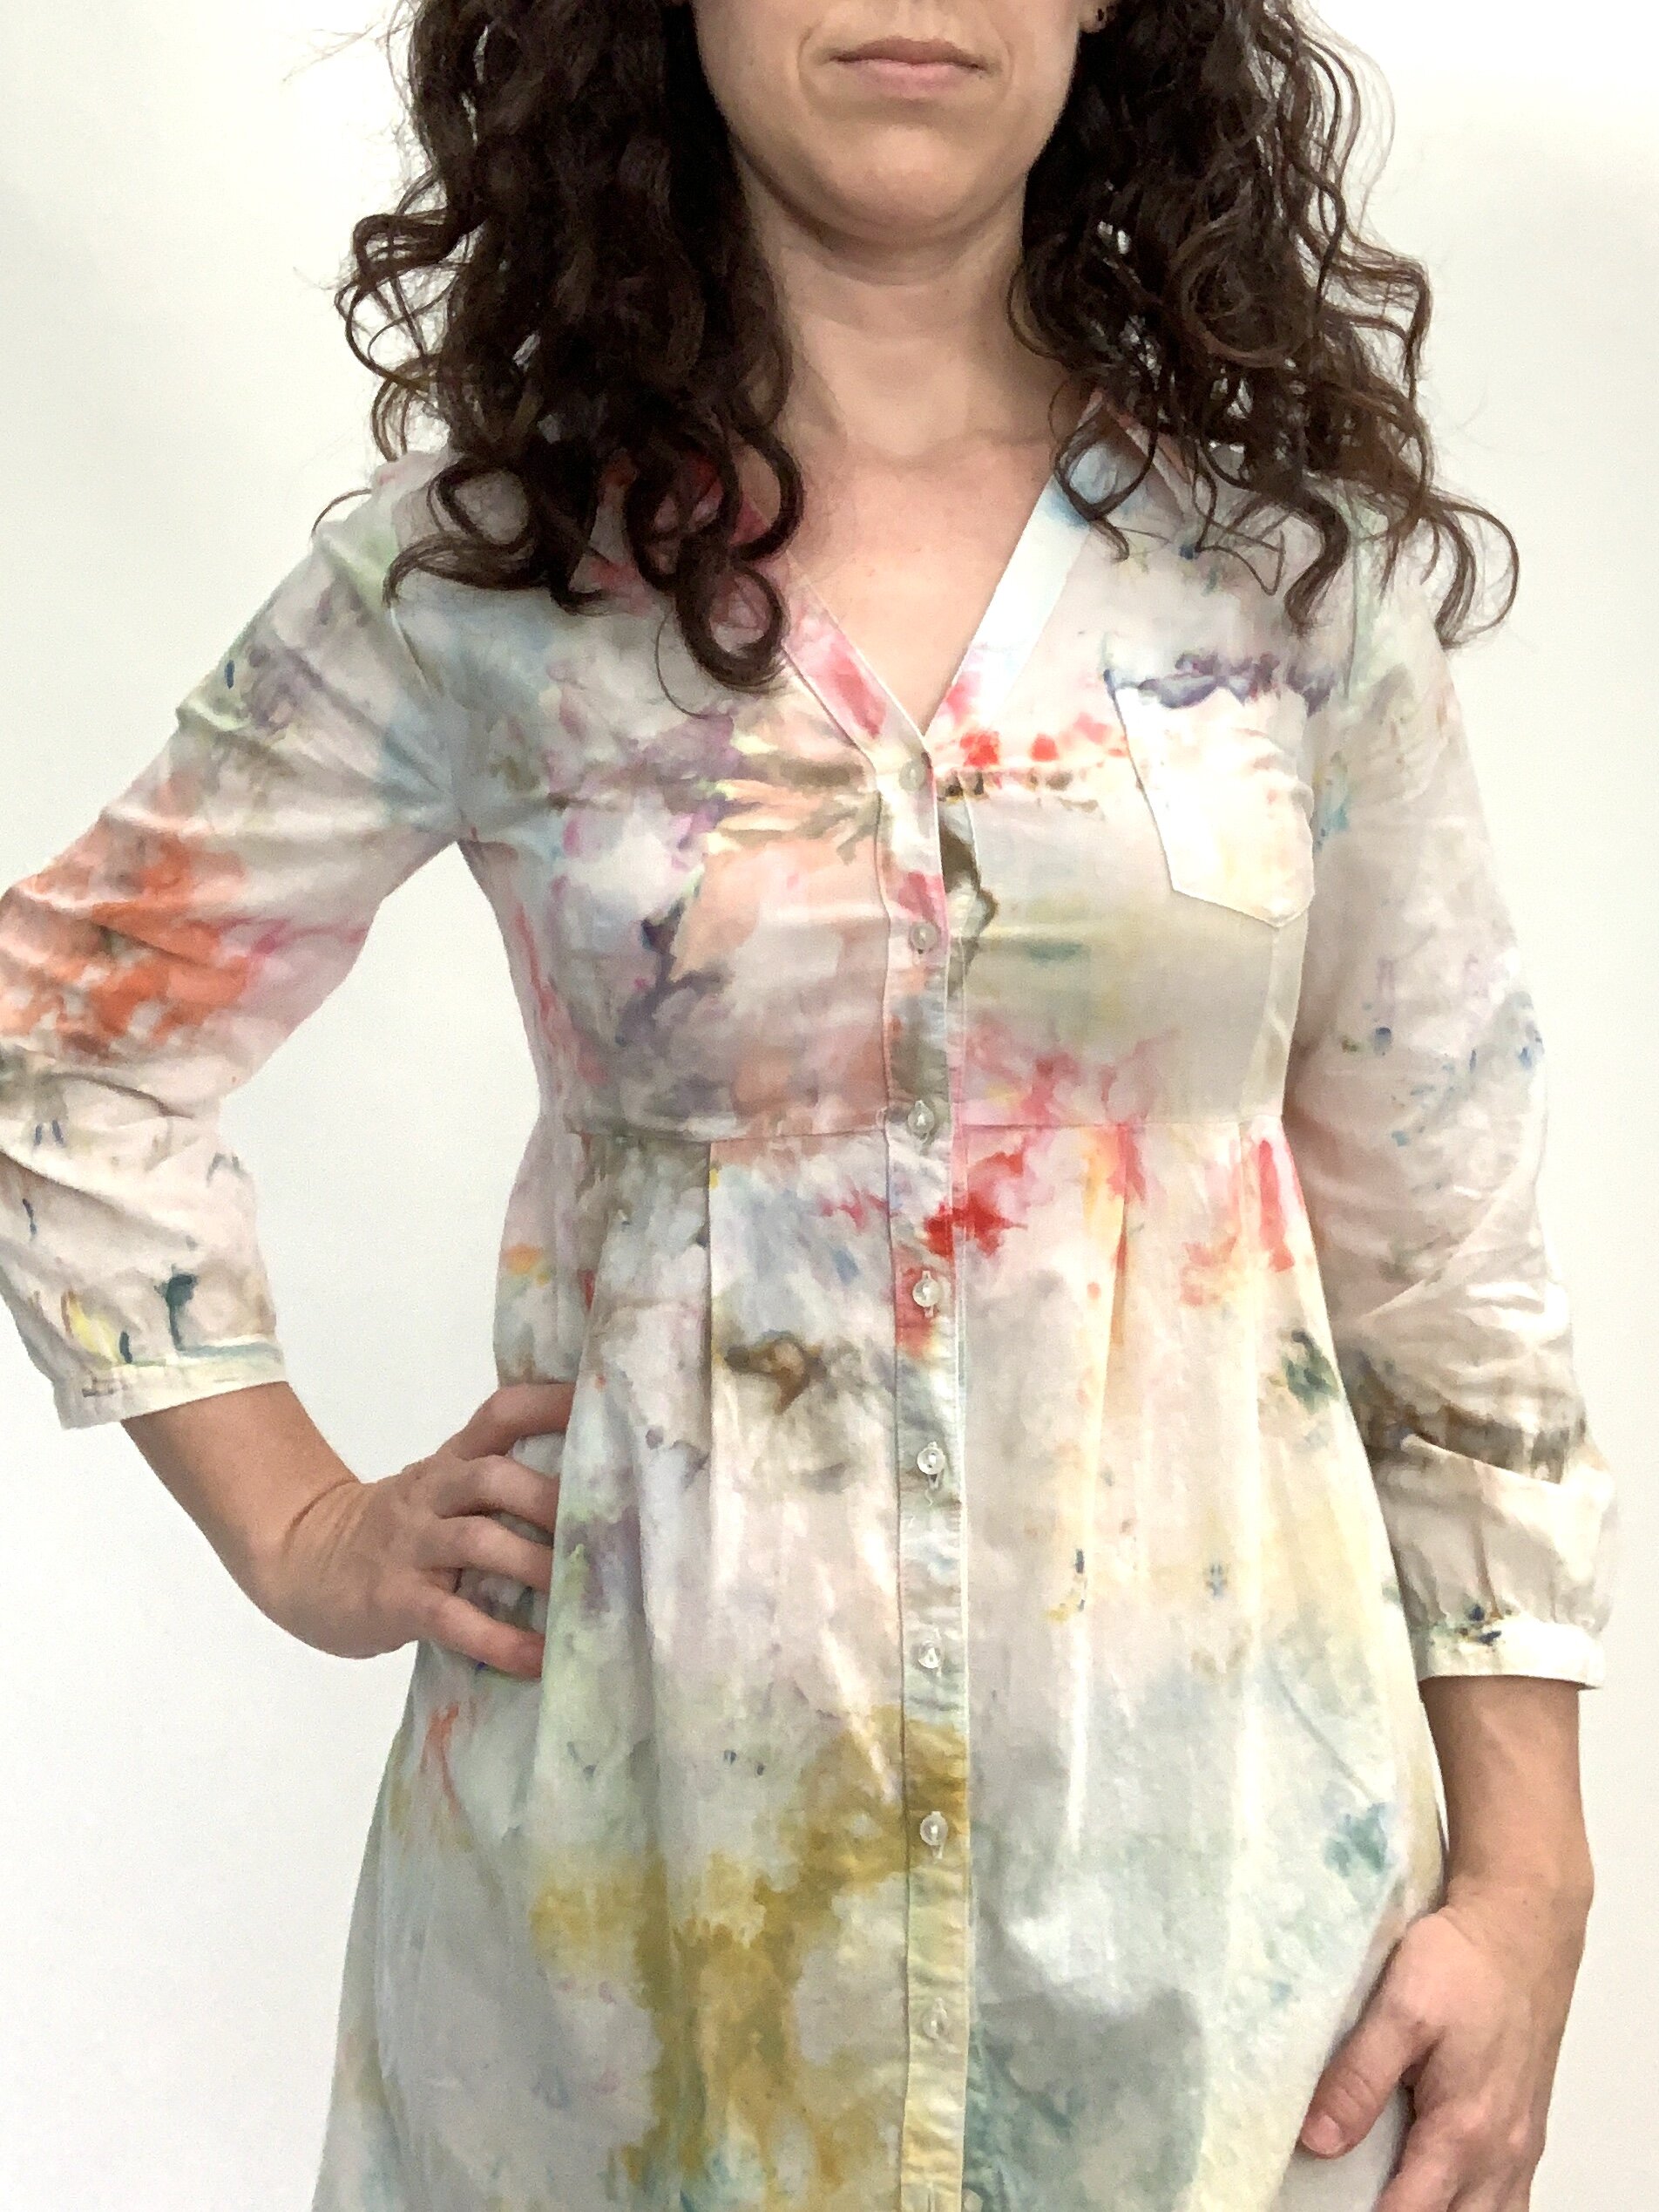
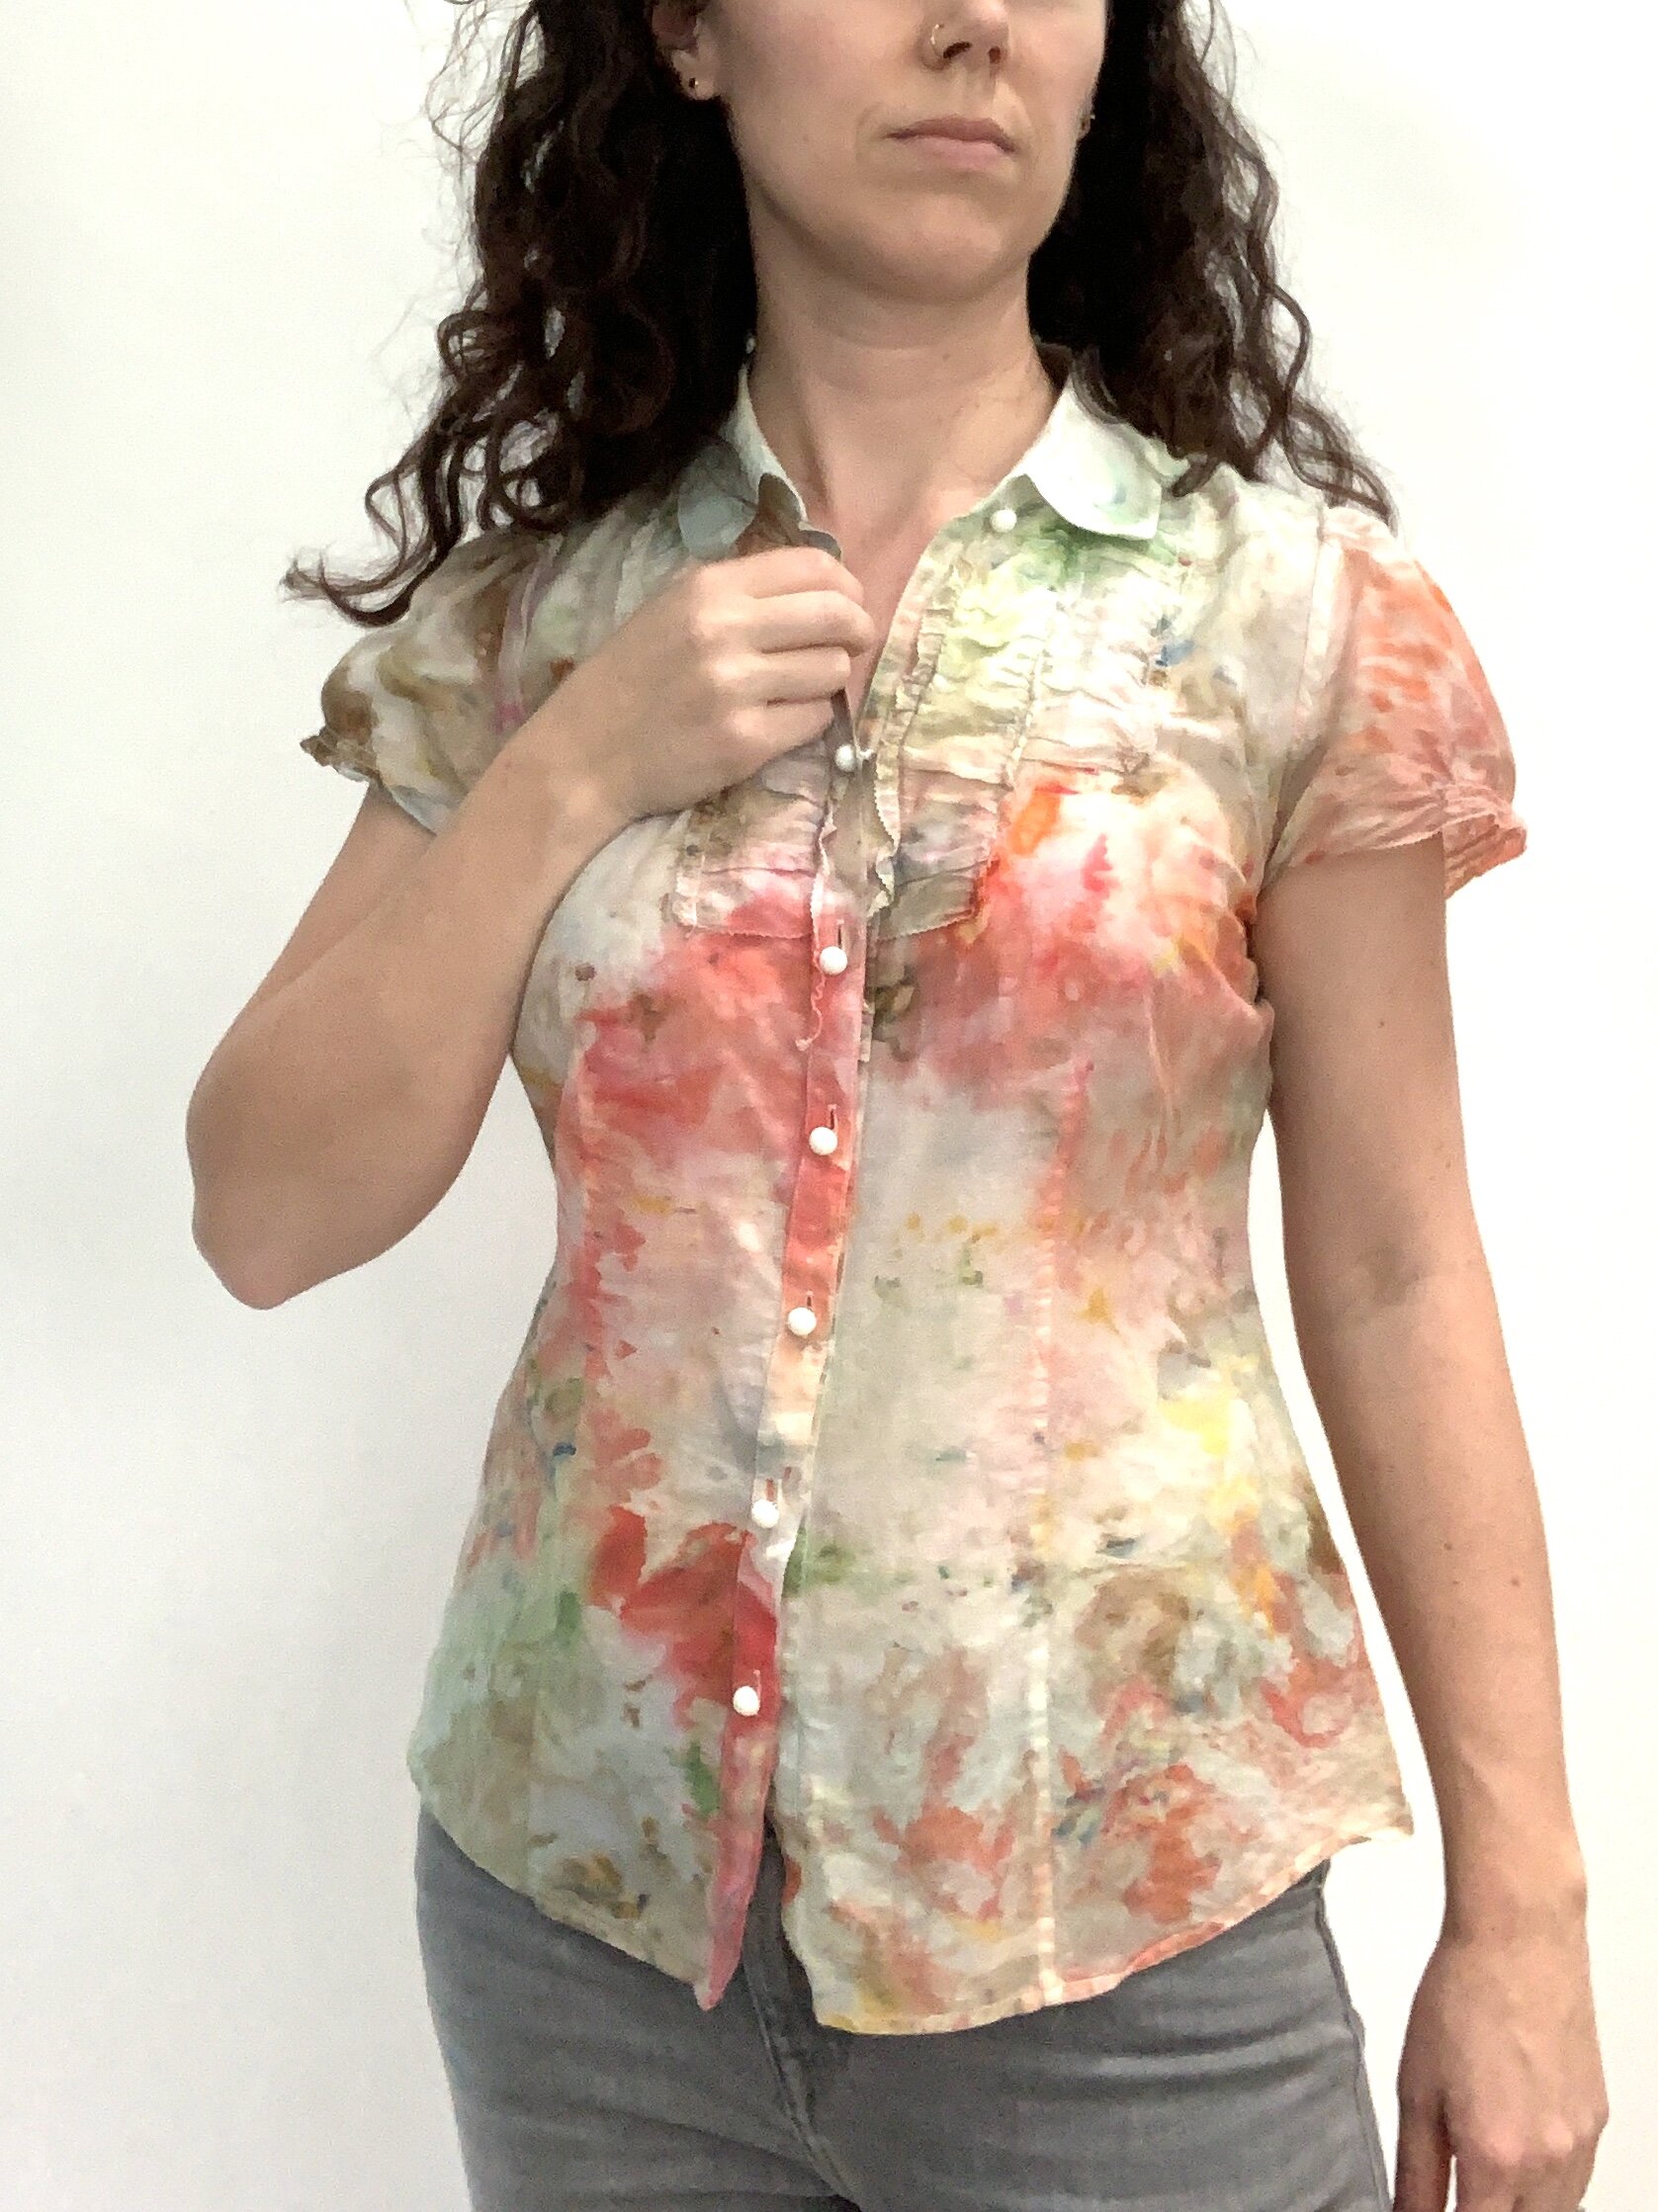
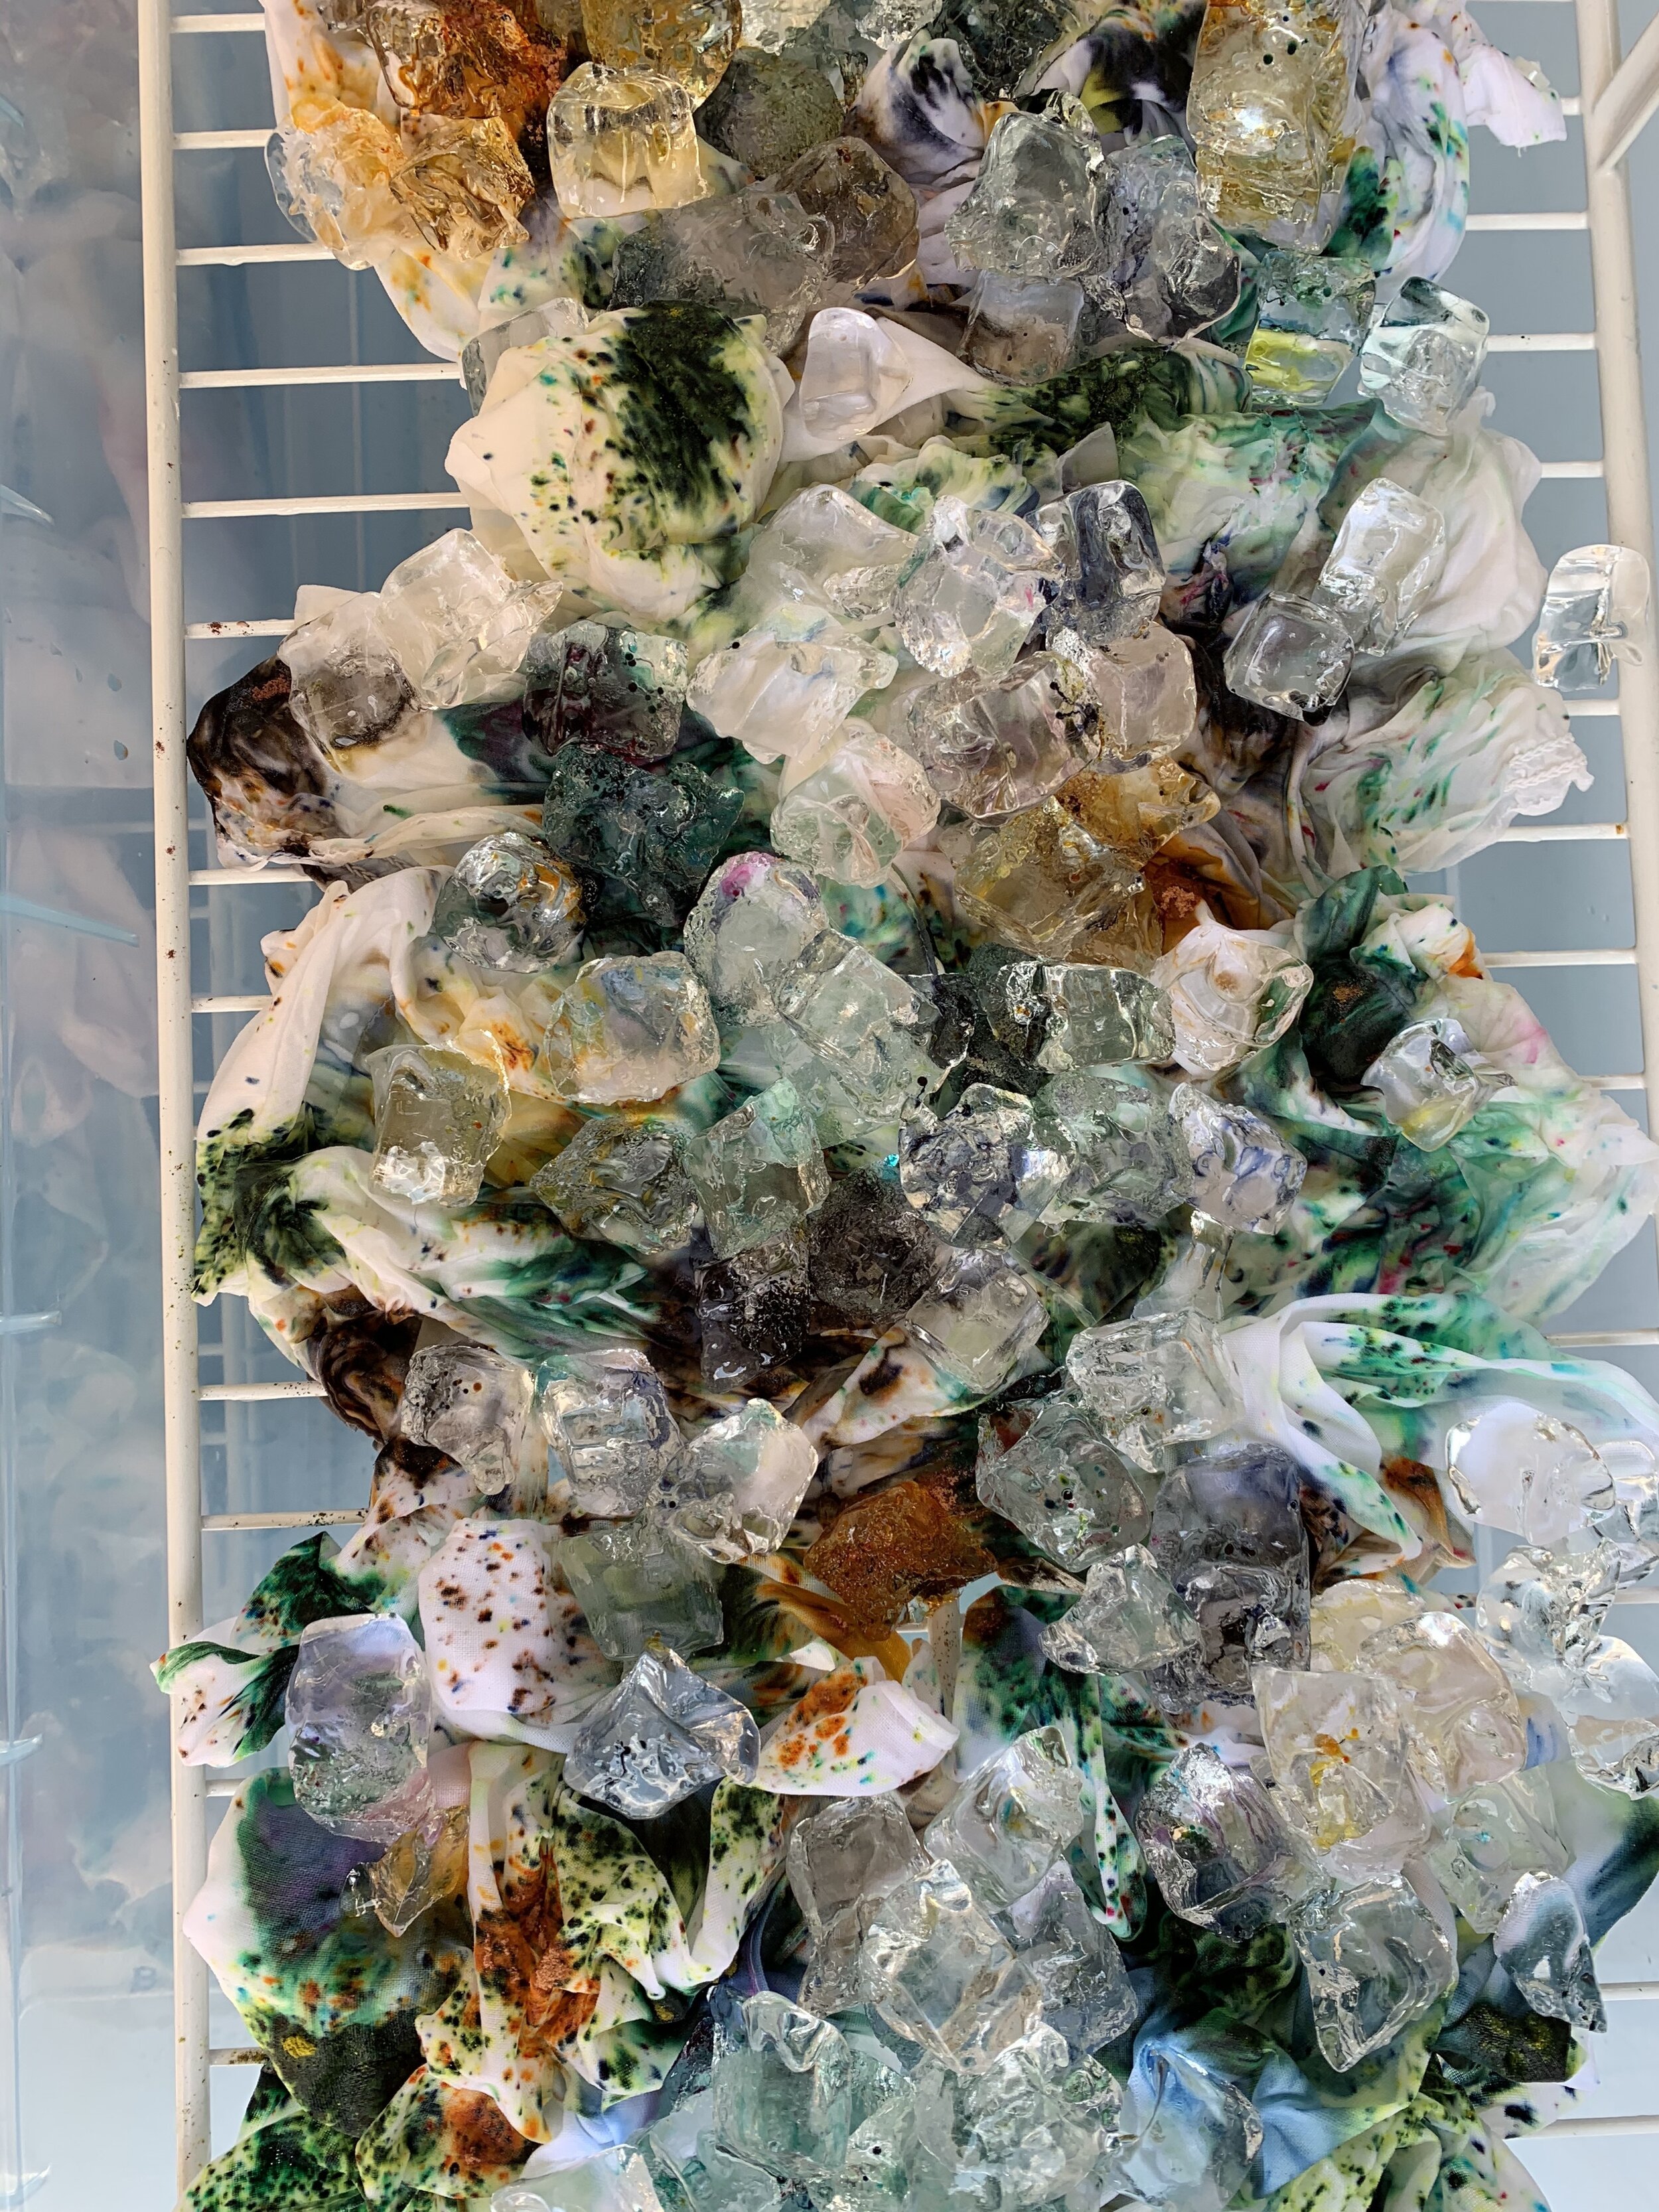
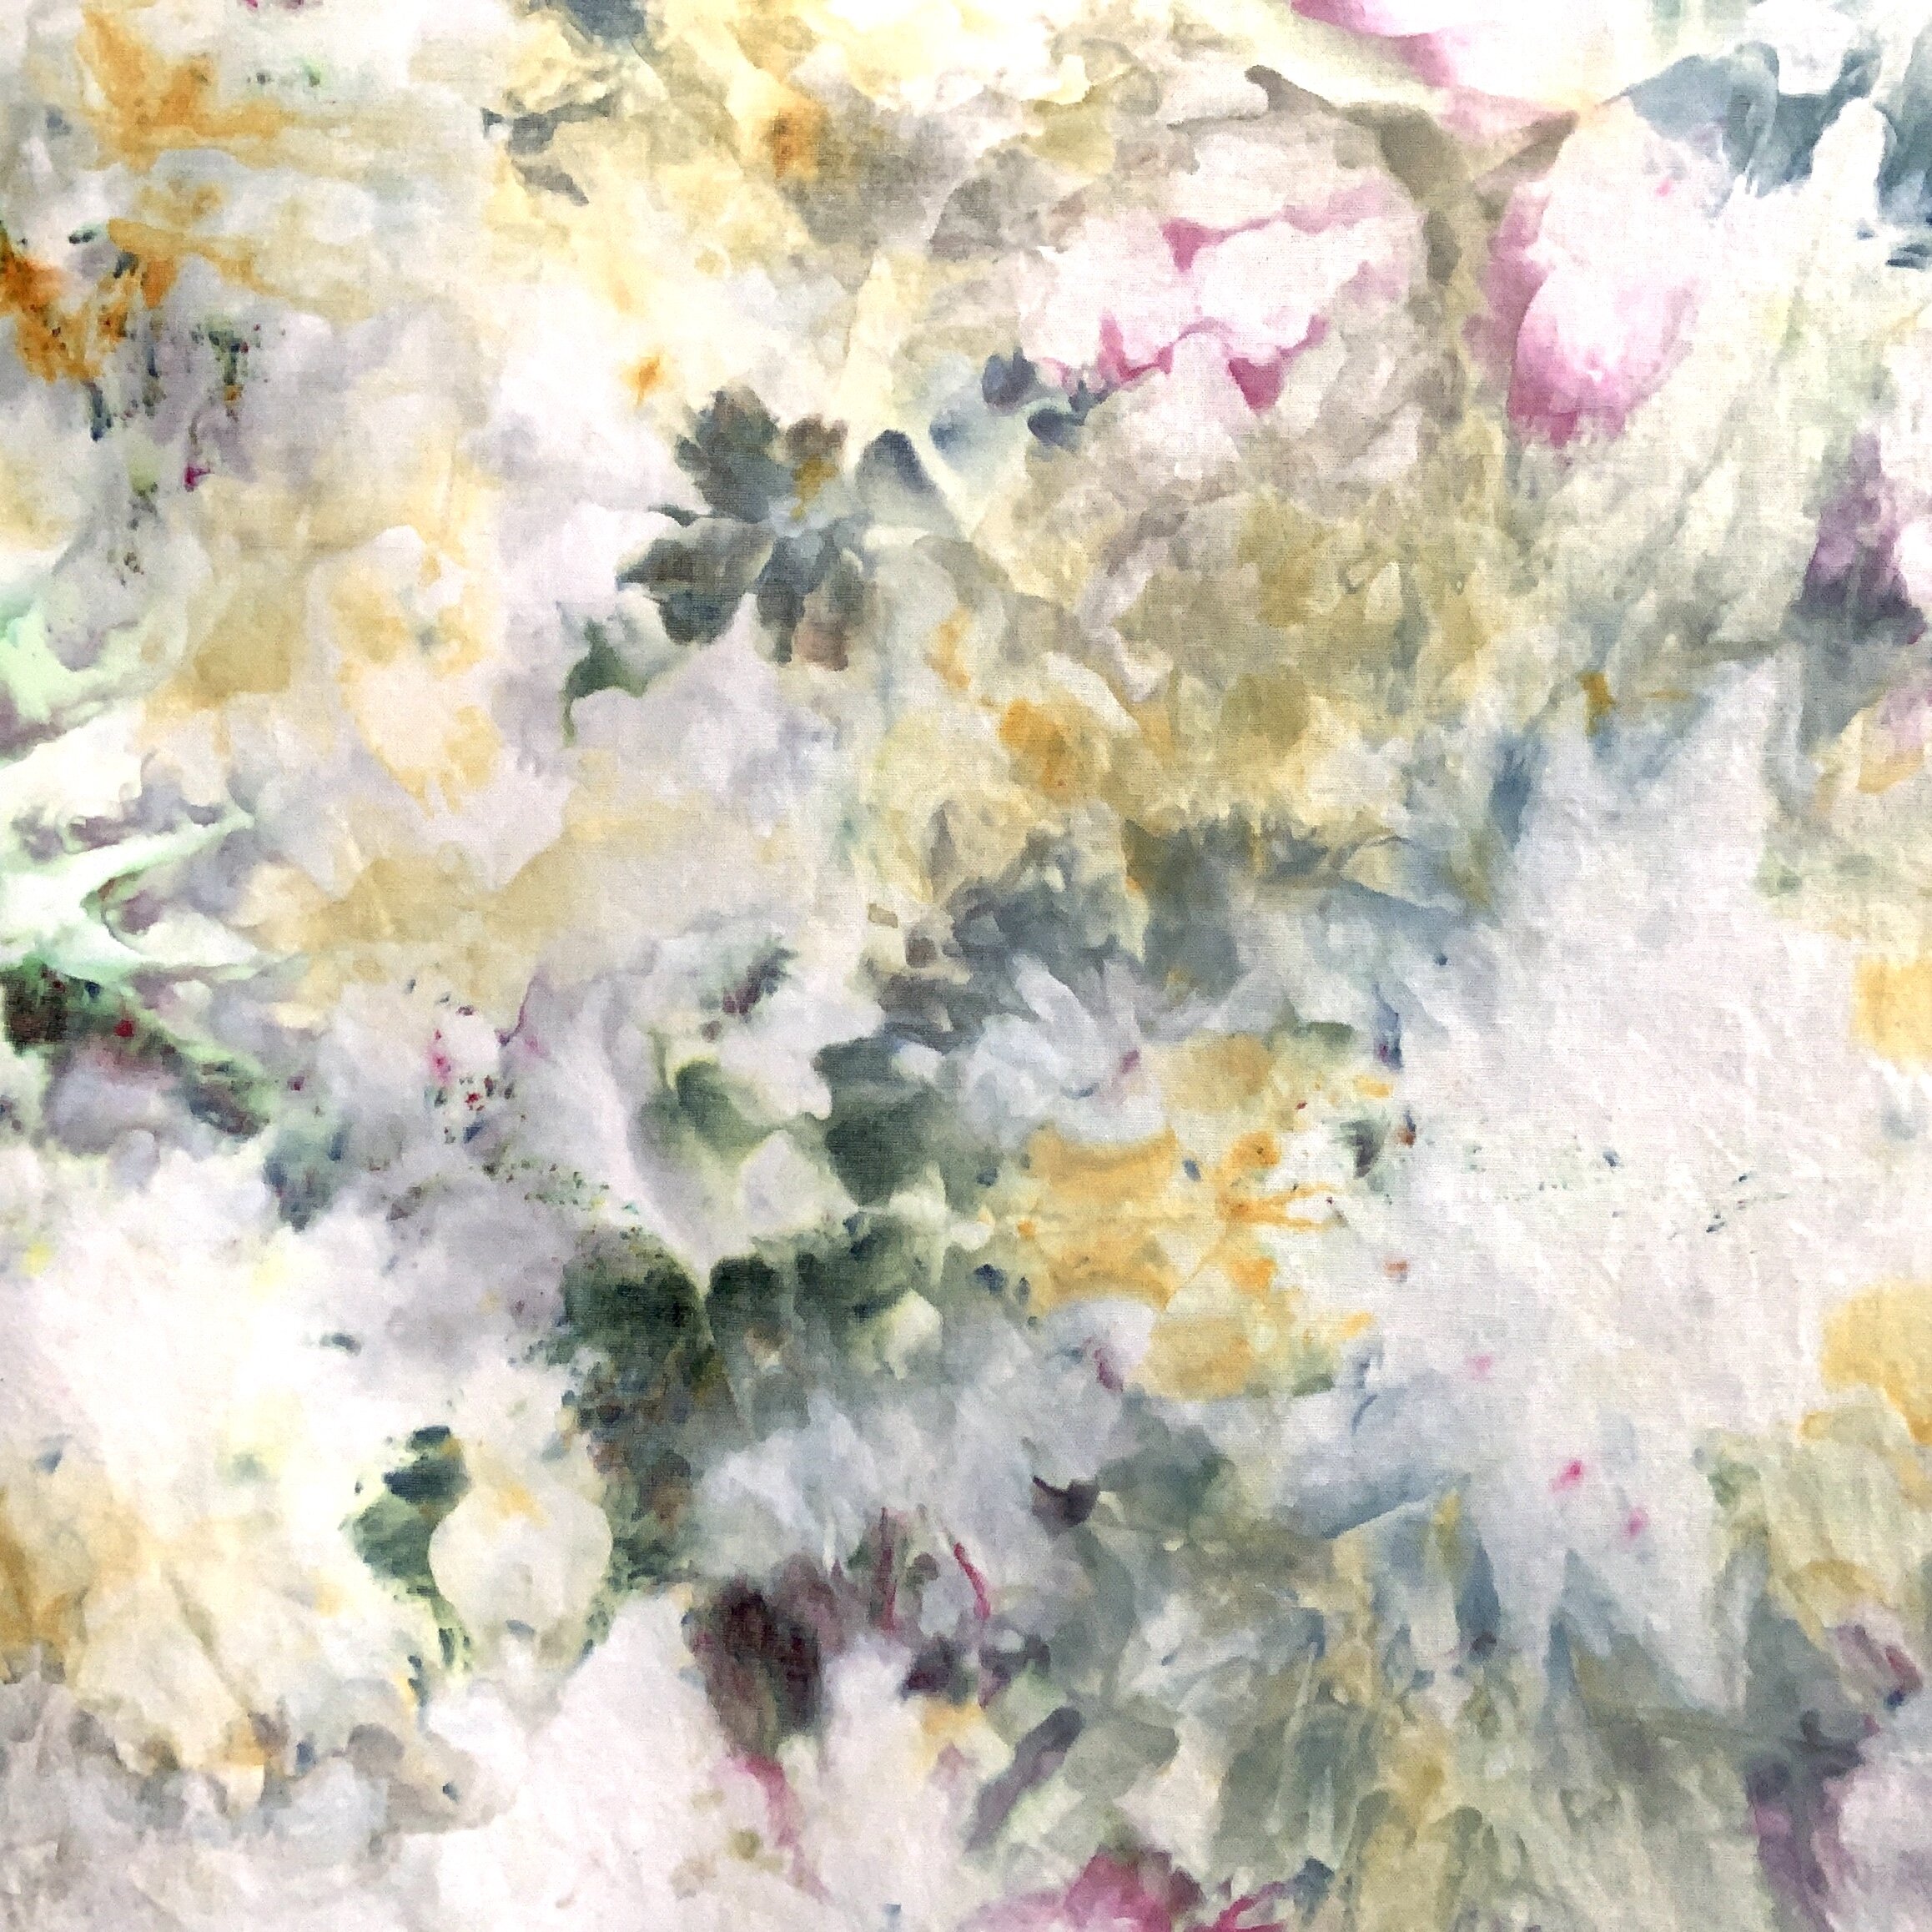
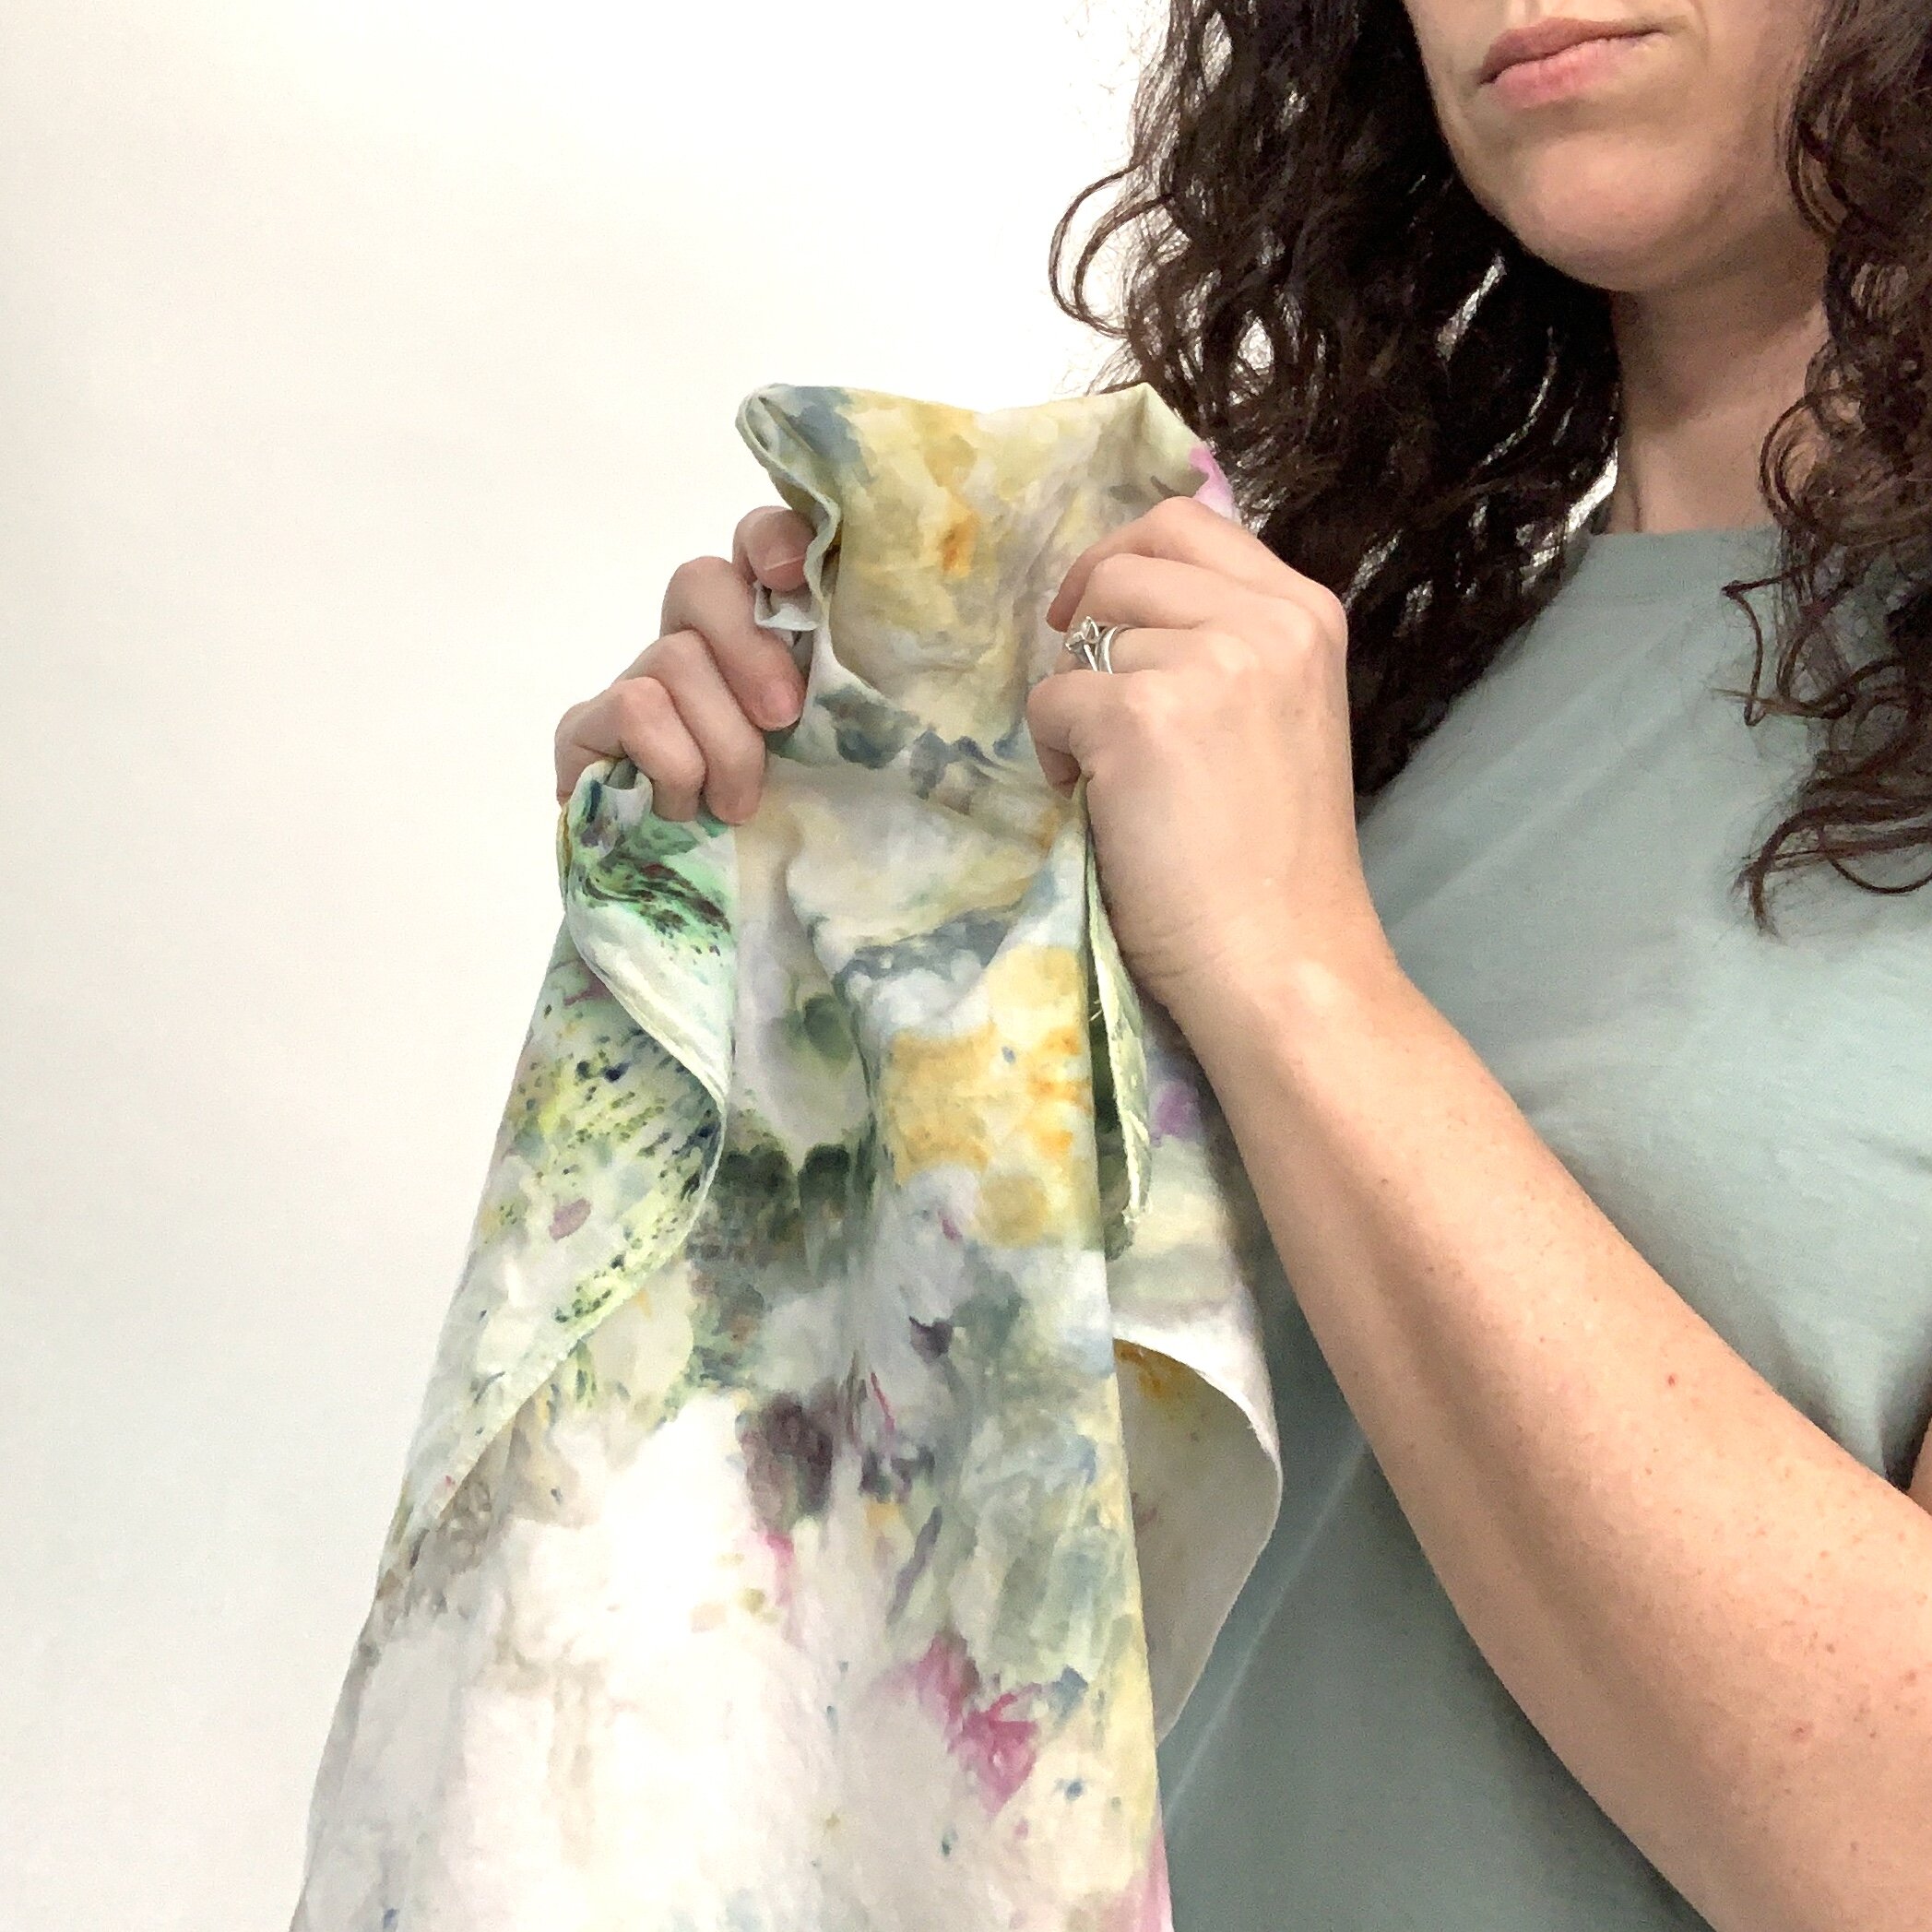
One of my recent passion projects has been to master ice dying. I love that unpredictable water color / ink running look on textiles, and I had dreams of incorporating something like that into my background fabric for future fiber art projects. Plus, I wanted some cool new colorful clothes for summer!

IMG_6555.jpg

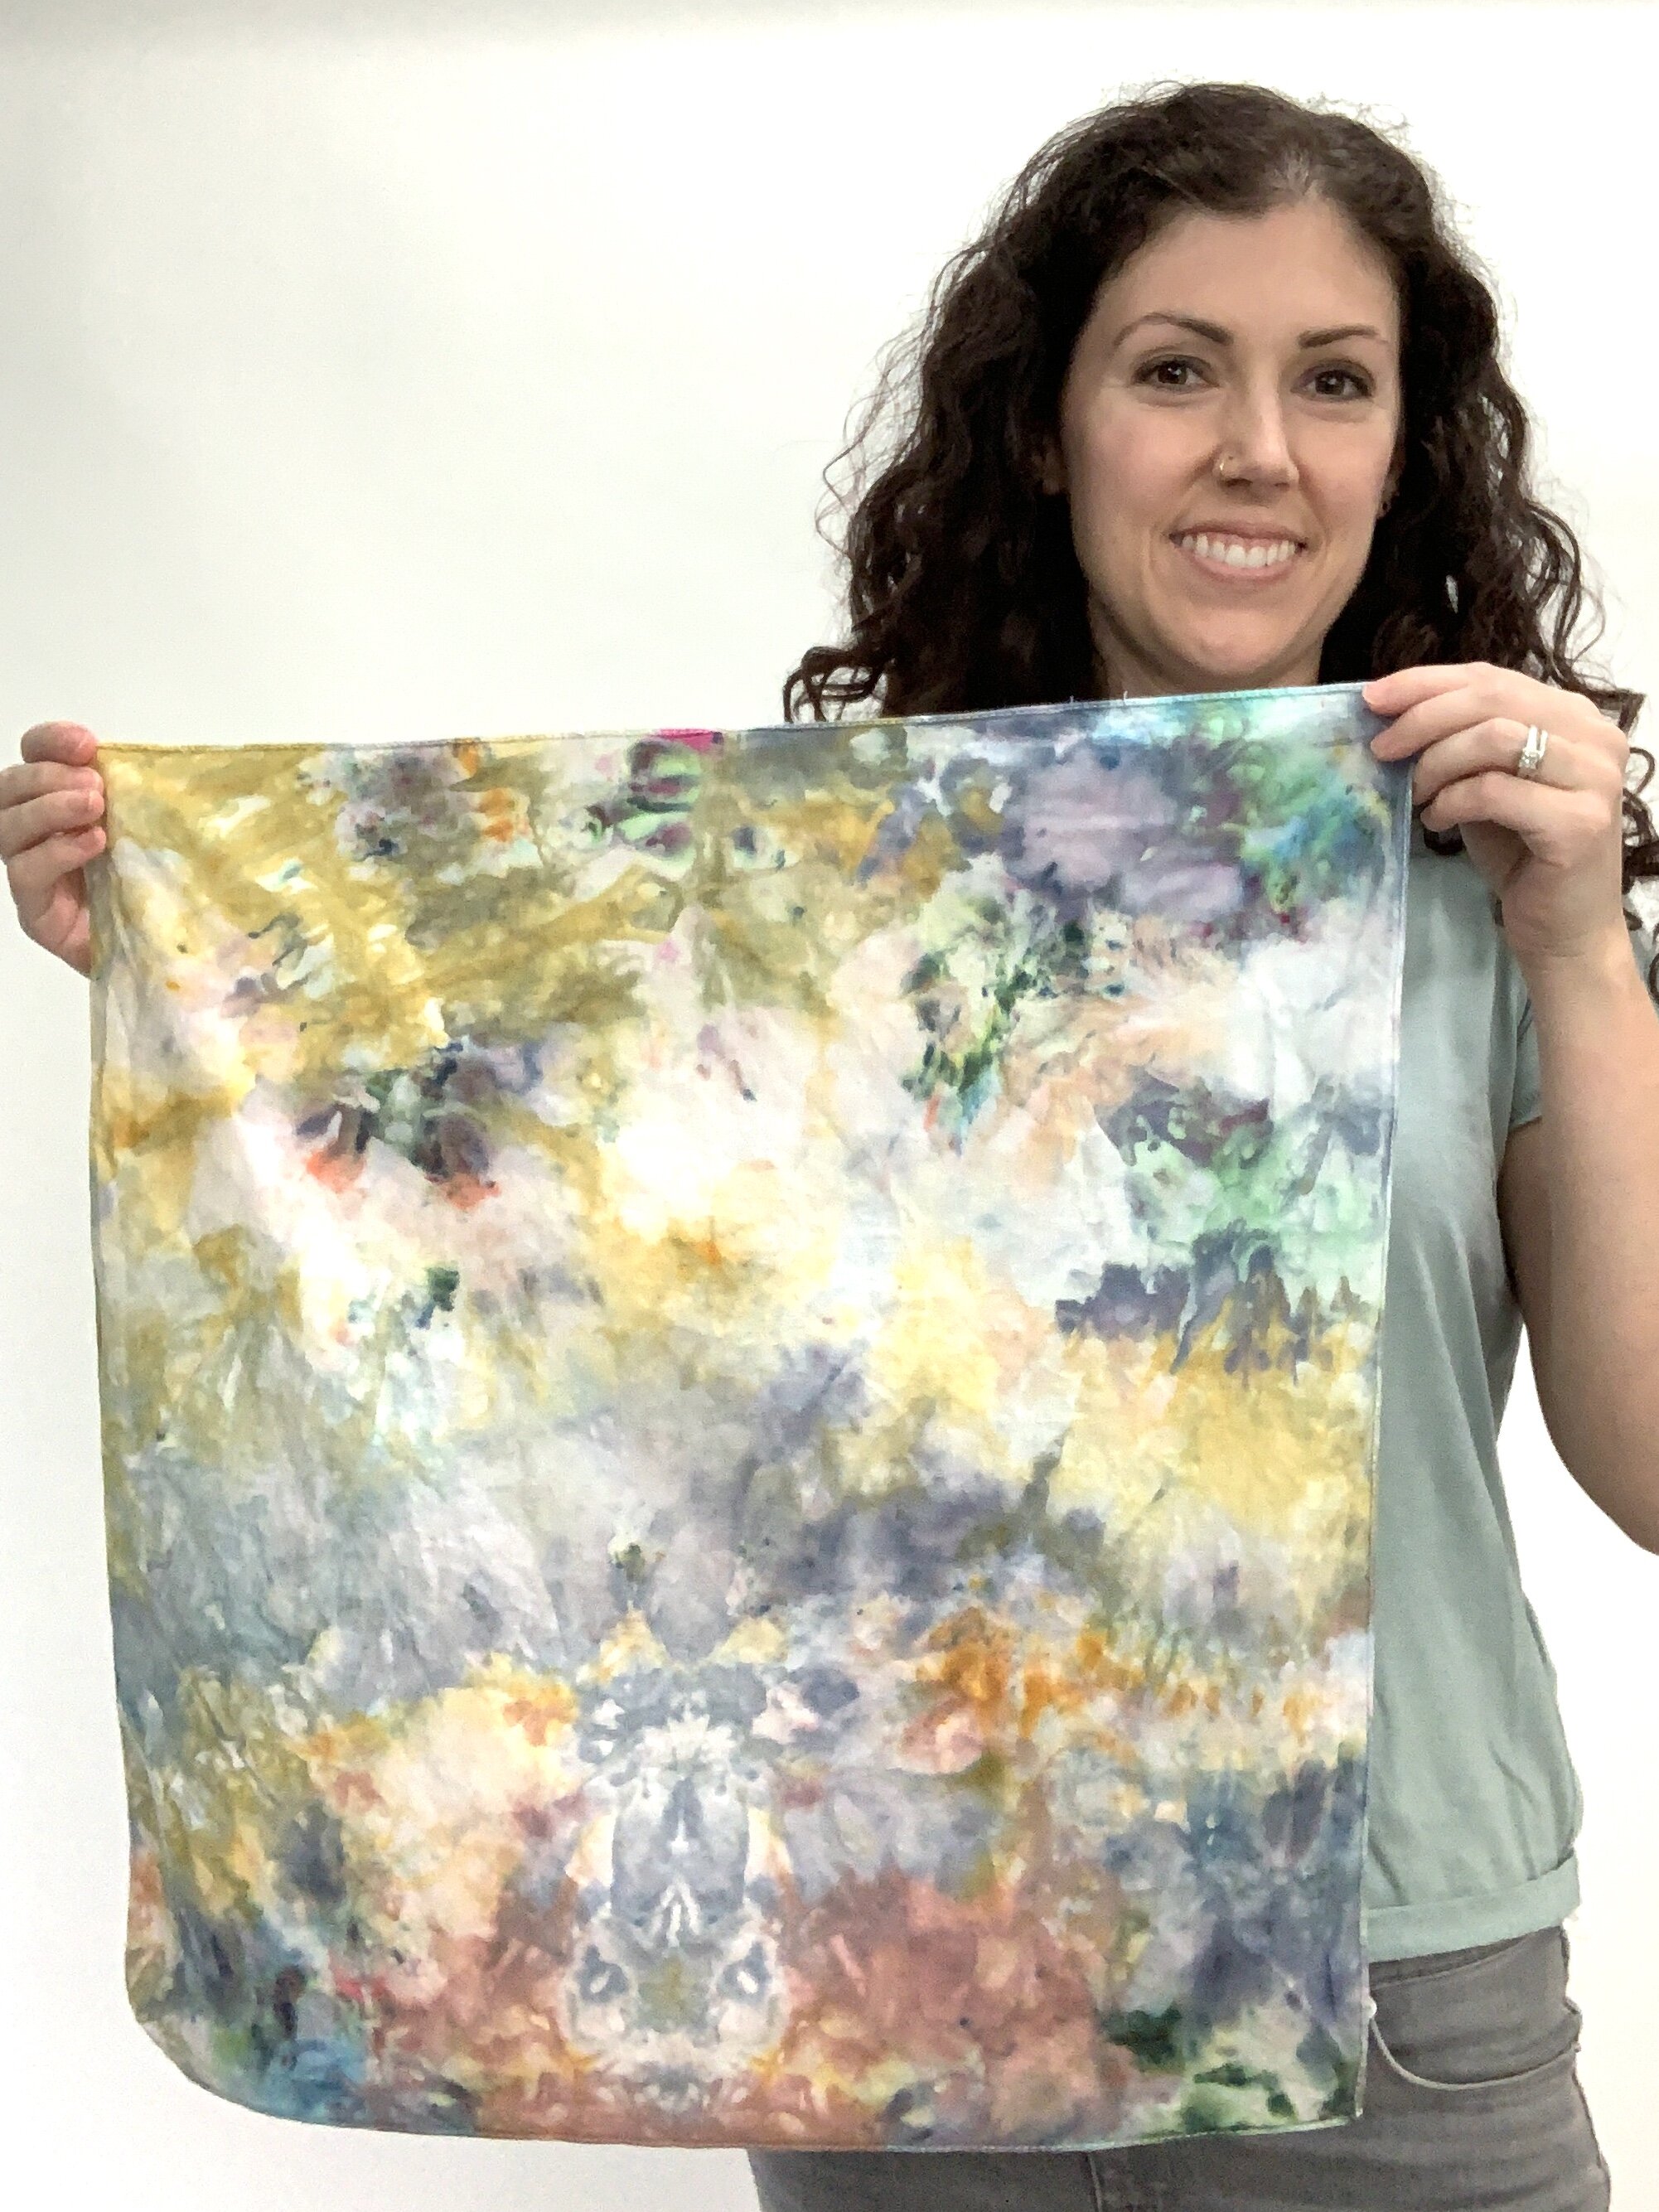
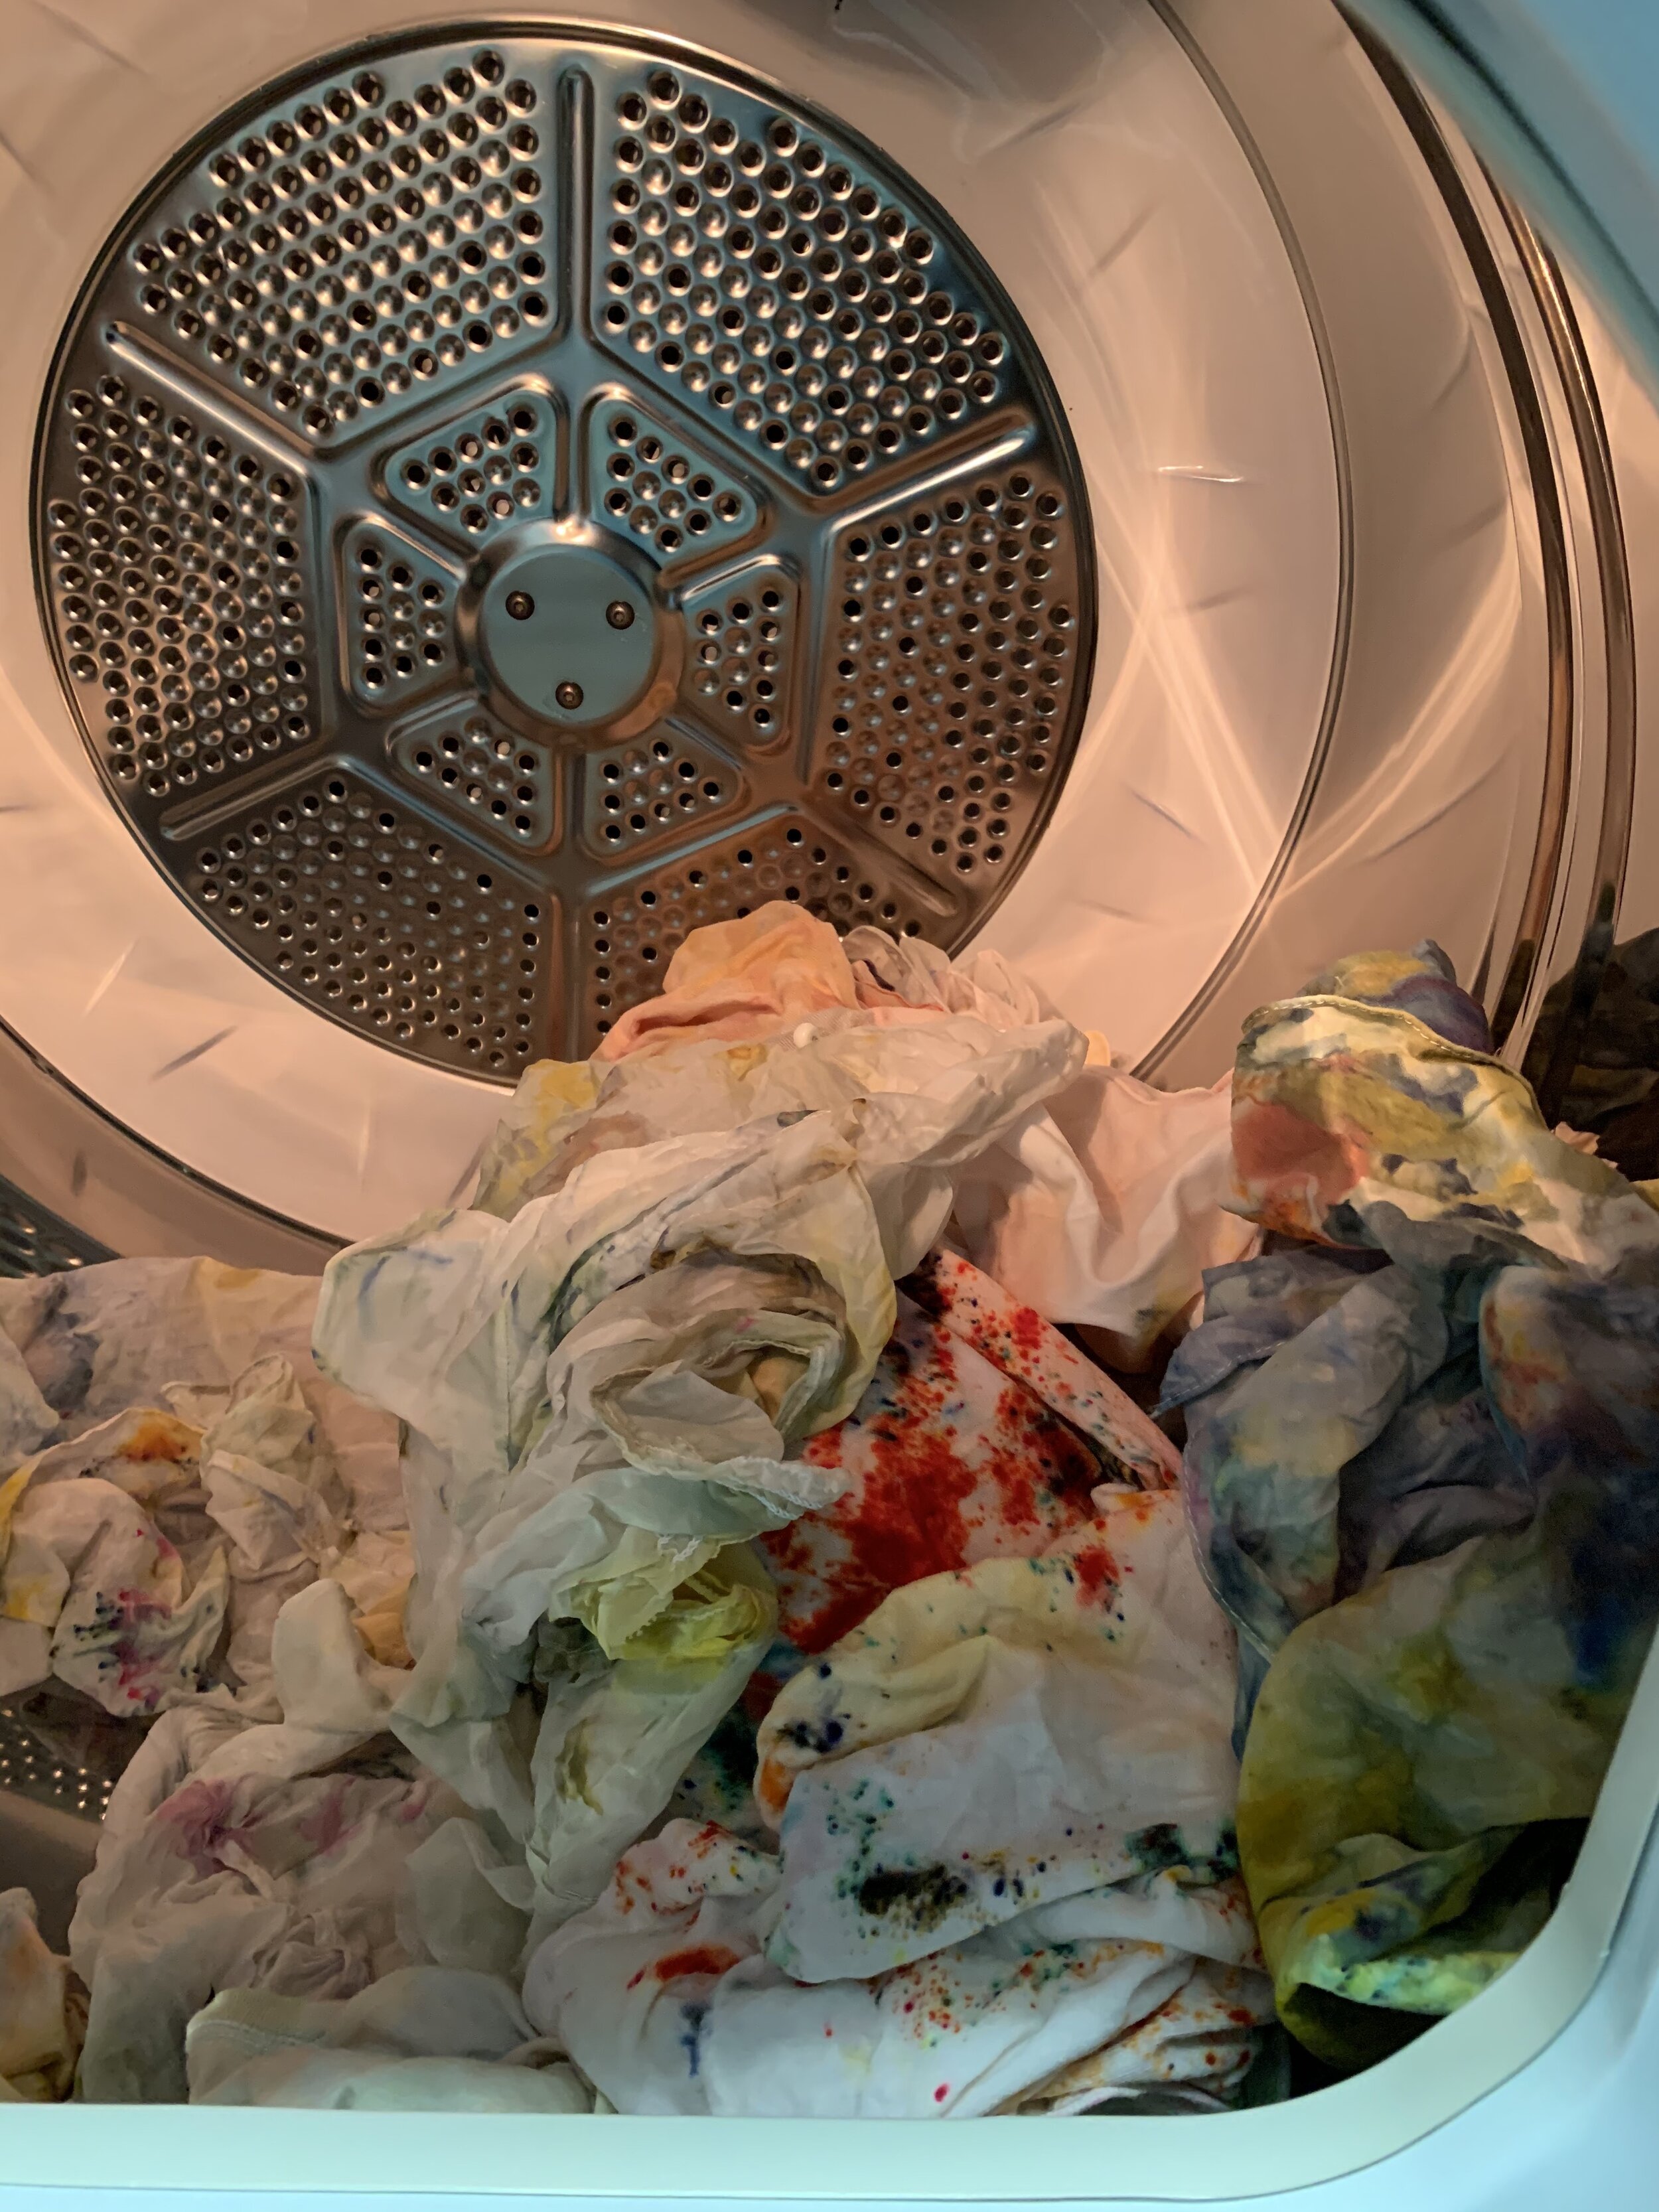
With my schedule wide open due to COVID-19 cancellations, I read up on ice dying, collected materials, and gave it a go. My fist batch was a huge disappointment, but I learned a few things and kept at it. Here’s my DIY tutorial on ice dying (including all of my lessons learned along the way). This is such a fun summer project - use these hot days to your advantage!

IMG_7073.jpg

The beauty of ice dying is you have almost no control over the outcome. Sure, you can choose your colors and garments, you can sprinkle the dye or dump concentrated sections of dye, but other that that, the ice is going to decide your pattern. Try scrunching up your fabric, try laying it flat, try dying a second time overtop of your first round, if you’re not completely happy with the results. Just have fun!

Check out the 60 second process video at the end of this post so you can see the magic for your self.

IMG_6681.jpg

SUPPLY LIST

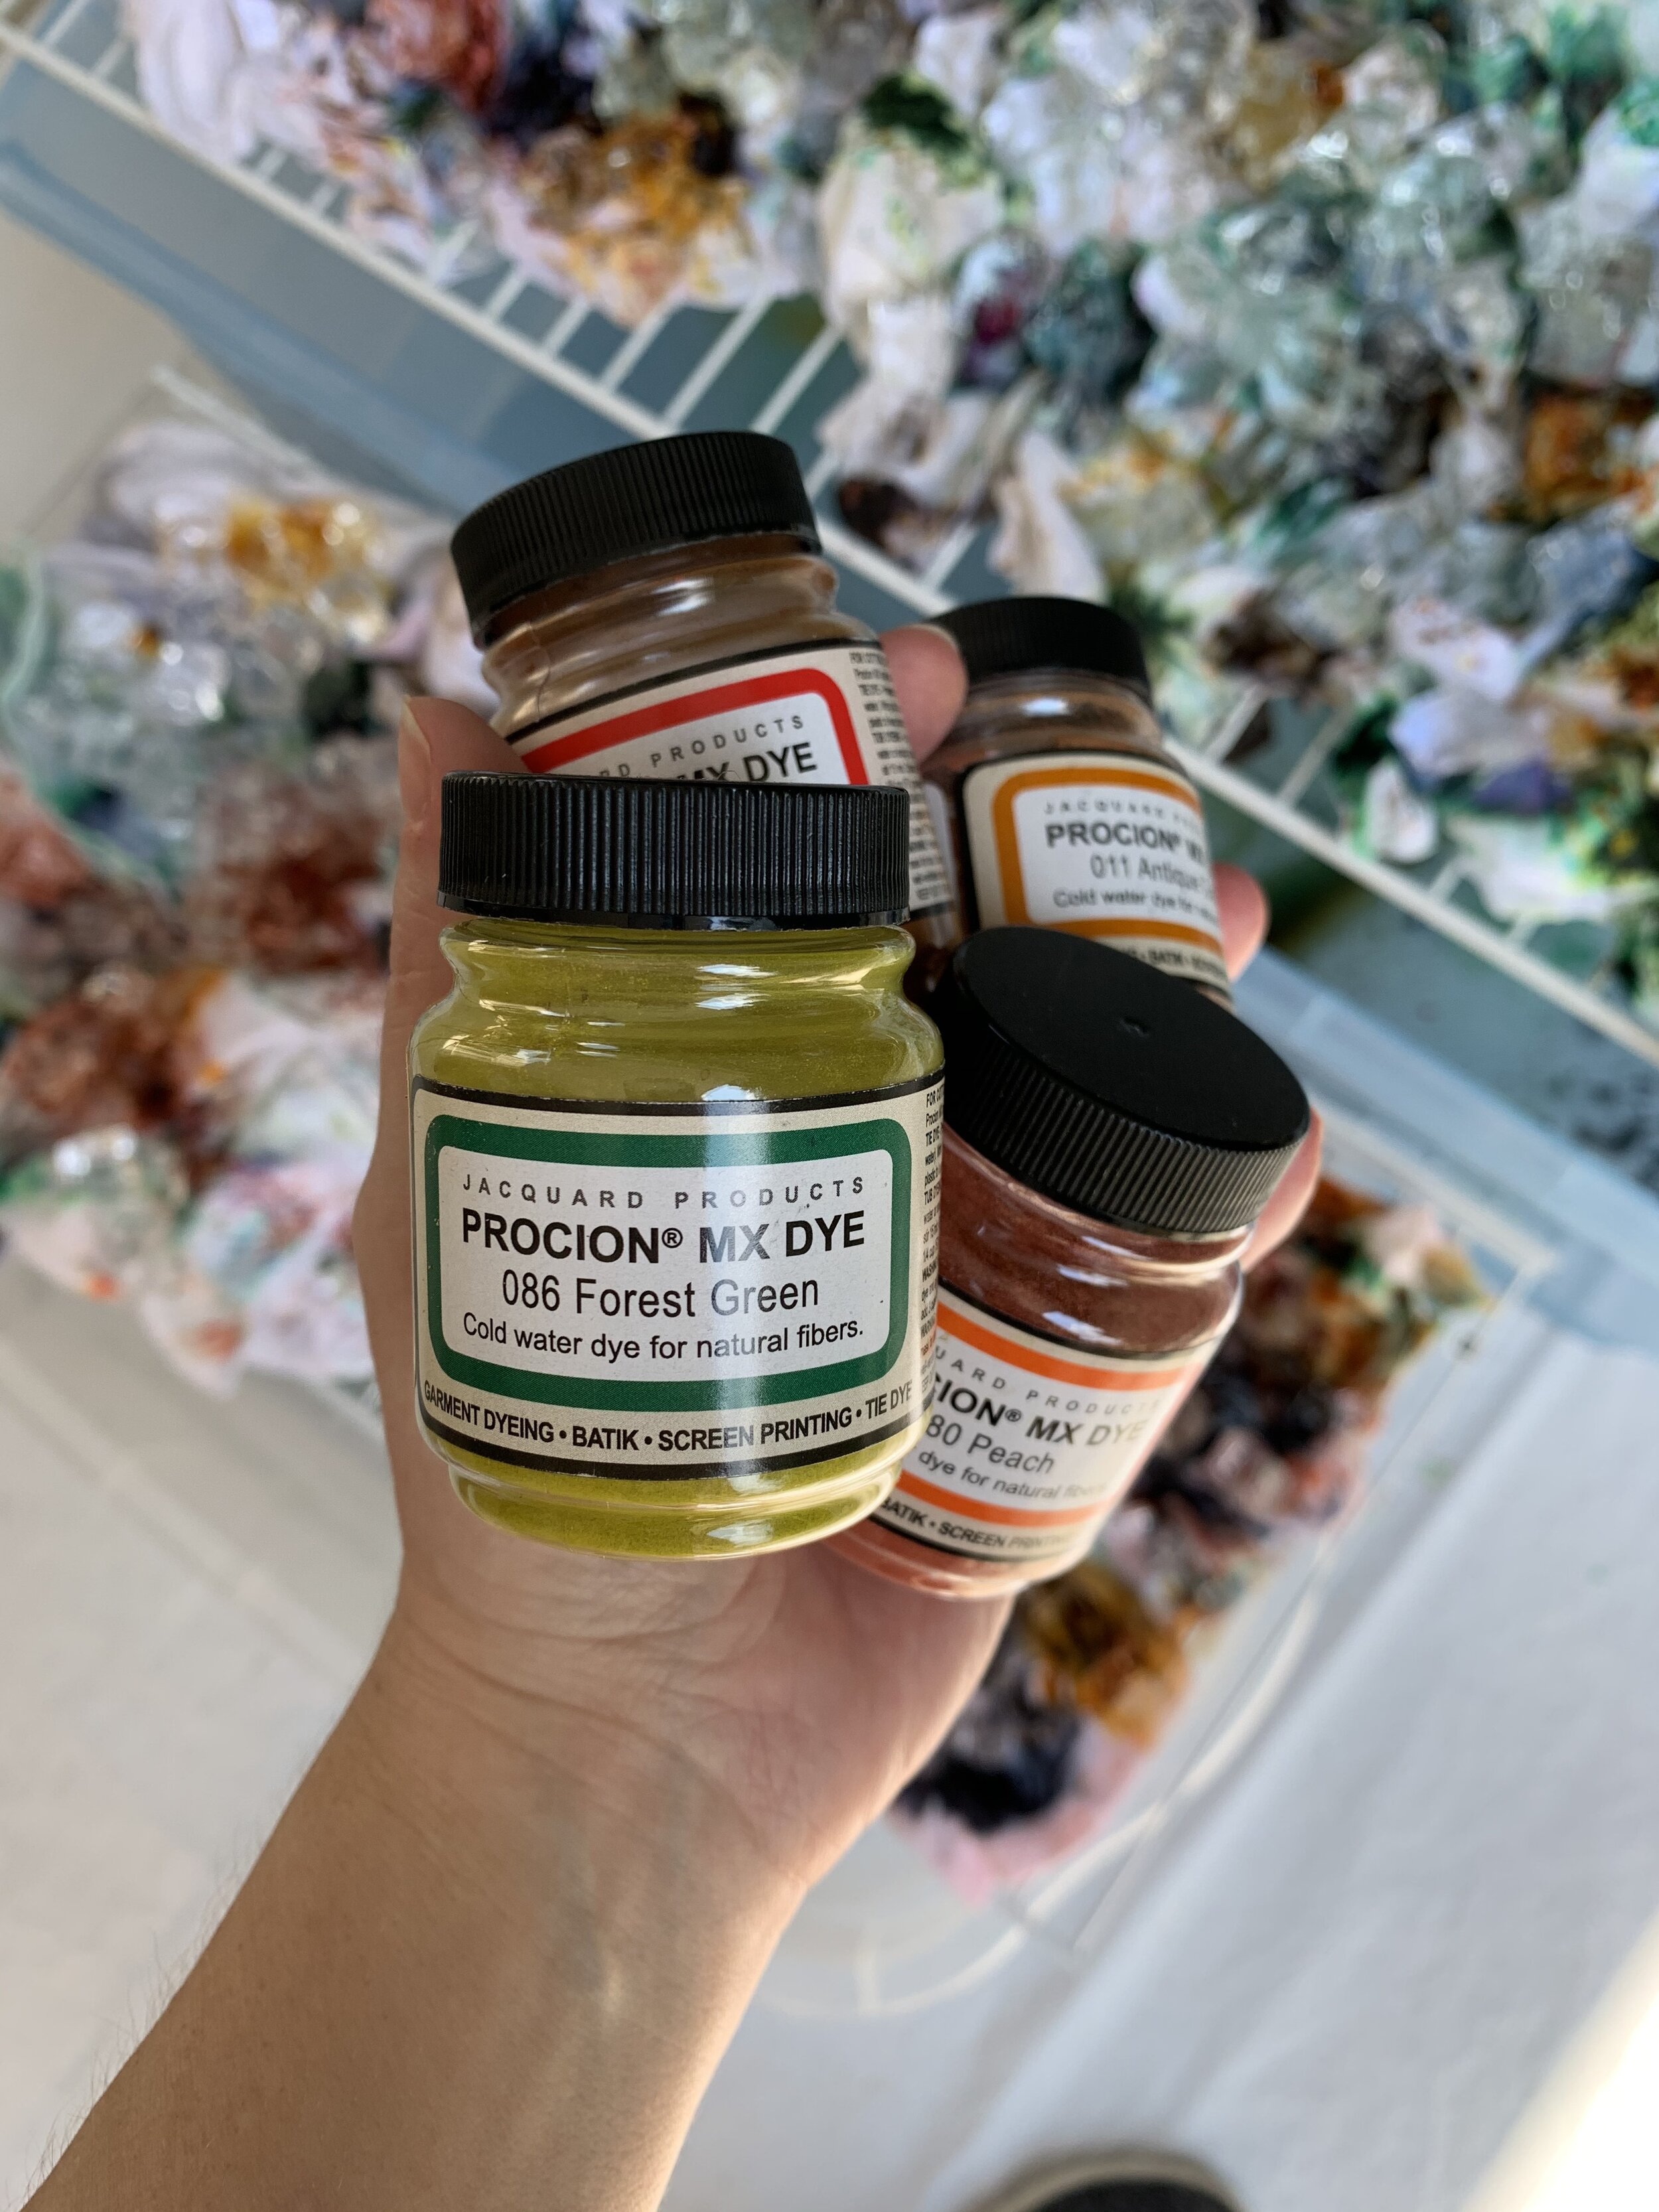
DYE: You’ll need a high quality powder dye. I tried a few dye products and had the best results with Jacquard Procion MX Fiber Reactive Cold Water Dye which can be purchased on Amazon or Dick Blick. There’s a huge range of colors, and the dye yields wonderfully vibrant colors on the fabric.

LESSON LEARNED: I know it’s tempting to use Rit dye. I know this because that’s what I did, and why my first three batches didn’t work out. Rit dye is easy to find, its inexpensive, they have enough colors to get you started, they even have an ice dying DIY article on their website, but I had zero success with it. Even after adding a Rit dye color fixer product, the color always appeared washed out.

SODA ASH: This can be purchased at fabric stores or online. You’ll mix water with the soda ash to make a soaking solution for your fabric before you dye it.

LESSON LEARNED: Be sure to soak at least 20 minutes.

MASK & GLOVES: we’re in a pandemic so you probably have these already! Wear both when mixing your soda ash, and when sprinkling the dye powder. Both products get airborne very easily and you do not want to be breathing that. Also wear the gloves when coming into contact with the soda ash soak even once the powder has dissolved (it’s caustic). I would recommend wearing the gloves when handling the wet dyed fabric as well so you don’t stain your hands.

SYNTHROPOL: This speciality laundry detergent is great for hand dyed fabrics. You can use it for a pre-wash if needed, and to wash out any excess dye at the end.

ICE: Depending on how many items you’re dying at once, you’ll need at least a 10 pound bag of ice.

LESSON LEARNED: Just go ahead and buy the $2.79 pound bag of ice from the store. The ice maker in your fridge probably can’t keep up with this project.

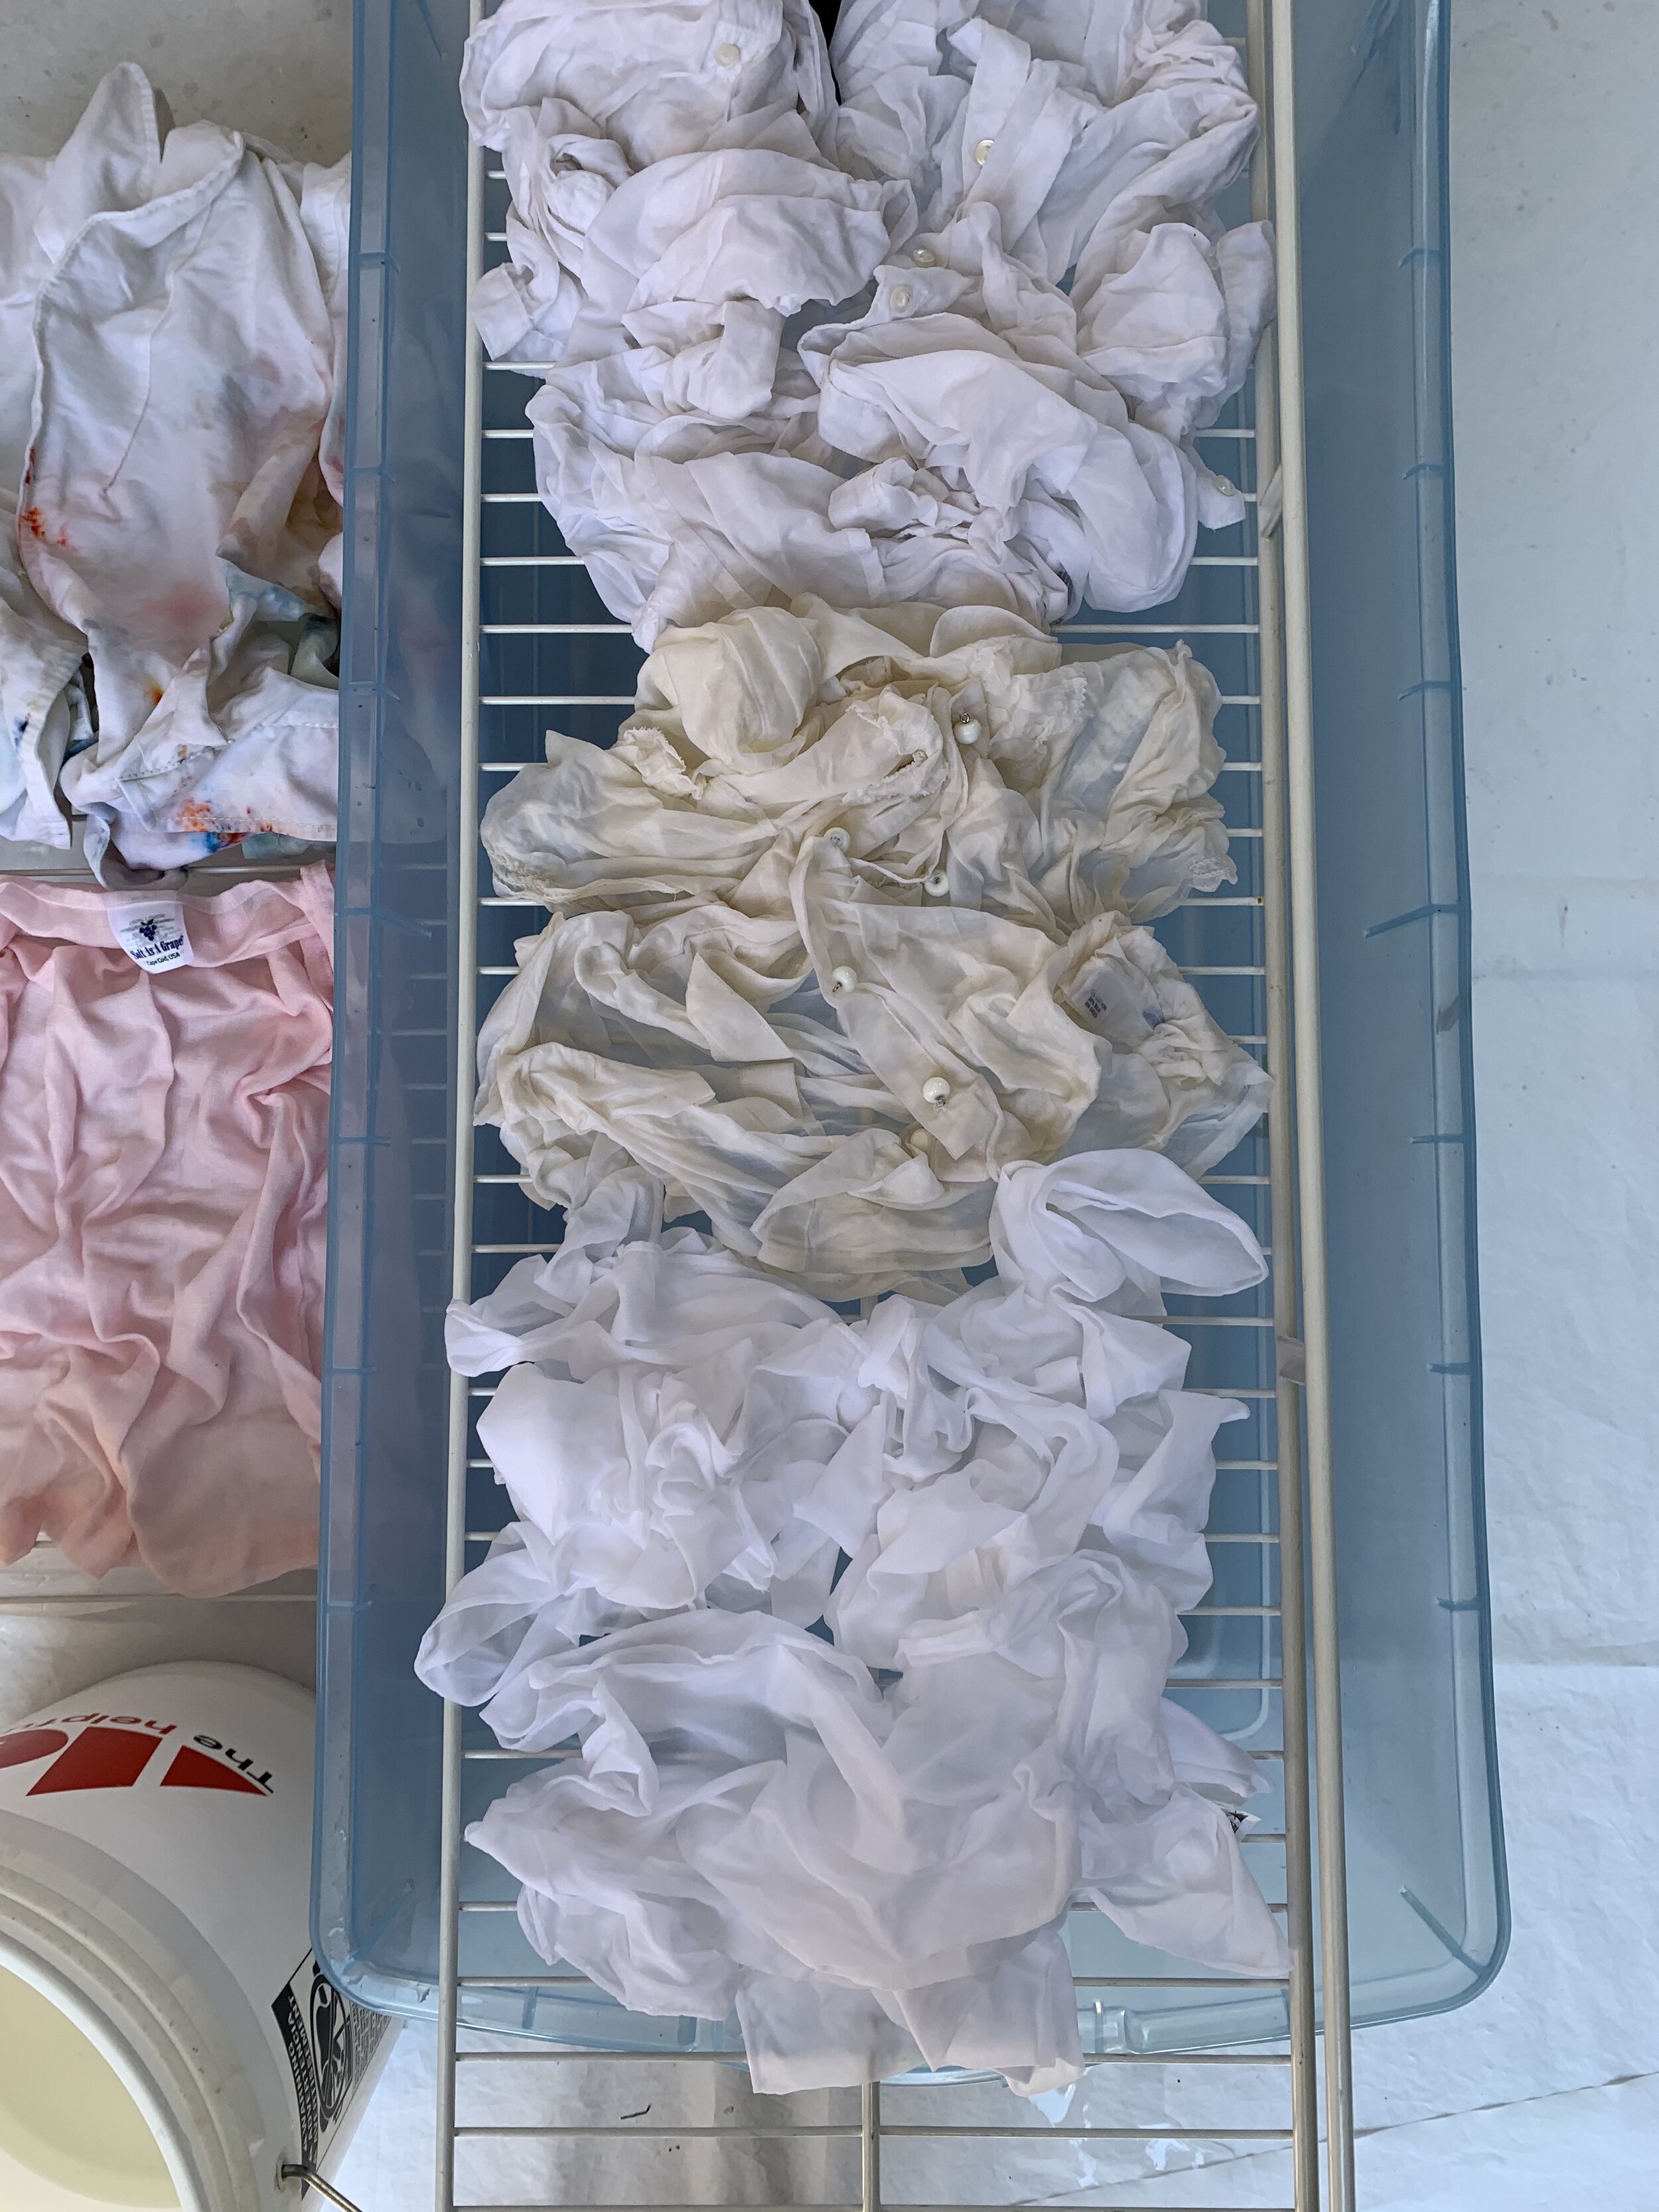
DYE AREA THAT DRAINS: Use a tub or tray (that’s deep enough to catch an inch or two of water) with a rack overtop. I used large storage bins and some wire shelving that I already had on hand from a closet up-fit. You could also use a a cookie cooling rack, a window screen, a dish drain…get creative and don’t feel like you have to spend a lot here!

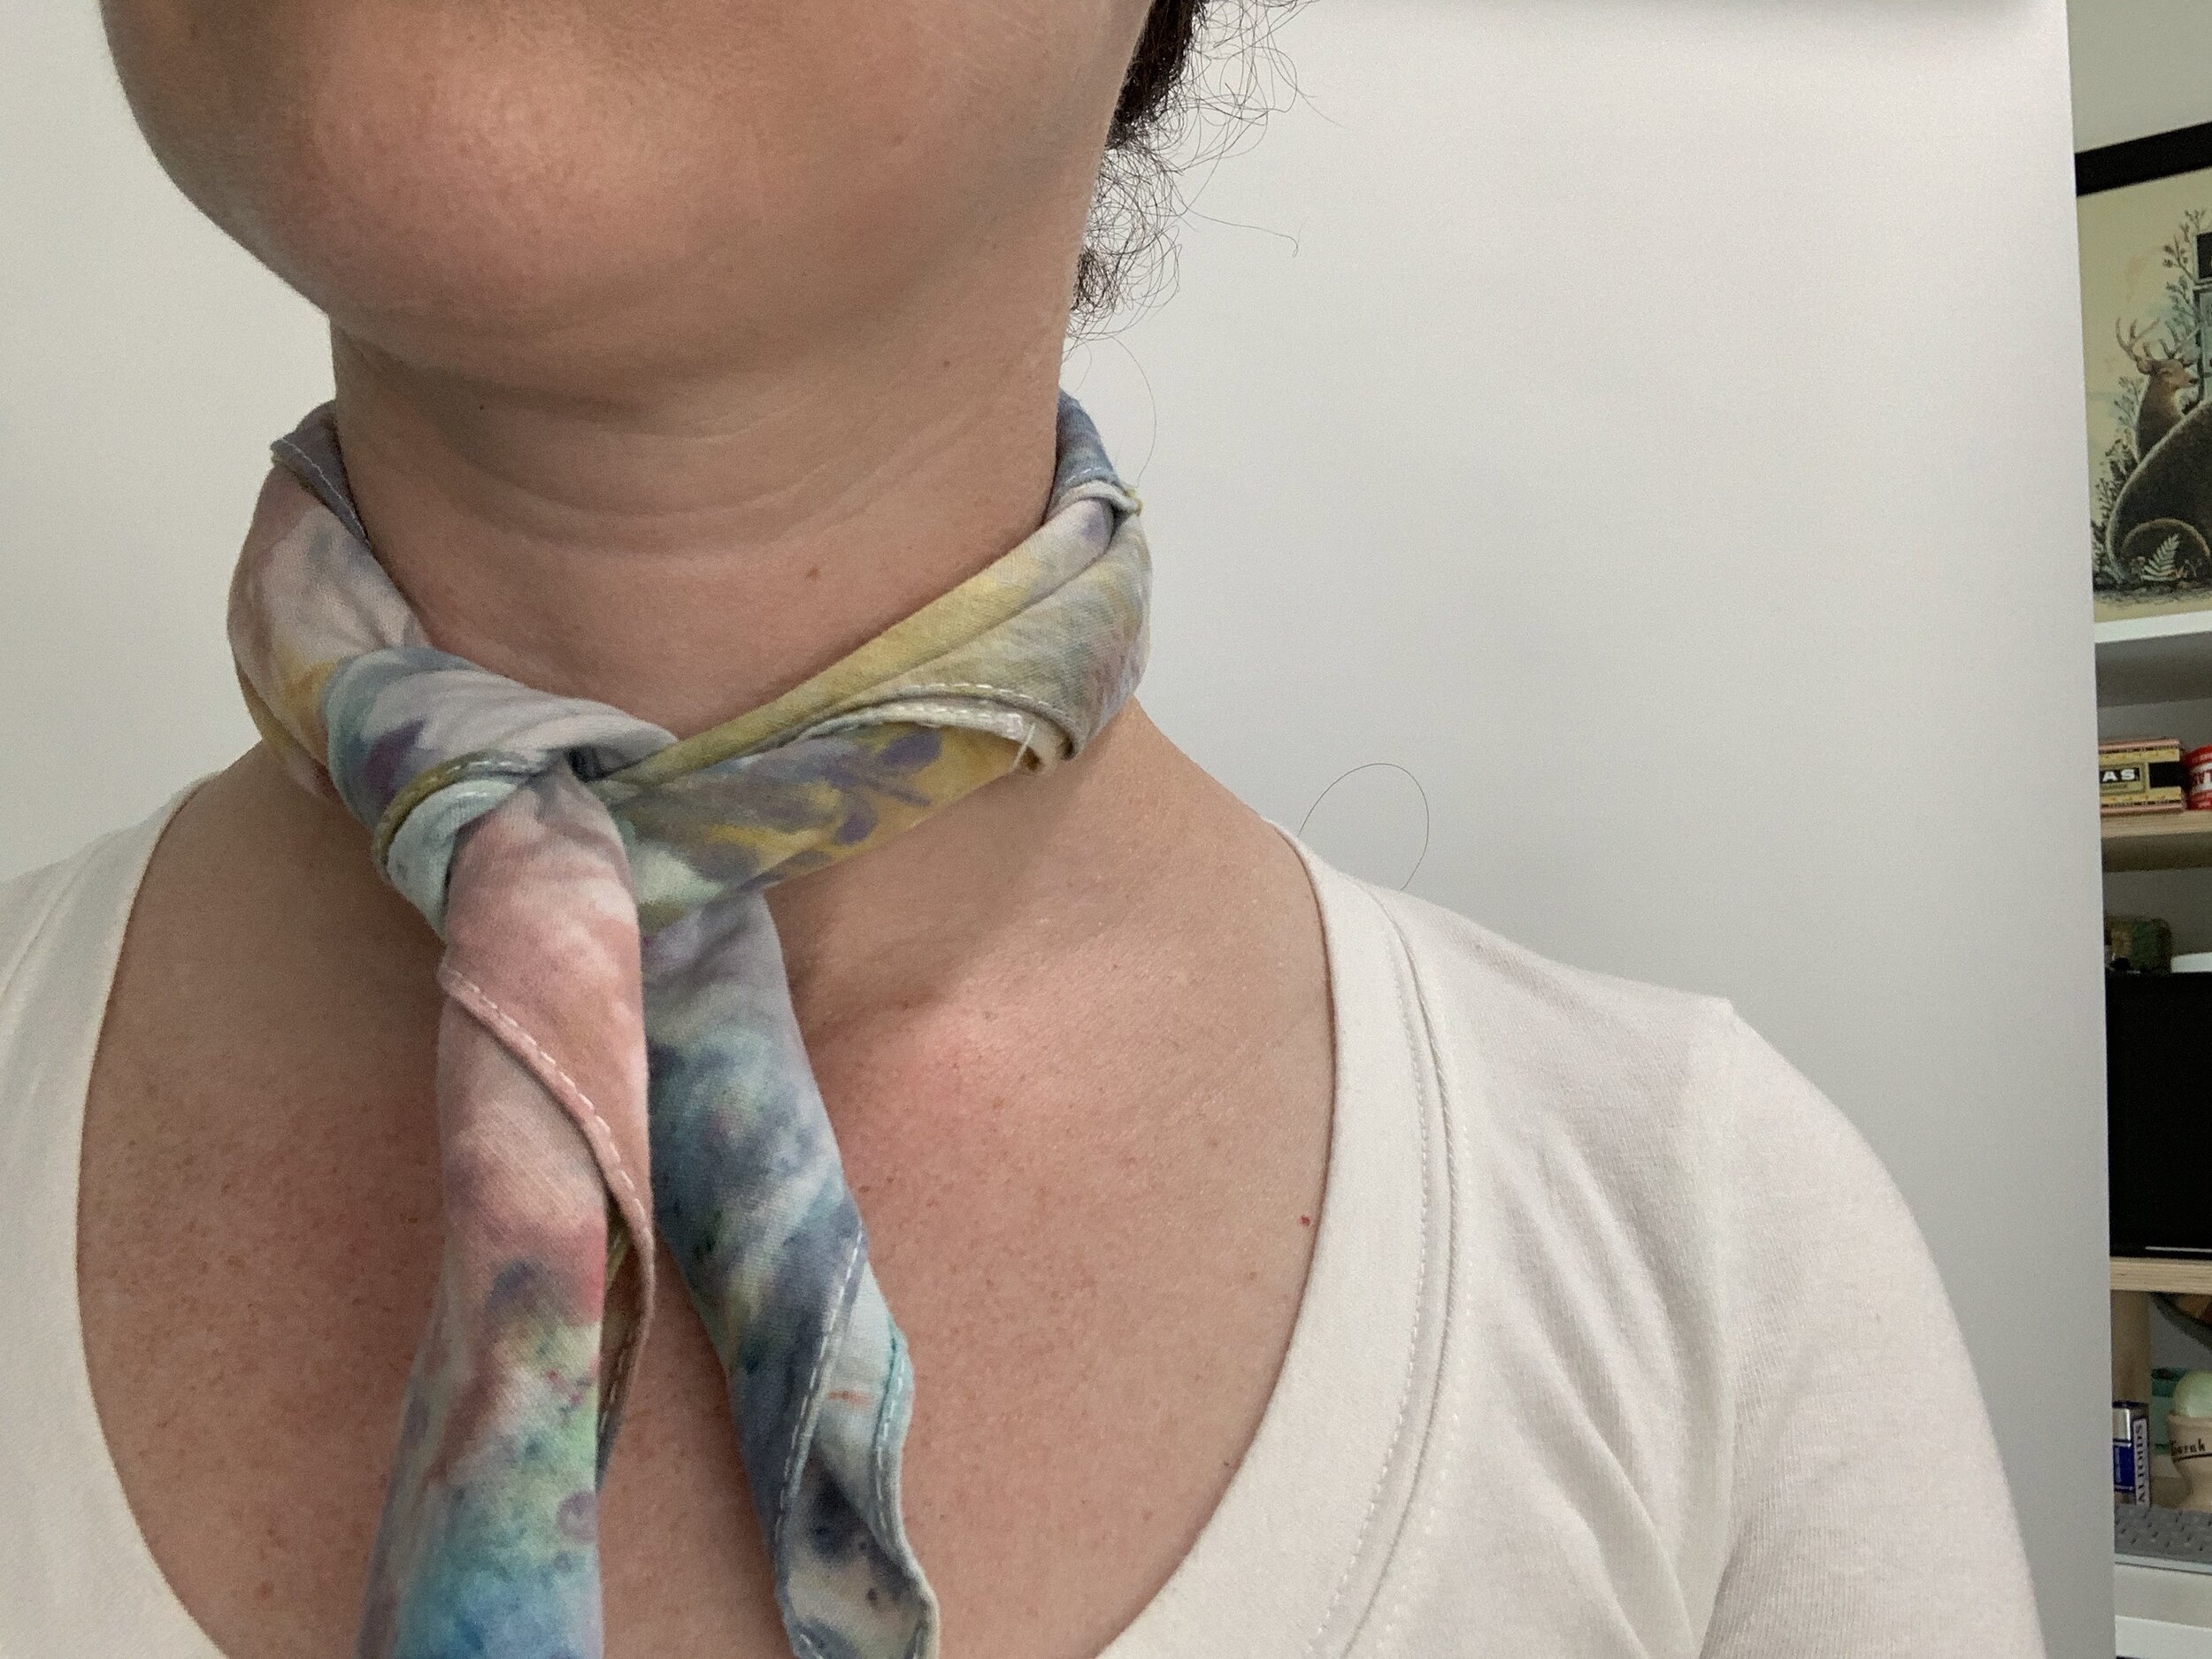
FABRIC: I found white or light colored clothing at Goodwill that had a high cotton content. I also purchased some blank white items from the craft store (bandanas, t-shirts, zipper pouches, etc.)

10 Step DIY:

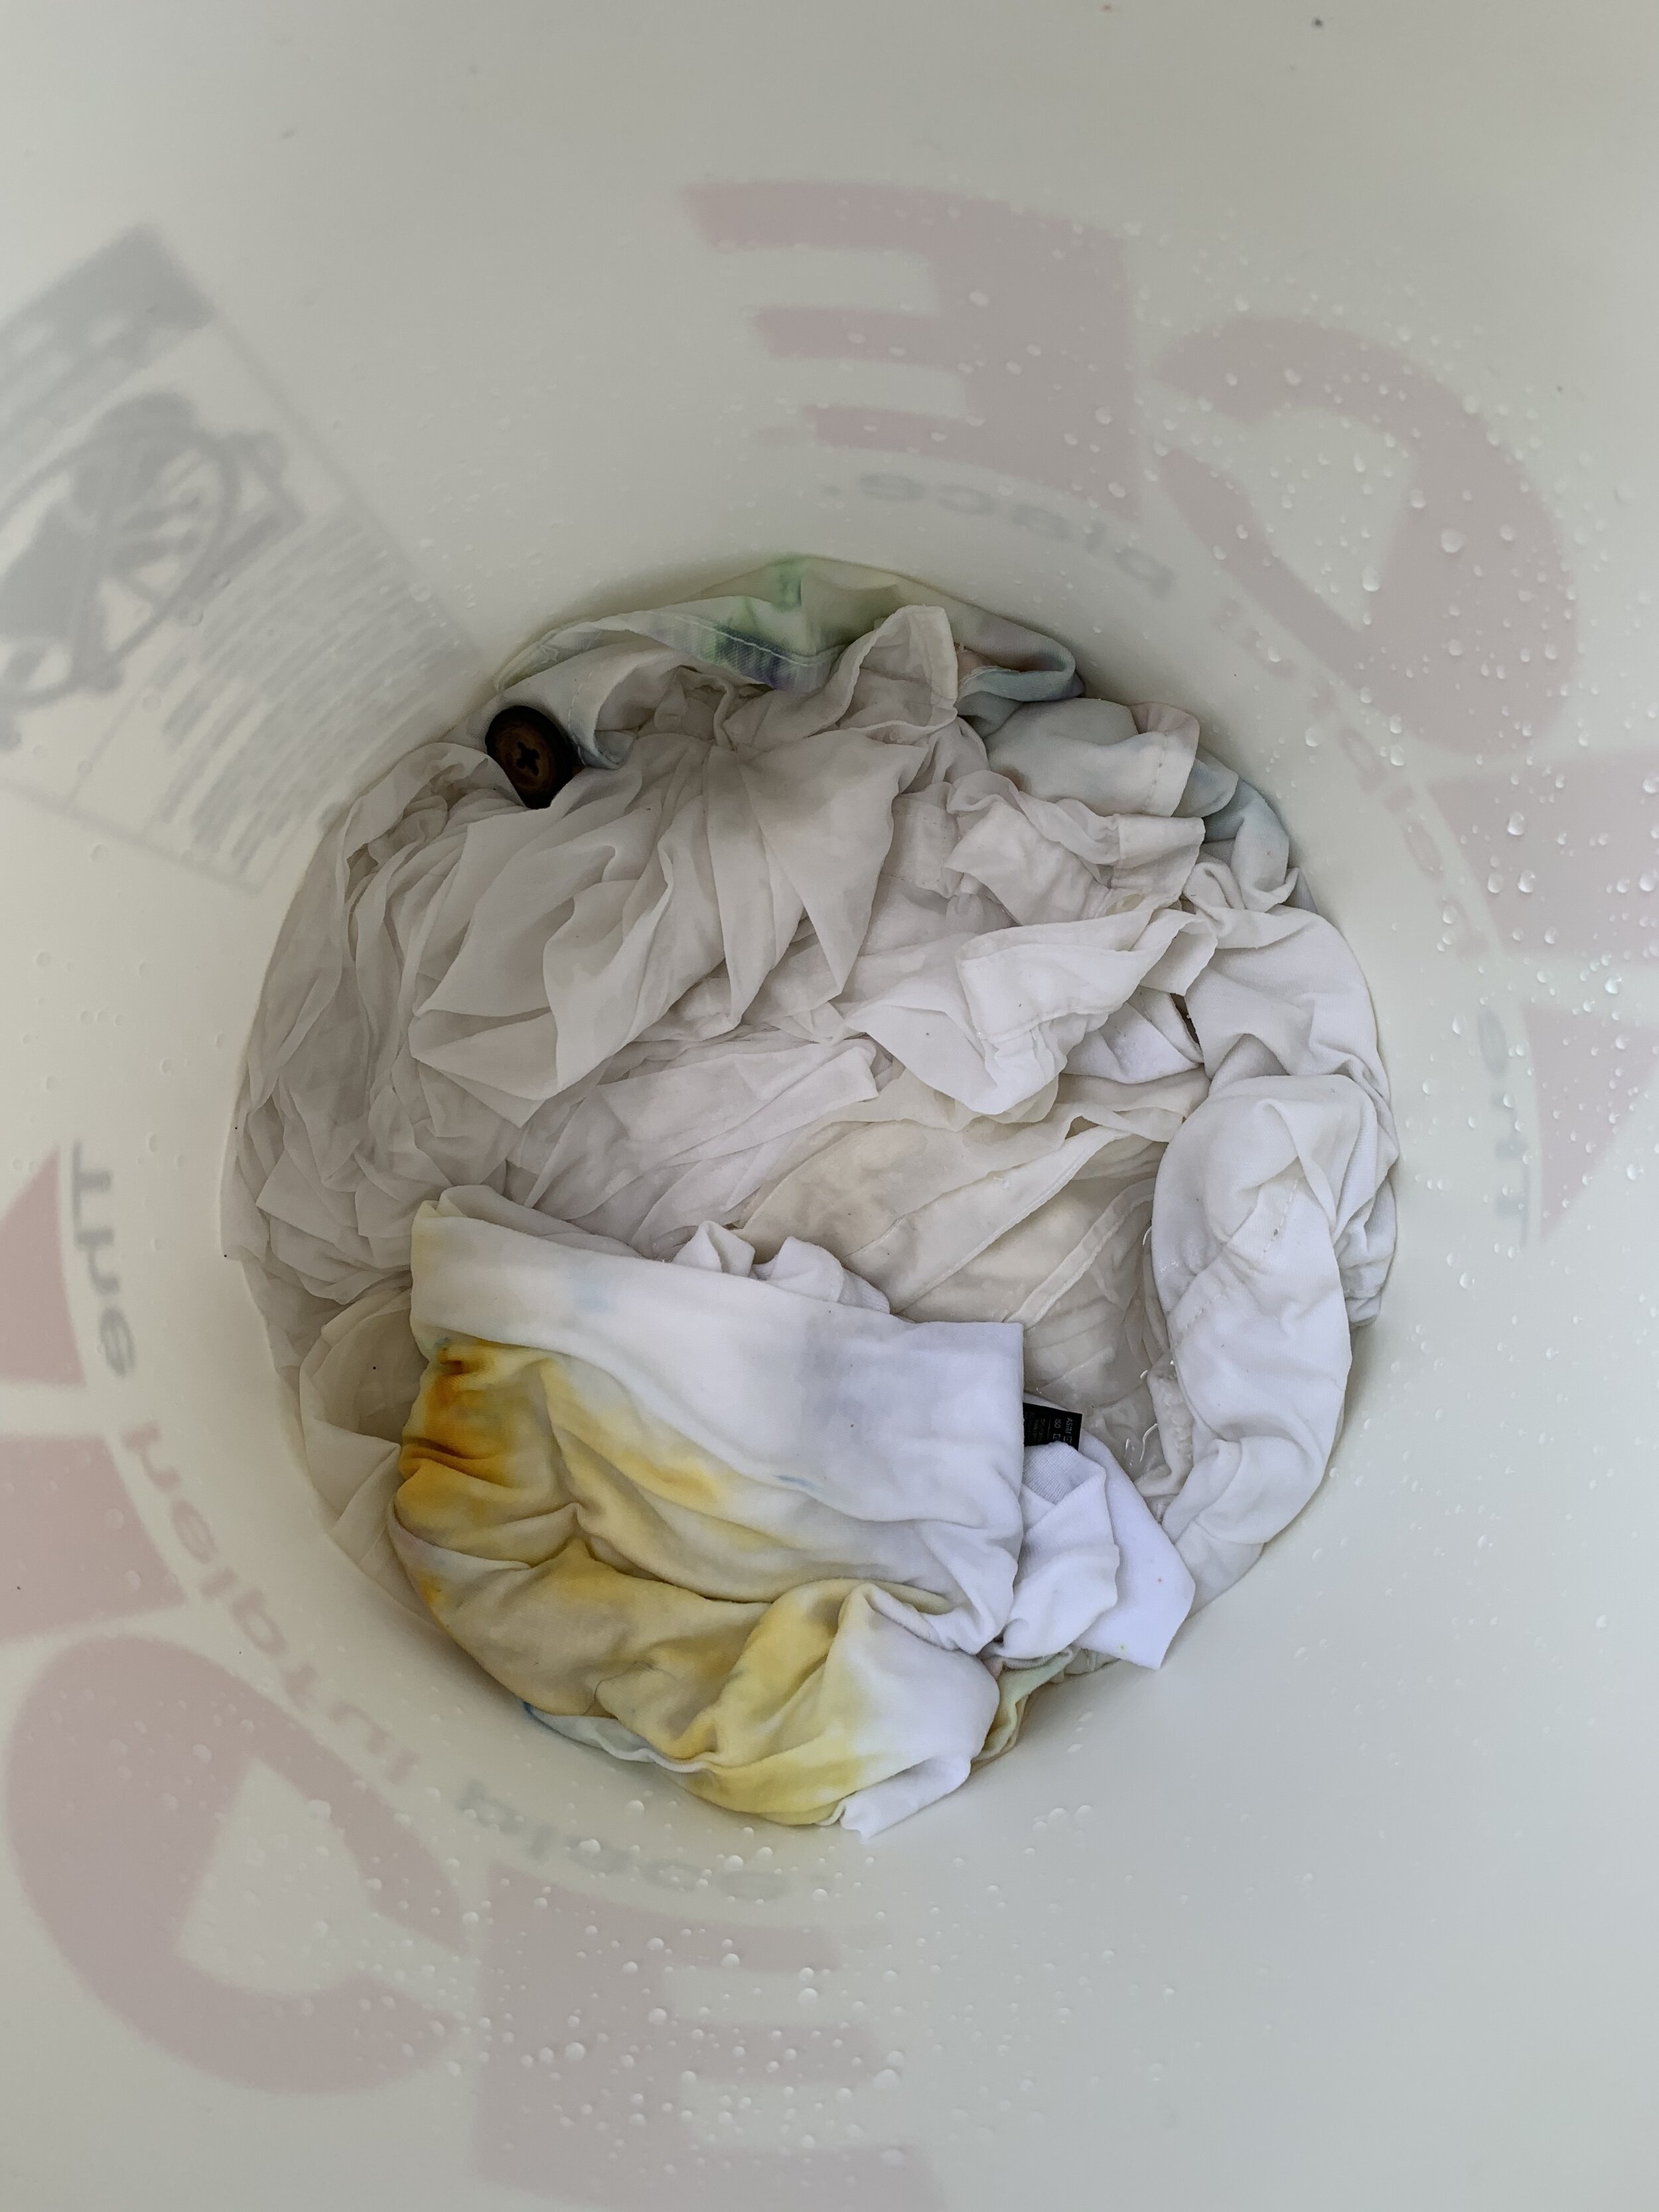
  1. Pre-wash the fabric with Synthropol and allow to dry.

  2. Mix soda ash and water, and soak fabric for at least 20 minutes.

  3. Wring excess soda ash water, and place fabric on your racks.

  4. Place generous amounts of ice over clothing.

  5. Sprinkle powder dye over ice. If you want intense color sections, use more dye in one area. If you want a light wash, sprinkle dye lightly over ice.

  6. Allow ice to melt.

  7. Once ice is melted, squeeze fabric to remove excess dye.

  8. Rinse fabric under cold tap water to remove excess dye.

  9. Wash with Synthropol and allow to dry.

  10. Iron if needed.


Flat Out Under Pressure Competition

IMG_6018.jpg

Every year in June the Metropolitan Arts Council hosts the Flat Out Under Pressure competition for local artists. It’s a fun thing the community looks forward to every year. We bring our surfaces to get stamped the morning of the competition, then have 24 hours to complete the work. This year, due to the COVID19 pandemic, the whole thing is virtual. Instead of getting our surfaces officially stamped at the MAC office, we signed and dated the blank piece before starting.

IMG_6021.jpg

The last 2 years I have summited a needle felted wool landscape, but this year I changed things up just a bit. Since MAC is the whole reason I learned rug hooking last year (thanks to a continuing education grant) I thought it would be cool to show them what I have been doing with my new skills!

IMG_6027.jpg

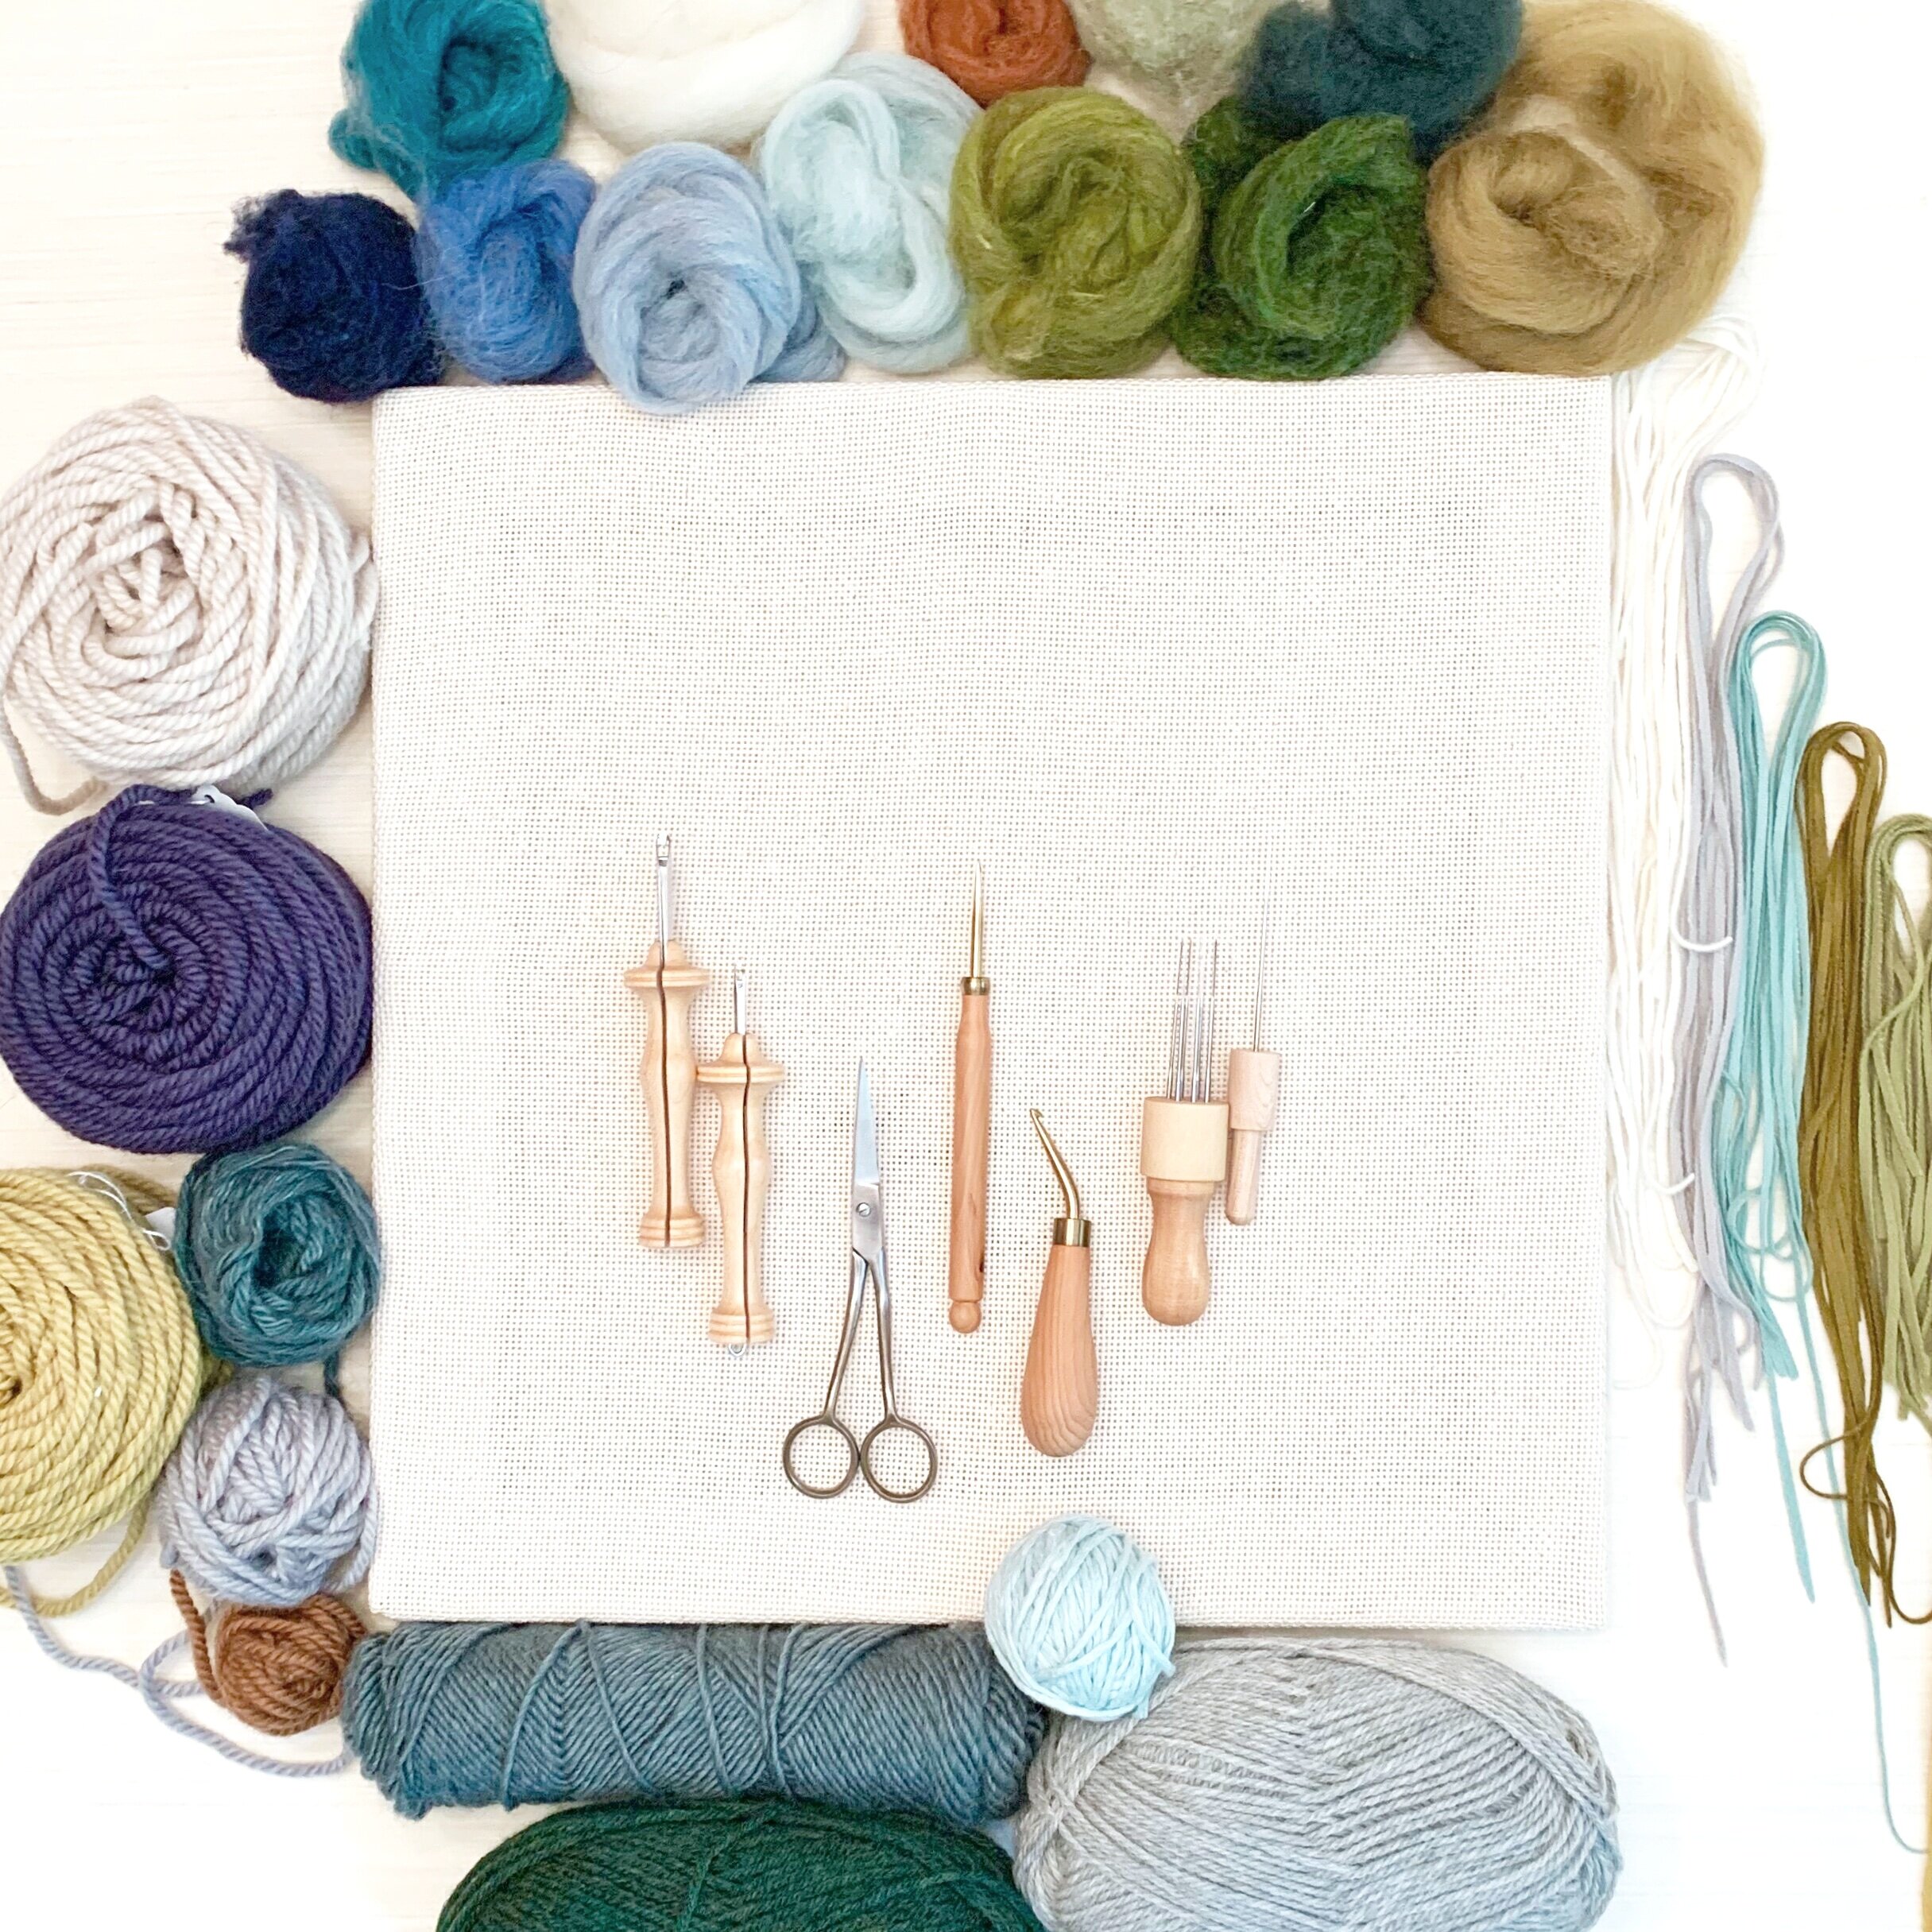
This year’s piece includes needle felting, rug hooking, and punch needle techniques. I used over 40 materials and colors, and 8 different tools for the 3 fiber art mediums. It’s SO much fun to combine materials like this! Here’s a look at my progress from yesterday - I took photos every few hours to show how the piece was coming along. It was really slow going at first. I only covered a few inches of my surface in the first few hours, but I kept at it and 12 hours later, I was happy with my finished piece. I did take a few breaks during the day so I think all in all I spent about 10 hours on the 16x16 piece.

IMG_6028.jpg

The Flat Out Under Pressure exhibition will be virtual this year, and will begin on July 1. The winner of the competition will be announced Monday by noon, and of course all the runner’s up as well (which is also a pretty big deal!). There are quite a few other “winners” and they’ll get a cash prize plus the honor of having their work prominently displayed on one of Greenville’s recycling bins downtown.

IMG_6030.jpg

My finished piece, plus 2 other test pieces I did prior to try out ideas and see how large I could go for the 24 hour competition, will all be available for purchase soon. I’m so glad I found out I couldn’t finish a 20x20 in the amount of time aloted BEFORE it was the actual competition. That would have been a pretty frustrating thing to learn when it mattered most.

IMG_6031.jpg

My wrists are sore, but I’m so happy I was able to participate in FOUP2020 this year, even though there will be no big party to announce the winners as before. Even still, this has been a bright spot in my week!

OnceAgainSam1729.jpg